
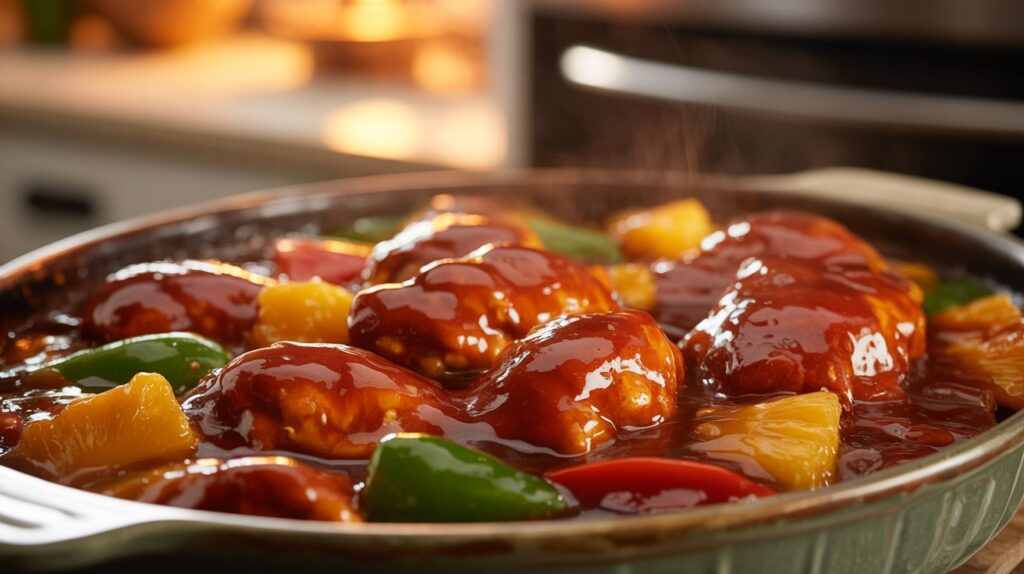
Why You’ll Love This Baked Sweet and Sour Chicken
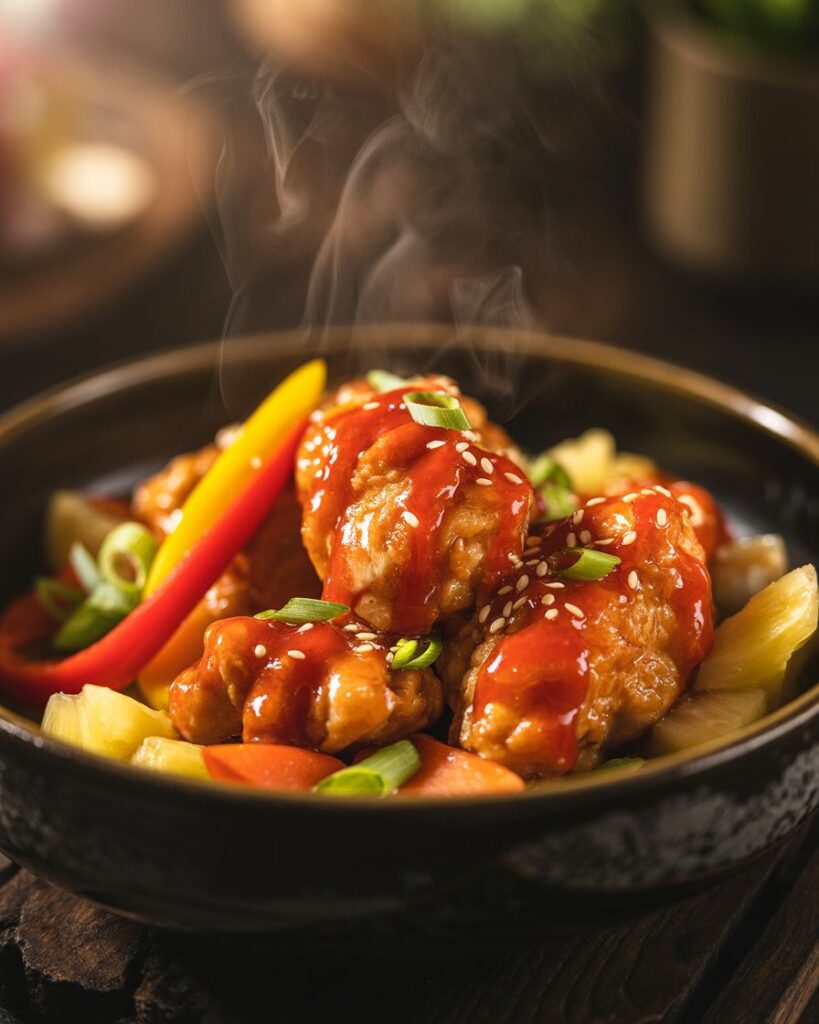
This oven-baked Sweet and Sour Chicken delivers crispy, golden-brown chicken coated in a tangy homemade sauce. It fixes all the common problems: it’s not too sweet or sour, and it stays juicy (no dry meat!). Best of all, it’s easy to make using simple ingredients and no deep fryer. You get that delicious restaurant-quality flavor in a healthier, one-pan meal.
What Makes This Recipe Special
This recipe stands out because the sauce uses just the right amount of sugar and vinegar for balance, plus a splash of pineapple juice for fruity tang. We also add a hint of soy sauce and garlic salt for that authentic Chinese restaurant taste. Instead of frying the entire batch, each piece is pan-seared then baked for a crisp exterior and juicy interior. The result is a finger-licking meal that beats takeout!
Ingredients You’ll Need
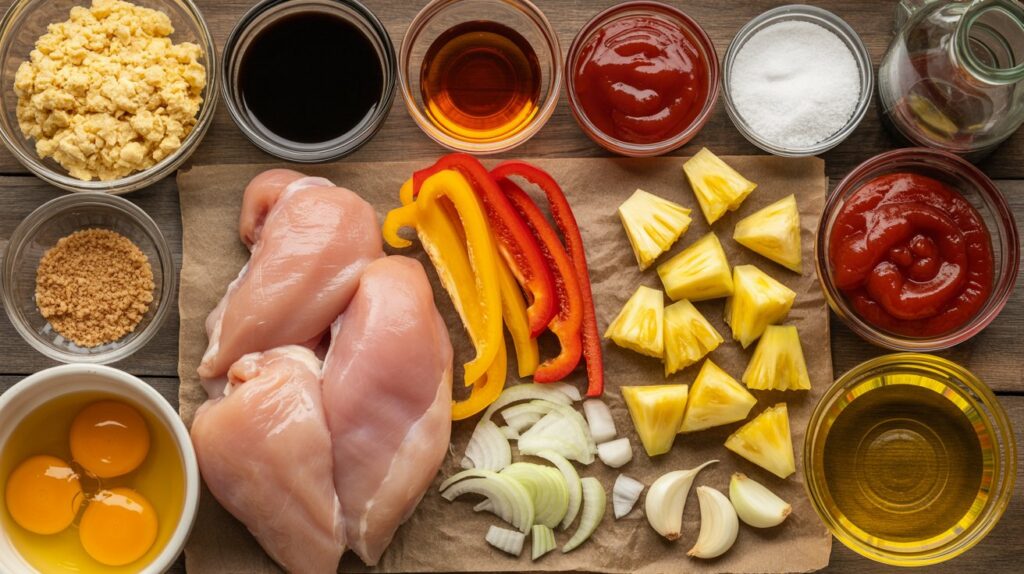
Gather these simple ingredients (full list below) and you’ll be on your way to an easy homemade sweet and sour chicken:
1. Chicken breast
Amount: 500 g (1 lb)
Boneless, skinless, cut into bite-size pieces
2. Salt
Amount: 1/2 tsp
Use for seasoning the chicken
3. Eggs
Amount: 2 large
Beat well for coating
4. Cornstarch (cornflour)
Amount: 1 cup
Key ingredient for crispy coating
5. Vegetable oil
Amount: 3 tbsp (divided)
Use some for frying and rest for sauce
6. Onion
Amount: 1 small
Diced for base flavor
7. Garlic
Amount: 2 cloves
Minced for strong aroma
8. Bell peppers
Amount: 1/2 red + 1/2 green
Adds color and slight crunch
9. Pineapple chunks
Amount: 1 can (8 oz)
Drain and reserve juice for sauce
10. Sugar
Amount: 1/2 cup
Adjust for sweetness balance
11. Ketchup
Amount: 4 tbsp
Gives tangy tomato flavor
12. Apple cider vinegar
Amount: 1/2 cup
Adds sour kick
13. Soy sauce
Amount: 1 tbsp
Adds umami depth
14. Garlic salt
Amount: 1 tsp
Skip extra salt if using this
15. Worcestershire sauce (optional)
Amount: 1 tsp
Adds deeper flavor
16. Cornstarch (for sauce)
Amount: 1 tbsp
Helps thicken the sauce
17. Water
Amount: 2 tbsp
Mix with cornstarch for slurry
Pro-Tips for Success
- Pat Dry: Make sure chicken pieces are patted dry before coating. This helps the cornstarch stick better and the chicken to crisp up.
- Coat Evenly: Shake off excess batter and spread pieces in a single layer. Crowding the pan leads to steaming instead of browning.
- Hot Pan: Heat the oil until shimmering before adding chicken. A very hot pan gives a quick sear that locks in juices and creates a golden crust.
- Reserve Pineapple Juice: Use the canned pineapple juice in your sauce for extra sweetness and flavor depth instead of water.
Common Mistakes to Avoid
- Overcrowding: Don’t crowd the pan or baking dish. Cook in batches if needed. Crowding releases steam and prevents crisping.
- Too Much Sugar: Using the full cup can make it cloying. We use 1/2 cup for perfect balance. Adjust sweetness to taste.
- Not Flipping: If baking, turn the chicken halfway through to brown evenly. If frying, only flip once to keep the coating intact.
- Skipping the Sear: Skipping the quick pan-fry will make the coating soggy. Always give the chicken a brief sear before the oven.
Flavor Variations
- Keto or Low-Carb: Use a sugar substitute like erythritol or monk fruit in the sauce and swap cornstarch for almond flour mixed with parmesan for the coating. This keeps carbs very low.
- Vegan/Vegetarian: Replace chicken with firm tofu cubes or cauliflower florets. The same sauce and baking method works; just skip the egg wash and use a chickpea-flour batter if needed.
- Air Fryer Method: For extra crunch, try air-frying the coated chicken. Cook at 200°C (390°F) for 15–20 minutes, shaking halfway. Then toss in sauce like usual.
- Spicy Twist: Add chili flakes or sriracha to the sauce for heat. You can also sprinkle some togarashi on the chicken for an Asian spice kick.
What to Serve With Baked Sweet and Sour Chicken
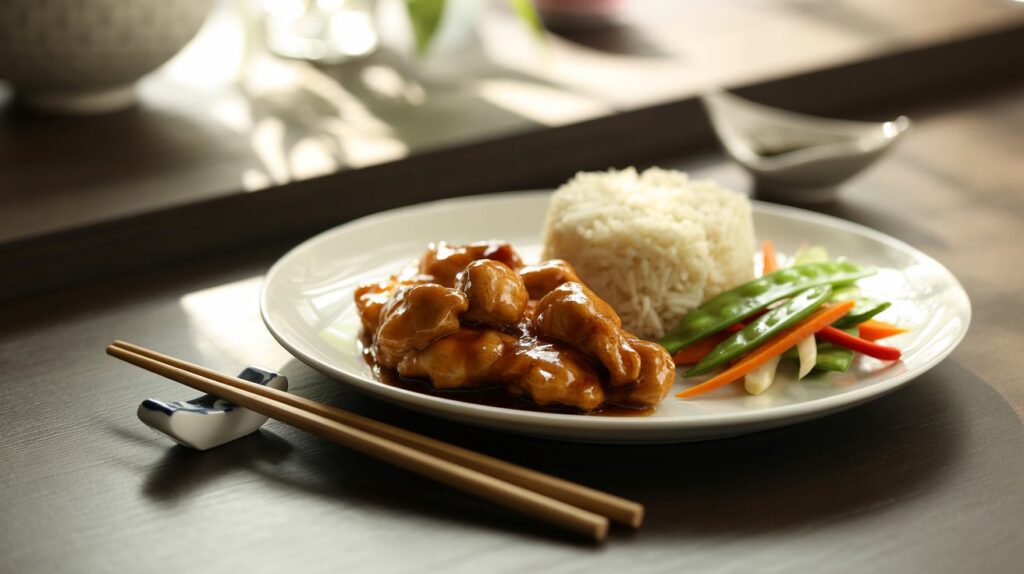
- Steamed Jasmine or Basmati Rice: A classic base to soak up the tangy sauce.
- Stir-Fried or Steamed Vegetables: Broccoli, snap peas, or bok choy add crunch and color.
- Simple Asian Slaw: Crunchy cabbage or carrots dressed with a light vinaigrette for a fresh side.
- Fruit Salad or Pineapple Fried Rice: For a tropical touch, serve with a fruit salad or use pineapple in a fried rice.
Storage and Reheating
- Store: Keep leftovers in an airtight container in the refrigerator for up to 3 days. The sauce will thicken as it chills.
- Reheat: Reheat gently to retain crunch. An oven or air fryer at 180°C (350°F) for 5–8 minutes works well. (Microwave if short on time, but coating will soften.)
- Freeze: This dish can be frozen. Separate the chicken and sauce if possible. Thaw in the refrigerator overnight and reheat in the oven.
VIEW FULL RECIPE
If you liked this recipe, you may also enjoy…
- Easy Baked General Tso’s Chicken – The Only Recipe You Need
- Best 30 Minute Honey Butter Chicken Recipe
- Savory Easy Homemade Sloppy Joes – Perfect One-Pan Meal
Best Authentic Greek Tzatziki Sauce Recipe You Will Love
Description
This baked sweet and sour chicken yields crispy golden chicken coated in a tangy pineapple sauce. Easy and family-friendly, it’s the perfect healthier takeout meal.
Ingredients
Instructions
-
Step 1 (0-5 min)
Preheat the oven to 200°C (390°F). Pat the chicken dry and season with salt. Place eggs in one bowl and cornstarch in another (or a ziplock bag).
-
Step 2 (5-8 min)
Coat the chicken pieces evenly: first dip in beaten egg, then put into the cornstarch and shake off excess. Ensure each piece is well-coated in cornstarch.
-
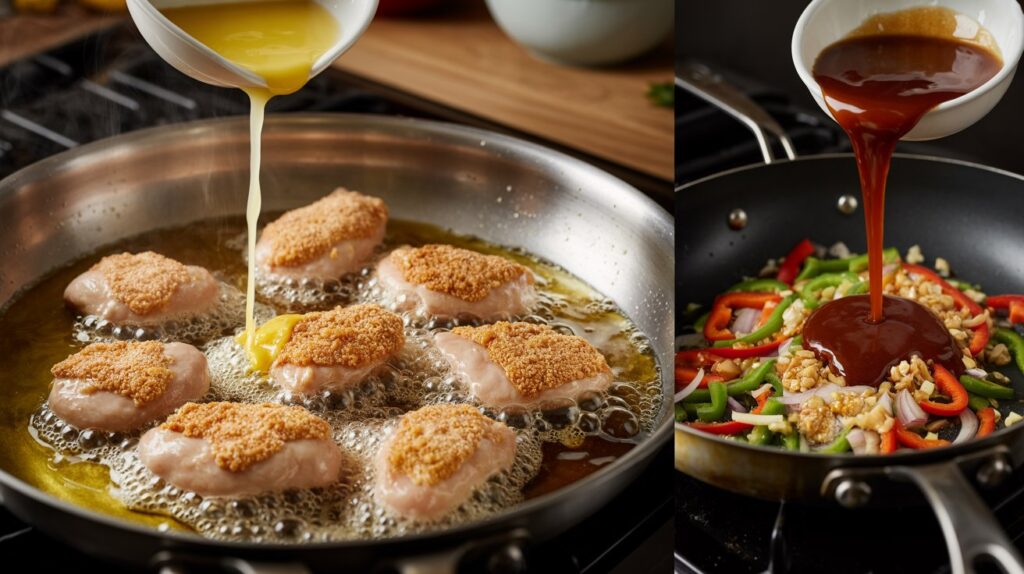
Step 3 (8-12 min)
Heat 1 tablespoon oil in a large skillet over medium-high heat. Fry the chicken in batches for 2 minutes per side until lightly golden (chicken will still be mostly raw inside). Transfer all chicken to a greased baking dish.
-
Step 4 (12-30 min)
Spray or brush the chicken with a little more oil. Bake in the oven for 15-20 minutes, turning halfway, until the chicken is golden, crispy, and cooked through.
-
Step 5 (30-35 min)
Meanwhile, prepare the sauce: heat the remaining oil in a pan, sauté garlic and onion until fragrant, then add bell peppers. Stir in sugar, ketchup, vinegar, soy sauce, and garlic salt. Simmer briefly.
-
Step 6 (35-40 min)
Mix the cornstarch with water to make a slurry, stir it into the sauce and cook until thickened. Remove from heat and stir in the drained pineapple chunks. When the chicken is done, pour the sauce over the chicken and toss to coat. Serve hot.
Nutrition Facts
Servings 4
- Amount Per Serving
- Calories 528kcal
- % Daily Value *
- Total Fat 16g25%
- Saturated Fat 2g10%
- Cholesterol 148mg50%
- Sodium 825mg35%
- Total Carbohydrate 54g18%
- Dietary Fiber 2g8%
- Sugars 35g
- Protein 43g86%
* Percent Daily Values are based on a 2,000 calorie diet. Your daily value may be higher or lower depending on your calorie needs.
Note
- Flavor Boost: Marinate chicken with a splash of soy sauce or sesame oil before coating to add extra flavor.
- Crispy Coating: Use cornstarch (not flour) for a light, crispy crust. Pan-fry briefly and bake at high heat for best texture.
- Even Cooking: Keep chicken pieces uniform and in a single layer so they cook evenly. Preheat the oven and turn pieces halfway through baking.