

A peach cobbler recipe with canned peaches is the kind of dessert you can pull together on a weeknight without worrying about peach season. Canned fruit keeps the filling consistent and sweet, and the syrup does half the work of building flavor. You get a warm, spoonable fruit base under a soft, golden topping with almost no prep.
This version skips the fuss of peeling and slicing fresh fruit but keeps the texture you want: tender peaches in a light sauce beneath a cake-like crust. It bakes in one dish, so cleanup stays minimal. The result is a home-style cobbler that tastes like it took far longer than it did. If you enjoyed this, our peach lemonade refreshing is worth trying next. Making this peach cobbler recipe with canned peaches at home is surprisingly straightforward once you know the key steps.
Why You’ll Love These Peach Cobbler Recipe With Canned Peaches
- Uses pantry staples and one baking dish, so there’s little to shop for or wash.
- Canned peaches give reliable sweetness and texture year-round, no peeling required.
- The topping bakes up soft underneath and lightly crisp on top in about 40 minutes.
- Easy to scale up for a crowd or down for two in a smaller dish.
Ingredients You’ll Need
- 2 cans (15 oz each) sliced peaches in light syrup, undrained
- 1/2 cup granulated sugar
- 1 tbsp cornstarch
- 1 tsp ground cinnamon
- 1 cup all-purpose flour
- 1 cup granulated sugar (for topping)
- 1 tbsp baking powder
- 1/4 tsp salt
- 1 cup whole milk
- 1/2 cup unsalted butter, melted
- 1 tsp vanilla extract
Ingredient Substitutions
Canned peaches in light syrup: Replace with the same weight of peaches in heavy syrup if that’s what you have. Heavy syrup makes the filling noticeably sweeter and a bit thicker, so cut the added sugar in the filling to 1/4 cup. The fruit stays just as tender, but the sauce leans richer and can brown the topping faster. The peach cobbler recipe with canned peaches works well for weeknight cooking when time is limited.




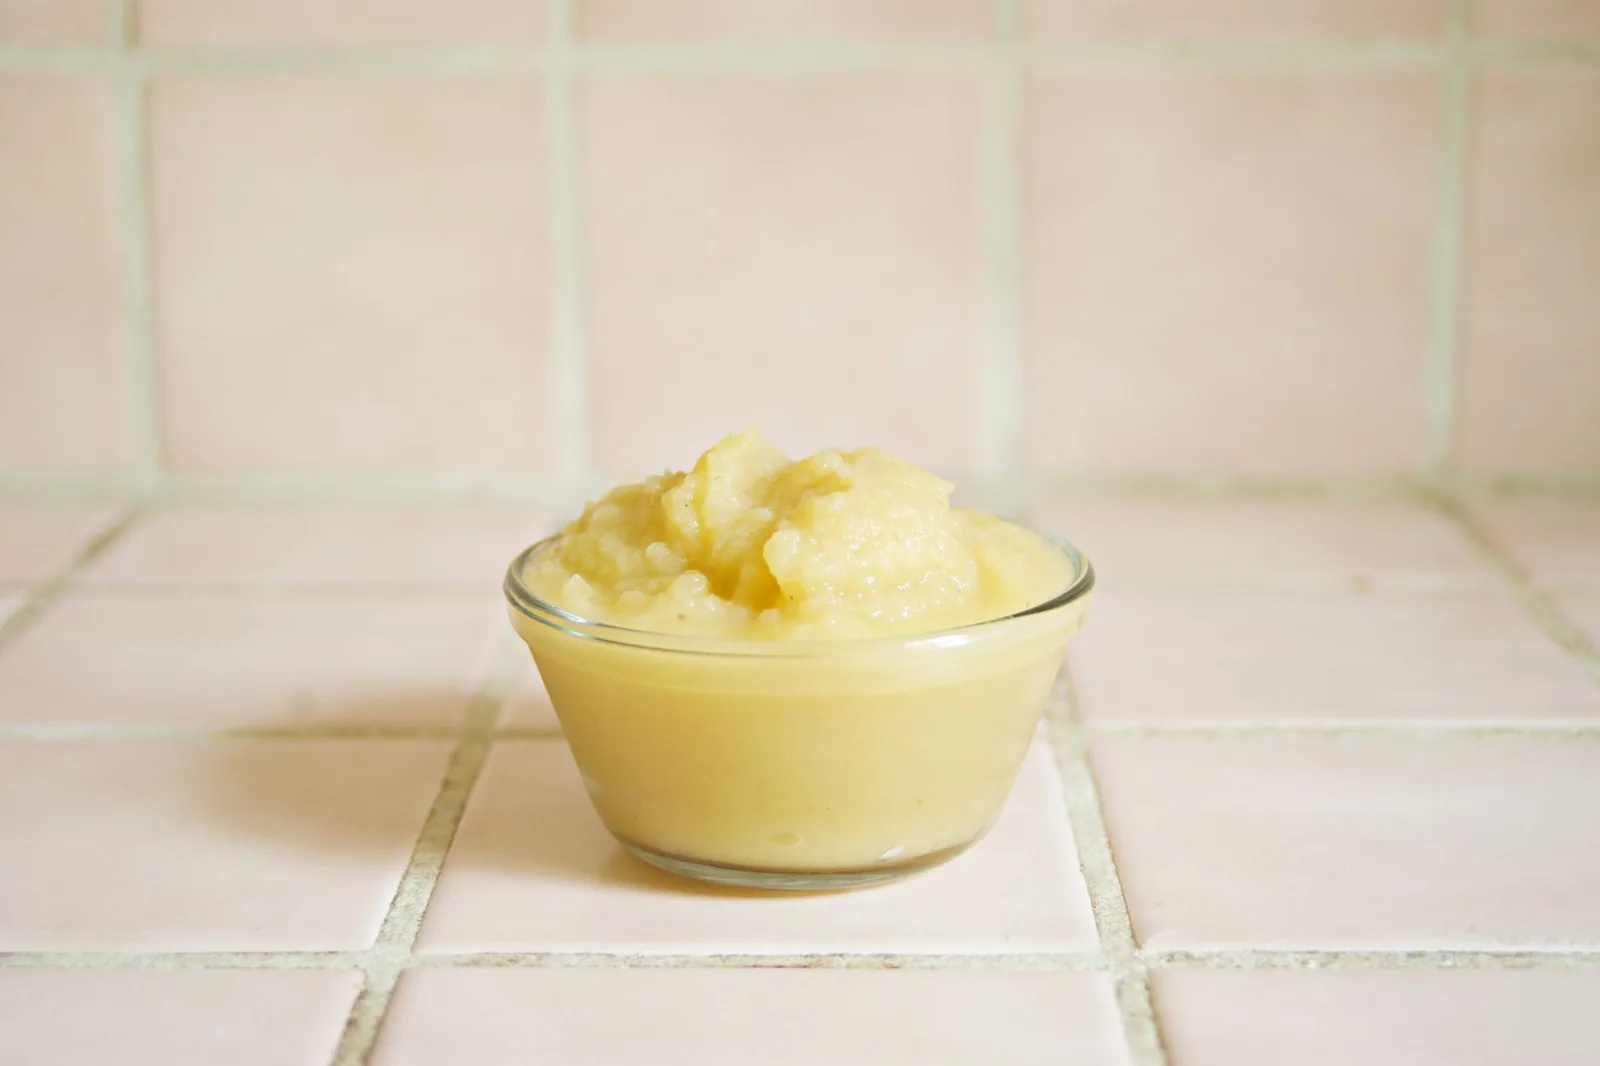


Whole milk: Use an equal amount of 2% or a unsweetened almond milk instead. Lower-fat milk gives a slightly less tender crumb, while almond milk adds a faint nutty note and may need 1 extra minute of bake time. The structure holds up fine in either case. Storing leftover peach cobbler recipe with canned peaches correctly keeps it tasting good for days.
Unsalted butter: Swap in the same amount of melted coconut oil for a dairy-free version. Coconut oil sets firmer at room temperature, so the topping will feel a touch more crisp after cooling. Expect a very light coconut aroma that pairs well with the cinnamon. For the best results with this peach cobbler recipe with canned peaches, read through all the steps before starting.
All-purpose flour: Use a 1-to-1 gluten-free baking blend if needed. These blends usually include xanthan gum, so the batter stays cohesive, though the crumb comes out a little more delicate. Bake at the same temperature but check doneness 3 minutes earlier. For another easy option, check out our using canned beef.
Step-by-Step Instructions
- Heat your oven to 180°C / 350°F and place the melted butter into a 9×13 inch baking dish, tilting to coat the bottom evenly.
- Open both cans of peaches and pour them with their syrup into a bowl. Stir in 1/2 cup sugar, cornstarch, and cinnamon until the syrup looks lightly cloudy from the starch.
- Pour the peach mixture into the buttered dish, spreading the slices so they sit in a fairly even layer across the bottom.
- In a separate bowl, whisk flour, 1 cup sugar, baking powder, and salt. Add milk and vanilla, stirring just until no dry streaks remain — do not overmix.
- Slowly pour the batter over the peaches. Do not stir; it will sink and bake into a topping above the fruit as it heats.
- Bake on the center rack for 40–45 minutes, until the top is golden and crisp at the edges and the filling bubbles at the corners.
- Rest the dish on a rack for 10 minutes before scooping so the sauce thickens slightly and the topping firms.
Pro Tips
Spread the melted butter across the whole dish before adding fruit so the base doesn’t stick and the edges crisp instead of steaming. A thin, even film works better than pooling in one corner.
For a firmer topping, let the batter rest for 5 minutes after mixing so the flour hydrates. You’ll see fewer raw spots after baking and a more even crumb.
Read technique guidance on baking ratios if you want to adjust sweetness without changing texture. Small sugar cuts keep the structure while lowering the syrup’s intensity.
Place the dish on a sheet pan while baking to catch any bubbling syrup. This keeps your oven clean and lets you move the hot cobbler safely.
Common Mistakes to Avoid
Stirring the batter into the fruit is the most common error; it blends the layers and leaves you with a cakey mush instead of fruit under a top. Pour gently and leave it alone.
Using a too-small dish causes the batter to rise over the sides as the fruit bubbles. A 9×13 inch pan keeps the depth right and the bake even.
Cutting the rest time short means runny sauce and a soft, soggy base. The 10 minutes on the counter lets the cornstarch finish thickening off heat.
Serving Suggestions
Scoop the cobbler warm into bowls and add a slow pour of sherbet punch on the side as a cold contrast. The chill against the warm fruit works well after a heavy meal.
For a brunch table, pair it with peach lemonade so the flavors echo without repeating. Keep portions small if serving alongside other sweets.
A spoon of plain yogurt cuts the sweetness if you find the syrup strong. Use it in place of cream for a lighter finish that still feels like dessert.
Storage and Reheating
Cool the cobbler to room temperature, then cover and refrigerate for up to 4 days in an airtight container. Don’t leave it out longer than 2 hours after baking.
Reheat single portions in a 180°C / 350°F oven for 12–15 minutes until the top re-crisps and the center is hot. The microwave softens the topping, so use it only if you’re in a rush.
This dessert does not freeze cleanly; the topping turns gummy on thaw. Stick to fridge storage and eat within the stated window for best texture.
Recipe Variations
Spiced Version
Add 1/4 tsp ground nutmeg and a pinch of ground ginger to the filling with the cinnamon. The warm spices deepen the peach note without covering it. Bake as written and expect a darker, more aromatic sauce.
Berry Mix
Fold 1 cup of drained canned or frozen blueberries into the peaches before baking. The berries bleed color into the syrup and add a mild tartness. No change to time or temperature is needed.
Crumble Top
Skip the batter and cover the fruit with 1 cup of apple filling crumbs made from flour, butter, and brown sugar. Bake 35 minutes until the top is golden and crisp. You get more crunch and less cake.
Drink Pair
Serve with a peach bellini for an adult dessert course. The sparkle lifts the baked fruit and matches the canned peach base. Keep the pour small so it stays a side, not a second dessert.
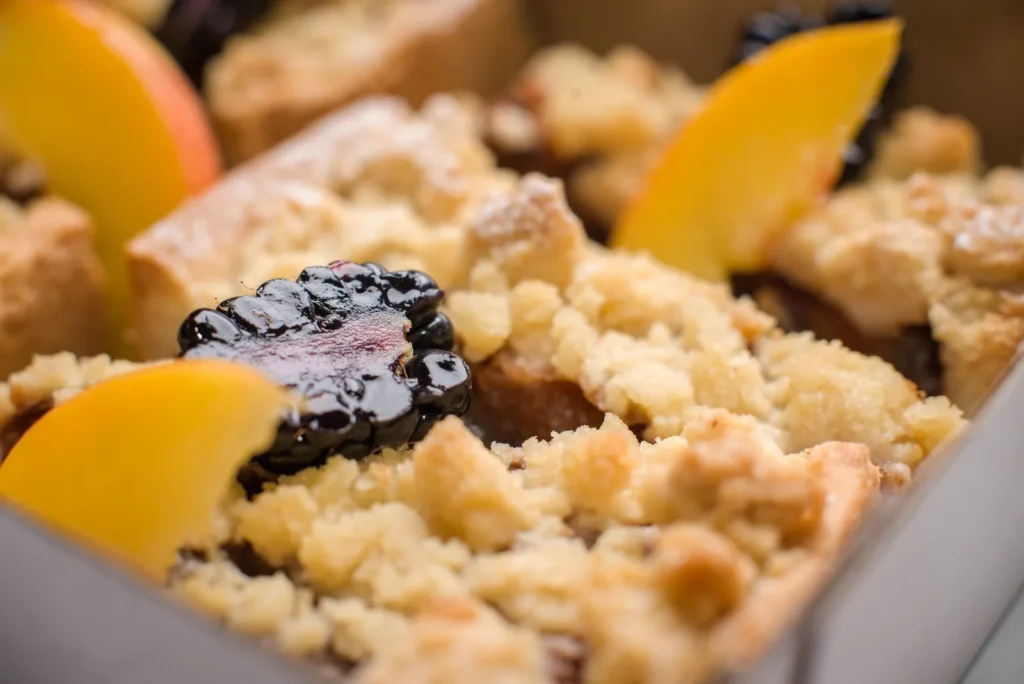

peach cobbler recipe with canned peaches
Description
A warm, spoonable peach filling made from canned sliced peaches in light syrup sits beneath a soft, golden cake-like topping. This one-dish dessert comes together with almost no prep and bakes in about 40 minutes for a home-style treat any time of year.
Ingredients
Instructions
-
Heat oven and coat dish
Heat your oven to 180°C / 350°F and place the 1/2 cup melted unsalted butter into a 9x13 inch baking dish, tilting to coat the bottom evenly. The butter should form a thin film across the whole dish so the base does not stick and the edges crisp instead of steaming.
-
Mix peach filling
Open both cans of peaches and pour them with their syrup into a bowl. Stir in 1/2 cup sugar, 1 tbsp cornstarch, and 1 tsp ground cinnamon until the syrup looks lightly cloudy from the starch.
-
Add peaches to dish
Pour the peach mixture into the buttered dish, spreading the slices so they sit in a fairly even layer across the bottom. This creates a consistent fruit base so the topping bakes evenly above it.
-
Whisk dry topping ingredients
In a separate bowl, whisk 1 cup all-purpose flour, 1 cup granulated sugar (for topping), 1 tbsp baking powder, and 1/4 tsp salt together. Make sure the mixture is uniform before adding any wet ingredients.
-
Make topping batter
Add 1 cup whole milk and 1 tsp vanilla extract to the dry mix, stirring just until no dry streaks remain — do not overmix. For a firmer topping, you can let the batter rest for 5 minutes after mixing so the flour hydrates and you see fewer raw spots after baking.
-
Pour batter over fruit
Slowly pour the batter over the peaches without stirring; it will sink and bake into a topping above the fruit as it heats. Pour gently and leave it alone so you get distinct fruit and cake layers rather than a cakey mush.
-
Bake the cobbler
Bake on the center rack for 40–45 minutes at 180°C / 350°F, until the top is golden and crisp at the edges and the filling bubbles at the corners. Place the dish on a sheet pan while baking to catch any bubbling syrup and keep your oven clean.
-
Rest before serving
Rest the dish on a rack for 10 minutes before scooping so the sauce thickens slightly and the topping firms. Cutting the rest time short means runny sauce and a soft, soggy base because the cornstarch finishes thickening off heat.
Nutrition Facts
Servings 8
- Amount Per Serving
- Calories 350kcal
- % Daily Value *
- Total Fat 12g19%
- Saturated Fat 7g35%
- Cholesterol 35mg12%
- Sodium 280mg12%
- Total Carbohydrate 58g20%
- Dietary Fiber 2g8%
- Sugars 42g
- Protein 4g8%
* Percent Daily Values are based on a 2,000 calorie diet. Your daily value may be higher or lower depending on your calorie needs.
Note
- Storage: Cool to room temperature, then cover and refrigerate for up to 4 days in an airtight container; don't leave out longer than 2 hours after baking.
- Reheating: Reheat single portions in a 180°C / 350°F oven for 12–15 minutes until the top re-crisps and center is hot; microwave only if rushed.
- Pro tip: For a dairy-free version, swap the butter for melted coconut oil as noted in the canned beef alternatives style.
- Serve: Rest 10 minutes before scooping so cornstarch thickens the sauce and the topping firms.
