

A reliable buttermilk pancakes recipe is the kind of backbone every home cook should keep on hand. The acid in buttermilk reacts with baking soda to lift the batter, while the fat keeps the crumb tender instead of rubbery. You get a stack with a lightly crisp edge and a soft, almost creamy middle.
What makes this version worth repeating is the resting step and the measured heat. Too many pancake batters get stirred into glue; this one stays loose and bubbles up in the pan. Below you’ll find exact amounts, swaps that actually work, and the mistakes that flatten a good batch. If you enjoyed this, our ground beef pork is worth trying next. Making this buttermilk pancakes at home is surprisingly straightforward once you know the key steps.
Why You’ll Love These Buttermilk Pancakes
- Tall rise from a real baking soda and buttermilk reaction, not just baking powder.
- Crisp, golden edges with a center that stays moist for several minutes after cooking.
- One bowl plus a whisk, with no separate egg-white step or special gear.
- Freezes cleanly, so you can cook once and reheat on busy mornings.
Ingredients You’ll Need
- 2 cups all-purpose flour (250 g) — gives structure without heaviness.
- 2 tbsp granulated sugar — balances the tang and aids browning.
- 1 tsp baking soda — the main lift when paired with buttermilk.
- 1/2 tsp baking powder — backup lift for a steady rise.
- 1/2 tsp fine salt — keeps the sweetness from going flat.
- 2 cups cultured buttermilk (480 ml) — brings acid, moisture, and flavor.
- 2 large eggs — bind and add richness.
- 3 tbsp melted unsalted butter, plus more for the pan — flavor and slip.
Ingredient Substitutions
Cultured buttermilk: Replace with 2 cups whole milk mixed with 2 tbsp lemon juice or white vinegar, stirred and left for 5 minutes. The acid level will be close enough to trigger the soda, though the flavor is milder and slightly less tangy. Expect a similar rise but a softer, less distinct edge. The buttermilk pancakes works well for weeknight cooking when time is limited.



All-purpose flour: Swap in an equal weight of white whole wheat flour for more fiber and a nuttier note. It drinks more liquid, so add 1–2 tbsp milk if the batter looks stiff. The crumb will be a bit denser and the color a shade darker. Storing leftover buttermilk pancakes correctly keeps it tasting good for days.
Unsalted butter: Use an equal amount of neutral oil for a dairy-light version with a slightly less buttery taste. Oil keeps the crumb moist longer but won’t brown the edges as well. Lower the pan heat by a notch to avoid over-browning.
Large eggs: Replace with 2 tbsp ground flaxseed plus 6 tbsp water per egg, rested 10 minutes. The bind is weaker, so cook smaller cakes and expect a more fragile flip. Flavor stays neutral but the rise drops slightly.
Granulated sugar: Use an equal amount of honey for a floral note and faster browning. Cut the buttermilk by 1 tbsp to balance the added liquid. Watch the heat, since honey scorches quicker than plain sugar. For another easy option, check out our magnesium oil.
Step-by-Step Instructions
- Whisk the flour, sugar, baking soda, baking powder, and salt in a large bowl until evenly blended. This spreads the leaveners so you don’t get bitter pockets.
- In a second bowl, beat the eggs, then whisk in the buttermilk and melted butter until smooth. Pour the wet mix into the dry and stir with a spatula just until no dry streaks remain; a few lumps are fine.
- Rest the batter 10 minutes at room temperature so the flour hydrates and the soda starts working. You’ll see small bubbles form on the surface.
- Heat a nonstick skillet or griddle on medium-low heat and brush with butter. Ladle 1/4 cup batter per cake, leaving space between them.
- Cook until the edges look dry and bubbles on top pop without refilling, about 2 minutes. Slide a thin spatula under and flip; cook the second side until golden and crispy, about 90 seconds.
- Keep finished cakes warm on a tray in a low oven while you cook the rest. gnocchi is a different brunch path if you want variety later.
Pro Tips
Measure flour by weight or spoon-and-level it; a packed cup adds up to 30 g extra and makes a stiff, flat cake. A light hand on the measuring keeps the crumb open.
Preheat the pan fully before the first pour. A cold surface seizes the batter and gives you a pale, gummy base instead of a risen one.
If your first cake browns too fast, drop to medium-low heat and thin the batter with a splash of milk. Heat control matters more than timing alone.
For an even rise, read the pancake technique guides that show how pan temperature changes bubble size. A steady, moderate heat builds taller cakes.
Add mix-ins like blueberries after the flip, not before, so they don’t sink and burn on the hot steel. Press them gently into the wet top.
Common Mistakes to Avoid
Overmixing is the top culprit for tough pancakes. The moment the streaks vanish, stop; carryover stirring develops gluten and kills the lift.
Crowding the pan drops the temperature and steams the edges. never crowd the pan — one or two cakes per round is enough for a home skillet.
Using expired baking soda gives you a flat, soda-heavy taste. Test it in a little vinegar; if it doesn’t fizz hard, replace it before you start.
Pouring too-large cakes leads to raw centers. Stick to 1/4 cup measures so heat reaches the middle before the outside burns.
Serving Suggestions
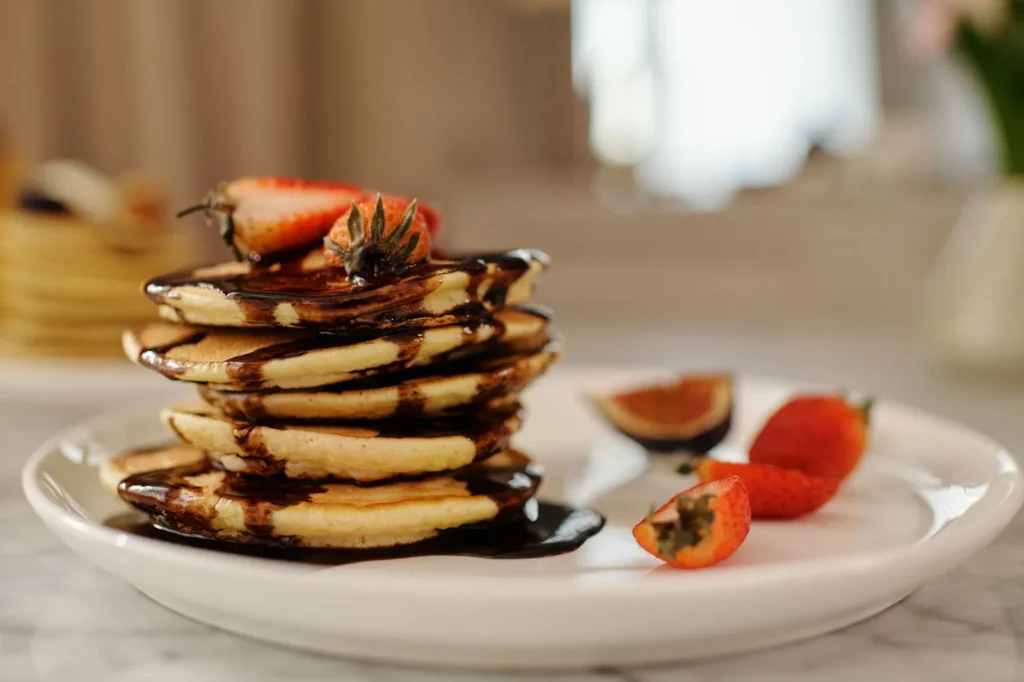
Stack three cakes and top with a pat of butter and warm maple syrup for the standard setup. A dusting of powdered sugar adds a clean finish without more sweetness.
For a fuller plate, add smoothie on the side for a cold, fruity contrast. Crisp bacon or sausage rounds out the salt against the sweet.
Fresh berries and a dollop of plain yogurt keep the plate light. If you want a savory turn, try a soft egg on top with a pinch of flaky salt.
Storage and Reheating
Cooled cakes keep in an airtight container in the fridge for up to 3 days. Layer them with parchment so they don’t stick. Reheat in a toaster on low until steam rises and the center feels hot.
For longer hold, freeze in a single layer then bag them for freeze for up to 2 months. Toast from frozen at a low setting, flipping once, until the middle is hot through.
Don’t leave cooked pancakes out more than 2 hours; dairy and egg content make them a fast spoiler at room temperature. Store promptly after the meal.
Recipe Variations
Blueberry Version
Fold 1 cup fresh or frozen blueberries into the rested batter, then place a few on top after flipping. Frozen ones may tint the crumb purple but stay juicy; fresh hold their shape better.
Whole Wheat Version
Replace half the flour with white whole wheat and add 2 tbsp milk to loosen the batter. The cakes taste nuttier and a bit denser, with a darker, heartier look. birria is unrelated but handy for dinner later.
Buttermilk Waffles
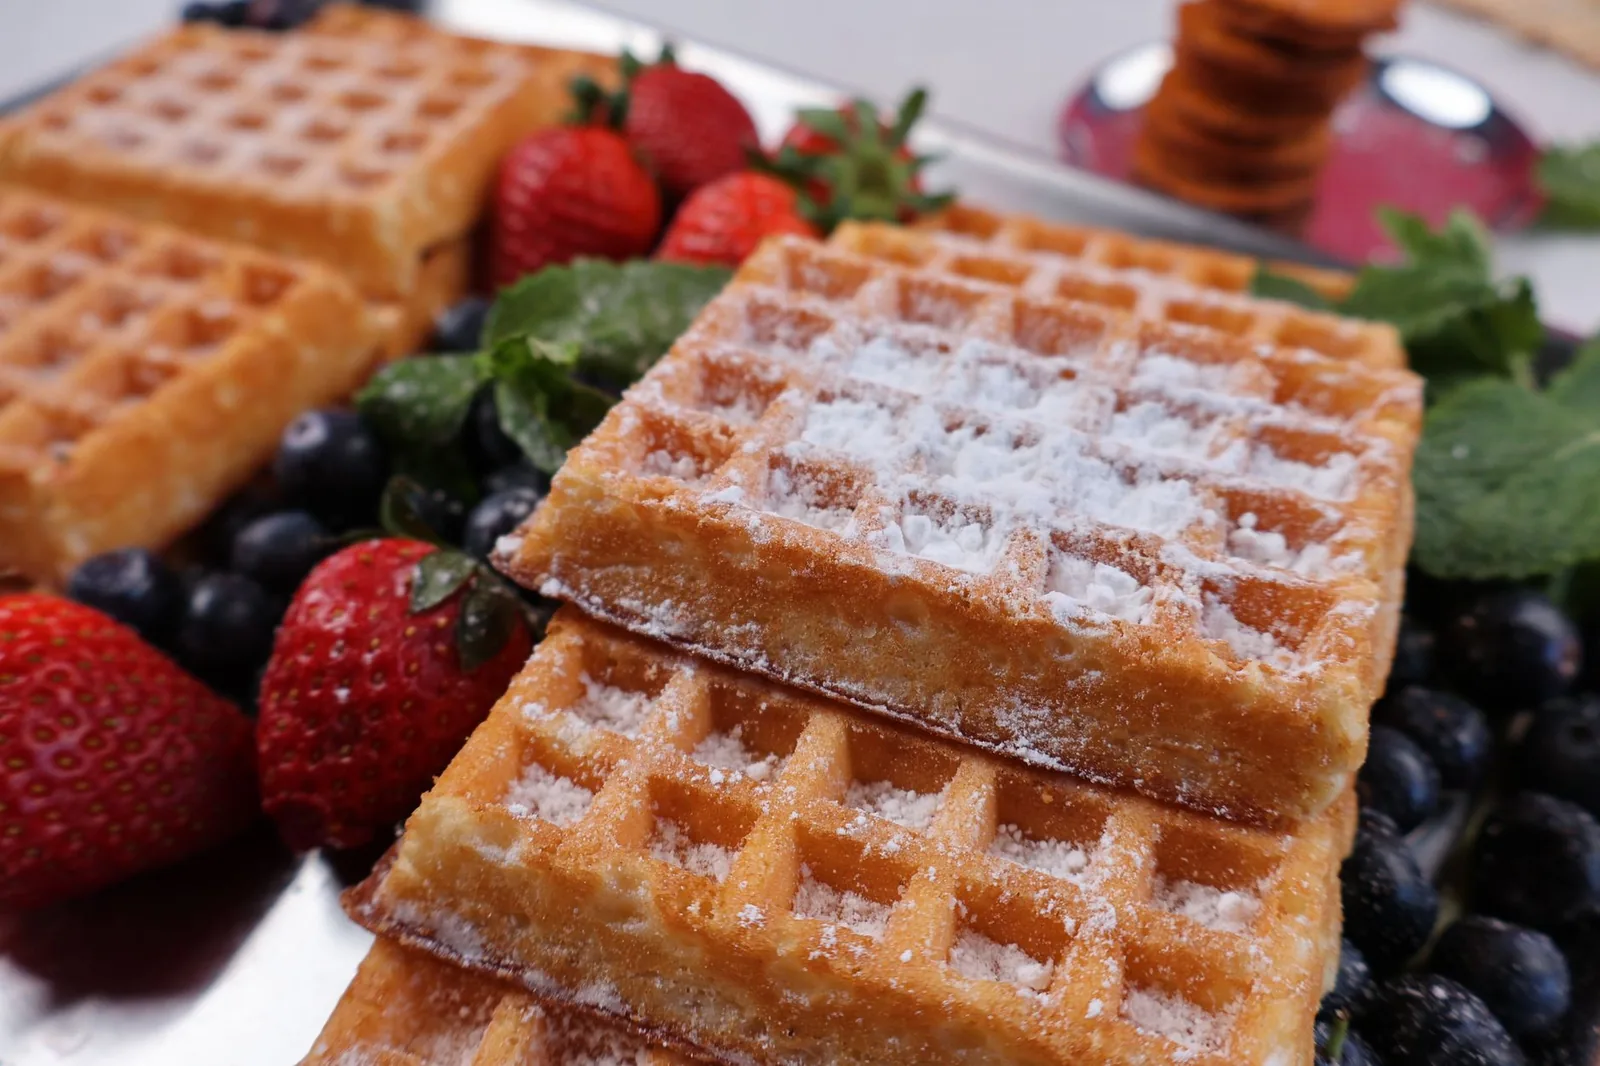
Add 2 tbsp melted butter and pour the batter into a preheated waffle iron for a crisp, deep-grid version. The same pesto wouldn’t fit, but the batter freezes well for weekday waffles.
Cinnamon Spice Version
Whisk 1 tsp cinnamon and 1/4 tsp nutmeg into the dry mix for a warm, bakery-style note. Brown the butter first for a deeper, toastier edge on each cake.
Yes, this buttermilk pancakes recipe freezes well for up to two months when laid flat first. The baking soda reaction is strongest in the first cook, so reheat gently to keep the texture soft.

Buttermilk Pancakes
Description
A reliable buttermilk pancakes recipe with a tall rise from real baking soda and buttermilk reaction, crisp golden edges, and a soft creamy middle. The resting step and measured medium-low heat keep the batter loose so the cakes stay tender instead of rubbery.
Ingredients
Instructions
-
Whisk dry ingredients
In a large bowl, whisk together the 2 cups all-purpose flour, 2 tbsp granulated sugar, 1 tsp baking soda, 1/2 tsp baking powder, and 1/2 tsp fine salt until evenly blended. This spreads the leaveners so you don't get bitter pockets in the finished cakes.
-
Beat wet ingredients
In a second bowl, beat the 2 large eggs, then whisk in the 2 cups cultured buttermilk and 3 tbsp melted unsalted butter until the mixture is smooth. Combining them first keeps the batter from clumping when added to the dry mix.
-
Combine and stir
Pour the wet mix into the dry and stir with a spatula just until no dry streaks remain; a few lumps are fine and expected. Stop stirring the moment the streaks vanish so you don't develop gluten and kill the lift.
-
Rest the batter
Rest the batter 10 minutes at room temperature so the flour hydrates and the soda starts working. You'll see small bubbles form on the surface, which shows the leavening is active before you cook.
-
Heat and grease pan
Heat a nonstick skillet or griddle on medium-low heat and brush with butter from the extra amount set aside for the pan. Preheat the pan fully before the first pour so the batter rises instead of seizing into a pale gummy base.
-
Cook first side
Ladle 1/4 cup batter per cake, leaving space between them, and cook until the edges look dry and bubbles on top pop without refilling, about 2 minutes. The bottom should be golden when you check with a thin spatula.
-
Flip and finish
Slide a thin spatula under and flip; cook the second side until golden and crispy, about 90 seconds. A steady moderate heat builds taller cakes and a crisp edge without scorching.
-
Keep warm and serve
Keep finished cakes warm on a tray in a low oven while you cook the rest of the batch. Serve as a stack of three with butter and warm maple syrup, or with toppings of your choice.
Nutrition Facts
Servings 4
- Amount Per Serving
- Calories 350kcal
- % Daily Value *
- Total Fat 12g19%
- Saturated Fat 6g30%
- Cholesterol 110mg37%
- Sodium 480mg20%
- Total Carbohydrate 48g16%
- Dietary Fiber 2g8%
- Sugars 10g
- Protein 11g22%
* Percent Daily Values are based on a 2,000 calorie diet. Your daily value may be higher or lower depending on your calorie needs.
Note
- Storage: Cooled cakes keep in an airtight container in the fridge for up to 3 days; layer with parchment so they don't stick, and don't leave them out more than 2 hours.
- Make ahead: Measure flour by weight or spoon-and-level it to avoid a packed cup that makes stiff flat cakes, and read pizza dough tips for pan temperature ideas.
- Pro tip: Preheat the pan fully before the first pour and keep heat at medium-low for an even tall rise.
- Reheat: Toast leftover or frozen cakes on low until steaming hot through; do not reheat the same portion more than once.
