

A good batch of strawberry lemonade bars brings the bright acid of fresh lemons together with sweet crushed strawberries in a firm, sliceable layer over a shortbread base. This recipe keeps the crust crisp and the top from weeping by cooking the fruit filling on the stovetop before it bakes. You get clean squares that hold their shape at room temperature for an afternoon gathering.
The method below uses a press-in crust and a stovetop-thickened filling so the bars set without curdling. It is built for a standard 9×13 pan and yields 16 squares with a balanced sweet-tart profile. If you like roasted lemonade, the flavor direction will feel familiar. Making this strawberry lemonade bars at home is surprisingly straightforward once you know the key steps.
Why You’ll Love These Strawberry Lemonade Bars
- Shortbread base stays crisp because it is blind baked before the filling goes on.
- Stovetop filling uses cornstarch so the top cuts into clean squares instead of sliding.
- Fresh strawberries and lemon juice give real fruit flavor, not just food coloring.
- One pan, no mixer required beyond a spatula for the crust.
Ingredients You’ll Need
- 1 1/2 cups all-purpose flour — base structure for the shortbread crust.
- 1/2 cup powdered sugar — sweetens the crust without grittiness.
- 3/4 cup unsalted butter, melted — binds the crumb and adds richness.
- 1/4 teaspoon salt — controls sweetness in the base.
- 1 cup fresh strawberries, hulled and crushed — main fruit note in the layer.
- 3/4 cup granulated sugar — sweetens the filling.
- 1/3 cup lemon juice, freshly squeezed — provides the tart lemonade character.
- 2 tablespoons lemon zest — boosts aromatic citrus oil.
- 3 tablespoons cornstarch — thickens the filling on the stove.
- 1/4 cup water — slack for the cornstarch slurry.
- 3 large eggs — sets the baked filling.
- 2 tablespoons butter — finishes the filling smooth.
Ingredient Substitutions
Unsalted butter: Replace the melted butter with an equal weight of coconut oil for a dairy-free crust. Coconut oil firms faster when cold, so the crust will be a bit more crumbly and less bendy than butter-based shortbread. Bake at the same temperature but check the edges 2 minutes earlier since oil browns quicker. The strawberry lemonade bars works well for weeknight cooking when time is limited.








Fresh strawberries: Use 3/4 cup strawberry puree from frozen berries if fresh are out of season. Frozen fruit carries more water, so reduce the added water in the slurry to 2 tablespoons to keep the layer from loosening. The color stays deep but the taste is slightly less bright. Storing leftover strawberry lemonade bars correctly keeps it tasting good for days.
Lemon juice: Swap with bottled lemon juice in equal volume when you need consistency. Bottled acid is sharper and less floral, so drop the zest to 1 tablespoon to avoid a pithy note. The bars will still set the same way because the pH is close. For the best results with this strawberry lemonade bars, read through all the steps before starting.
Cornstarch: Use 4 tablespoons all-purpose flour as the thickener if cornstarch is unavailable. Flour gives a more opaque, slightly softer set and needs 1 minute longer simmer to cook out the raw taste. Squares will cut neater after a full overnight chill. If you enjoyed this, our privacy policy is worth trying next.
Step-by-Step Instructions
- Heat the oven to 180°C / 350°F and line a 9×13 pan with parchment leaving an overhang.
- Stir flour, powdered sugar, salt, and melted butter in a bowl until no dry spots remain. Press into the pan bottom with a flat cup.
- Bake the crust 18–20 minutes until the edges look golden and crisp; cool 10 minutes on a rack.
- Whisk cornstarch and water in a small bowl until smooth; set the slurry aside.
- Cook crushed strawberries, granulated sugar, lemon juice, and zest in a saucepan over medium heat until steaming and sugar dissolves, about 3 minutes.
- Add the slurry and stir until the mix thickens and turns glossy, 1–2 minutes; remove from heat.
- Beat eggs in a bowl, stream in the warm fruit mix while whisking, then return to pan with 2 tablespoons butter over low heat until butter melts.
- Pour filling over the crust and bake 22–25 minutes until the center barely jiggles and edges look just set.
- Cool in pan 30 minutes, then chill covered 3 hours before lifting out and cutting into 16 squares.
Pro Tips
Chill the cut bars in the fridge before slicing so the top does not stick to the knife. A warm blade tears the set layer and ruins the clean edges.
Use a microplane for the lemon zest so you capture oil without the white pith that turns bitter. The citrus zesting technique matters more than the brand of fruit here.
Press the crust firmly with the base of a measuring cup to remove air gaps. Loose crumb lets filling seep under and softens the bottom during bake.
Strain the warm filling if you see strawberry seeds clustered; a quick pass gives a smoother bite. Keep the strainer coarse so you lose minimal pulp.
Common Mistakes to Avoid
Pouring filling onto a hot crust makes the base steam and turn soggy. Let it sit 10 minutes after blind bake so the butter firms again.
Skipping the stovetop thickening leads to a runny middle that never sets even after chill. The cornstarch must bubble to activate before eggs join.
Cutting before the full chill leaves ragged squares because the gel is still soft. Plan for at least 3 hours refrigerated, not just cooled on the counter.
Serving Suggestions
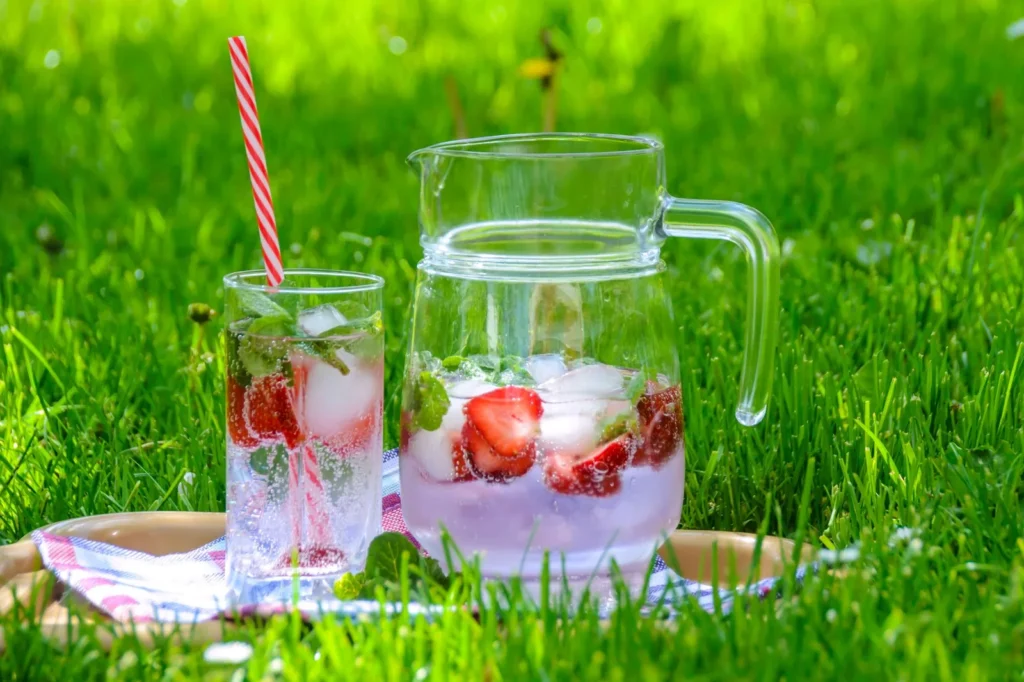
Dust the tops with powdered sugar right before plates go out so the white stays visible against the pink. A peach lemonade alongside echoes the citrus theme without repeating the strawberry.
Plate three squares on a white dish with a few whole berries for color contrast. The bars are firm enough to stack two high for a taller presentation.
Storage and Reheating
Keep cut bars in an airtight container in the fridge up to 4 days; separate layers with parchment so they don’t stick. These are a make-ahead dessert that actually improves after a night chill.
Freeze uncut slab wrapped tight up to 2 months; thaw overnight in the fridge before slicing. Do not leave finished bars out beyond 2 hours since the egg filling sits in the dairy-risk zone.
Recipe Variations
Berry Mix Version
Replace half the strawberries with crushed raspberries for a tarter, deeper red layer. The extra seed content means strain the cooked filling for a smoother top. Expect a sharper bite that pairs well with the sweet crust.
Graham Crust Swap
Use 1 1/2 cups graham crumbs plus 1/2 cup flour and 1/2 cup butter instead of shortbread mix. The base bakes 5 minutes less and tastes toastier. Squares hold shape but the bottom is more sandy than snap.
Reduced Sugar Option
Cut granulated sugar to 1/2 cup and powdered sugar to 1/3 cup for a more pronounced lemon pucker. The filling sets the same but tastes less like candy; add roasted lemonade notes by browning the zest briefly in the pan.
Sheet Pan Mini Bars
Double the recipe into a half-sheet pan and drop bake time to 18–20 minutes for thinner squares. The crust to filling ratio shifts, so use a thinner pour. These holiday trays style cuts serve a larger crowd with neater bites.

Strawberry Lemonade Bars
Description
These strawberry lemonade bars layer a crisp blind-baked shortbread crust with a stovetop-thickened filling of fresh strawberries, lemon juice, and zest. The result is clean, firm squares with a balanced sweet-tart profile that hold their shape at room temperature.
Ingredients
Instructions
-
Heat oven and line pan
Heat the oven to 180°C / 350°F and line a 9x13 pan with parchment leaving an overhang for easy lifting. This step ensures even baking and clean removal after chilling.
-
Mix and press crust
Stir flour, powdered sugar, salt, and melted butter in a bowl until no dry spots remain. Press the mixture firmly into the pan bottom with a flat cup to remove air gaps so the base stays crisp.
-
Blind bake crust
Bake the crust for 18–20 minutes until the edges look golden and crisp. Cool the pan on a rack for 10 minutes so the butter firms again and the base does not steam soggy when filling is added.
-
Prepare cornstarch slurry
Whisk cornstarch and water in a small bowl until smooth and set the slurry aside. This slurry is what thickens the fruit filling on the stove so the bars cut cleanly.
-
Cook fruit filling base
Cook crushed strawberries, granulated sugar, lemon juice, and zest in a saucepan over medium heat until steaming and sugar dissolves, about 3 minutes. You should see gentle bubbles around the edge and a glossy fruit aroma before moving on.
-
Thicken with slurry
Add the slurry and stir until the mix thickens and turns glossy, 1–2 minutes, then remove from heat. The cornstarch must bubble to activate so the middle sets instead of staying runny.
-
Combine eggs and butter
Beat 3 large eggs in a bowl and stream in the warm fruit mix while whisking to temper them. Return the pan to low heat with 2 tablespoons butter and stir until the butter melts completely for a smooth finish.
-
Bake filled bars
Pour the filling over the cooled crust and bake for 22–25 minutes until the center barely jiggles and edges look just set. The egg filling should be fully set with no liquid wobble for food safety.
-
Cool and chill bars
Cool in the pan for 30 minutes, then chill covered for 3 hours before lifting out and cutting into 16 squares. A full chill firms the gel so you get neat edges instead of ragged squares.
Nutrition Facts
Servings 16
- Amount Per Serving
- Calories 220kcal
- % Daily Value *
- Total Fat 11g17%
- Saturated Fat 7g35%
- Cholesterol 55mg19%
- Sodium 90mg4%
- Total Carbohydrate 28g10%
- Dietary Fiber 1g4%
- Sugars 18g
- Protein 3g6%
* Percent Daily Values are based on a 2,000 calorie diet. Your daily value may be higher or lower depending on your calorie needs.
Note
- Storage: Keep cut bars in an airtight container in the fridge up to 4 days; separate layers with parchment so they don't stick, and do not leave finished bars out beyond 2 hours.
- Make ahead: The bars actually improve after a night chill, so bake a day early for cleaner squares and easier slicing.
- Pro tip: Chill the cut bars before slicing and use a peach lemonade alongside for a complementary citrus serving.
- Food safety: The egg filling is in the dairy-risk zone, so refrigerate within 2 hours and reheat only once if needed until steaming hot.
