

A stuffed mini sweet peppers recipe gives you a bite-sized appetizer that balances sweet pepper crunch with a creamy, savory filling. The small peppers roast in about 15 minutes and hold their shape, so they work well for parties or a low-effort snack. This version uses a cream cheese and cheddar base with fresh chives, which keeps prep under 20 minutes.
You get a make-ahead option that travels well and doesn’t need toothpicks if you slice the peppers lengthwise. The filling stays put during baking, and the pepper walls soften just enough to bite through cleanly. A stuffed mini sweet peppers recipe like this one scales easily from 12 to 50 pieces without changing the method. If you enjoyed this, our mini chocolate gateau is worth trying next.
Why You’ll Love These Stuffed Mini Sweet Peppers
- Sweet pepper flavor comes through because the filling is mild, not heavy.
- Each piece is two bites, so guests can try several without filling up.
- You can stuff them the night before and bake when needed.
- No special equipment beyond a baking sheet and a spoon.
Ingredients You’ll Need
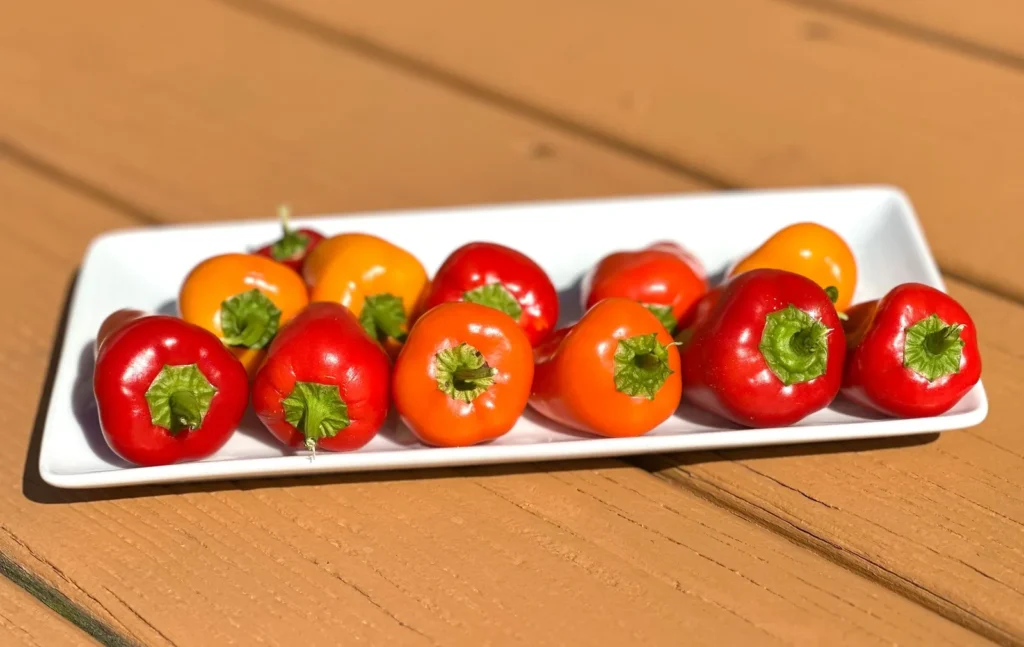
- 24 mini sweet peppers (about 1.5 pounds), halved lengthwise and seeded
- 8 oz full-fat cream cheese, softened to room temperature
- 1/2 cup shredded sharp cheddar cheese
- 2 tbsp fresh chives, finely chopped
- 1/4 tsp garlic powder
- 1/4 tsp smoked paprika
- 1/8 tsp salt
- 1 tbsp olive oil for the baking sheet
Ingredient Substitutions
Cream cheese: Replace with an equal weight of mascarpone for a softer, milder filling. Mascarpone holds less structure, so the stuffed mini sweet peppers recipe will spread slightly more during baking but won’t leak. Expect a less tangy taste and a smoother mouthfeel, with no change to bake time.




Sharp cheddar cheese: Use 1/2 cup grated Parmesan instead for a saltier, more crystalline bite. Parmesan browns faster than cheddar, so check the peppers at the 12-minute mark to avoid dark edges. The filling becomes firmer and less stringy when pulled apart.
Fresh chives: Swap for 1 tbsp finely diced green onion tops if chives aren’t available. Green onion adds a sharper allium note and a bit more moisture, which can soften the filling by a small amount. The color stays similar but the flavor is stronger, so use slightly less if you’re sensitive to onion.
Smoked paprika: Replace with 1/4 tsp ground cumin for an earthier, non-smoky profile. Cumin lacks the red color, so the filling looks paler but tastes warmer. No technique change is needed for this swap in the stuffed mini sweet peppers recipe. For another easy option, check out our cherry almond smoothie.
Step-by-Step Instructions
- Heat the oven to 200°C / 400°F and brush a rimmed baking sheet with the olive oil to prevent sticking.
- Slice each mini pepper in half lengthwise with a small paring knife, then scrape out seeds and white membranes with a teaspoon.
- Beat the softened cream cheese with cheddar, chives, garlic powder, smoked paprika, and salt in a bowl until no streaks remain, about 2 minutes.
- Spoon about 1 tablespoon of filling into each pepper half and smooth the top with the back of the spoon so it sits level with the rim.
- Arrange the peppers cut-side up with 1 inch of space between pieces so heat circulates and tops brown evenly.
- Bake on the middle rack until the pepper edges soften and the filling shows light golden spots, 14 to 16 minutes.
- Cool on the sheet for 5 minutes before moving so the filling sets and doesn’t slide when lifted.
Pro Tips
Soften cream cheese fully before mixing or you’ll get lumps that don’t smooth out even after baking. Leave it on the counter for 30 minutes rather than microwaving, which can separate the fats.
Use a piping bag if you’re filling more than 40 halves, since it cuts prep time and gives a neat dome. A zip-top bag with the corner snipped works the same way without extra cleanup.
Pick peppers of similar size so they finish baking at the same time. If some are much smaller, pull those off the sheet 2 minutes early to keep them from collapsing.
Add the cheddar last and fold gently so it stays distributed instead of melting into a thin layer at the bottom of the bowl. This keeps each bite balanced in the stuffed mini sweet peppers recipe.
Common Mistakes to Avoid
Overfilling the halves makes the cheese spill onto the sheet and burn. Keep the filling at or just below the rim so it stays contained as it expands from steam.
Skipping the oil on the pan causes the pepper skins to stick and tear when lifted. A thin coat is enough; you don’t need to line with parchment unless your sheet is older and worn.
Baking at too low a temperature leaves the peppers raw-crisp and the filling cool in the center. The 200°C / 400°F setting crisps the edges without toughening the walls.
Serving Suggestions
Plate the peppers on a white tray with a small bowl of sausage and peppers for a themed spread that uses the same vegetable. The savory main next to the creamy bites gives guests a fuller plate.
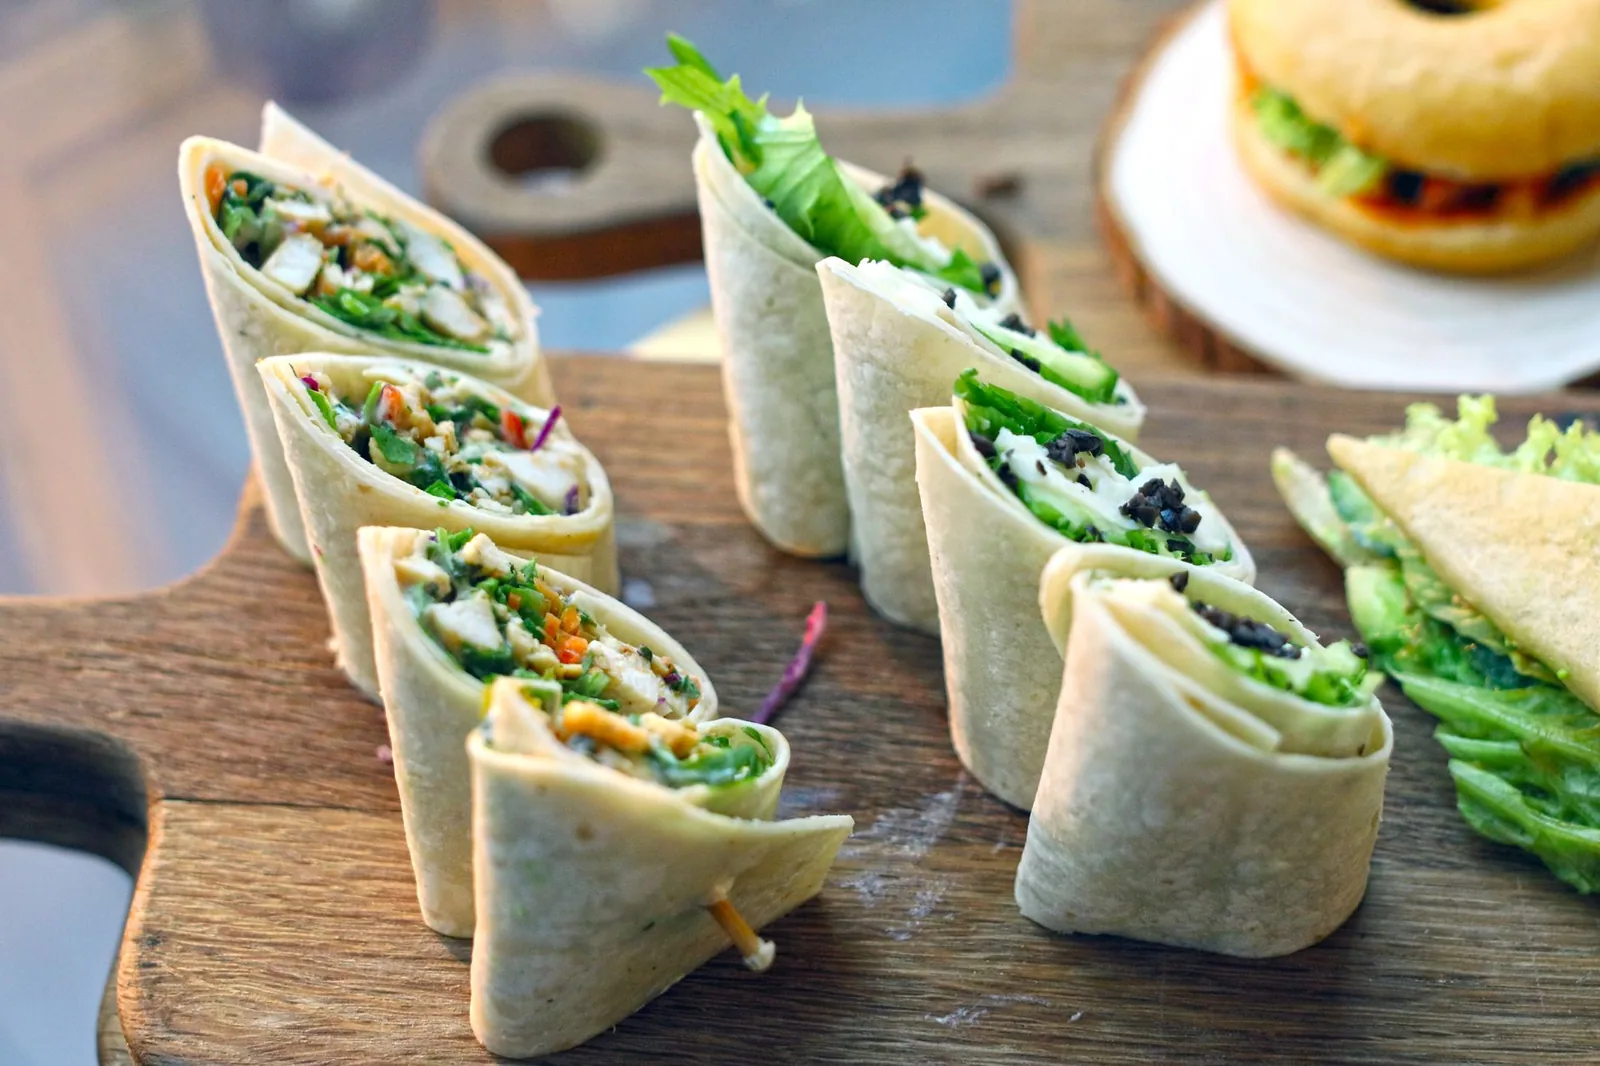
Pair with a caprese flatbread if you want a cold-warm contrast at a buffet. The tomato and basil notes cut the richness of the cheese filling.
Serve alongside eggs in purgatory for a brunch table that covers protein and vegetables. The peppers hold up at room temperature for up to 2 hours while the eggs stay hot.
Storage and Reheating
Refrigerate leftovers in an airtight container for up to 4 days after they cool completely. The filling firms in the cold, which makes the peppers easier to stack without smashing.
Reheat in a 180°C / 350°F oven for 8 minutes until the center reads 60°C / 140°F on a probe thermometer. Avoid the microwave if you want the pepper walls to stay crisp rather than steam-soft.
This stuffed mini sweet peppers recipe does not freeze well because the cream cheese separates when thawed and turns grainy. Make a fresh batch instead of freezing cooked pieces.
Recipe Variations
Bacon Version
Stir 1/4 cup cooked, crumbled bacon into the filling before stuffing the peppers. The salt level rises, so drop the added salt from the base recipe. Expect a smoky, crunchy bite with more grease that browns the tops faster by about 2 minutes.
Spicy Swap
Add 1/2 tsp crushed red pepper to the cheese mix and use pepper jack instead of cheddar. The heat builds after the first bite and pairs with the sweet pepper skin. Keep the bake time the same but watch for quicker browning on the cheese.
Greek Style
Replace cheddar with 1/3 cup crumbled feta and add 1 tbsp chopped dill. Feta is drier, so add 1 tablespoon of plain yogurt to keep the filling spoonable. The result is tangier and less rich than the original stuffed mini sweet peppers recipe.
Vegan Option
Use a plain vegan cream cheese and skip the cheddar or use a meltable plant cheese. These hold shape but brown less, so extend bake by 3 minutes for softer pepper walls. The taste is milder and slightly nutty depending on the brand.

Stuffed Mini Sweet Peppers
Description
These stuffed mini sweet peppers are a bite-sized appetizer balancing sweet pepper crunch with a creamy, savory cream cheese and cheddar filling. They roast in about 15 minutes, hold their shape, and work well for parties or a low-effort snack.
Ingredients
Instructions
-
Heat oven and oil sheet
Heat the oven to 200°C / 400°F and place a rimmed baking sheet on the counter. Brush the sheet with the 1 tablespoon olive oil so the pepper skins will not stick or tear when lifted after baking.
-
Halve and seed peppers
Slice each mini pepper in half lengthwise with a small paring knife on a cutting board. Scrape out the seeds and white membranes with a teaspoon so each half is a clean cup for the filling.
-
Mix the filling
Beat the softened cream cheese with cheddar, chives, garlic powder, smoked paprika, and salt in a bowl. Mix about 2 minutes until no streaks remain and the texture is uniform and spoonable.
-
Stuff pepper halves
Spoon about 1 tablespoon of filling into each pepper half with a regular spoon. Smooth the top with the back of the spoon so the filling sits level with the rim and will not spill as it expands from steam.
-
Arrange on sheet
Arrange the peppers cut-side up on the oiled sheet with 1 inch of space between pieces. This spacing lets heat circulate so the tops brown evenly instead of steaming.
-
Bake the peppers
Bake on the middle rack at 200°C / 400°F for 14 to 16 minutes. The peppers are done when the edges soften and the filling shows light golden spots on top.
-
Cool before moving
Cool the peppers on the sheet for 5 minutes after removing from the oven. This sets the filling so it does not slide when you lift each piece from the pan.
Nutrition Facts
Servings 6
- Amount Per Serving
- Calories 120kcal
- % Daily Value *
- Total Fat 9g14%
- Saturated Fat 5g25%
- Cholesterol 28mg10%
- Sodium 110mg5%
- Total Carbohydrate 5g2%
- Dietary Fiber 1g4%
- Sugars 3g
- Protein 3g6%
* Percent Daily Values are based on a 2,000 calorie diet. Your daily value may be higher or lower depending on your calorie needs.
Note
- Storage: Refrigerate leftovers in an airtight container for up to 4 days after they cool completely; the filling firms in the cold and makes stacking easier.
- Reheating: Reheat in a 180°C / 350°F oven for 8 minutes until the center reads 60°C / 140°F; avoid the microwave to keep pepper walls crisp.
- Make ahead: Stuff the night before and bake when needed, and pair with sausage and peppers for a themed spread.
- Pro tip: Soften cream cheese fully on the counter for 30 minutes before mixing to avoid lumps that will not smooth out even after baking.
