

A smores brownies recipe brings the campfire favorite indoors with a dense chocolate base, a graham cracker layer, and a cap of toasted marshmallows. You get three textures in one bite: chewy brownie, crisp cookie, and soft melted topping. This version is built for a standard 9×9 pan so the layers stay distinct instead of turning into one soft mass.
The method uses a from-scratch brownie batter rather than a mix, which lets you control the sugar and bake time. Graham crumbs go in before the batter so they form a thin barrier that keeps the base from getting soggy. Marshmallows go on near the end so they brown without fully dissolving into the chocolate. Making this smores brownies at home is surprisingly straightforward once you know the key steps.
If you are new to layered bars, this smores brownies recipe is a good starting point because each step has a clear visual cue. You do not need a torch or a fire pit. A regular oven and a cooling rack handle the whole process. If you enjoyed this, our register is worth trying next.








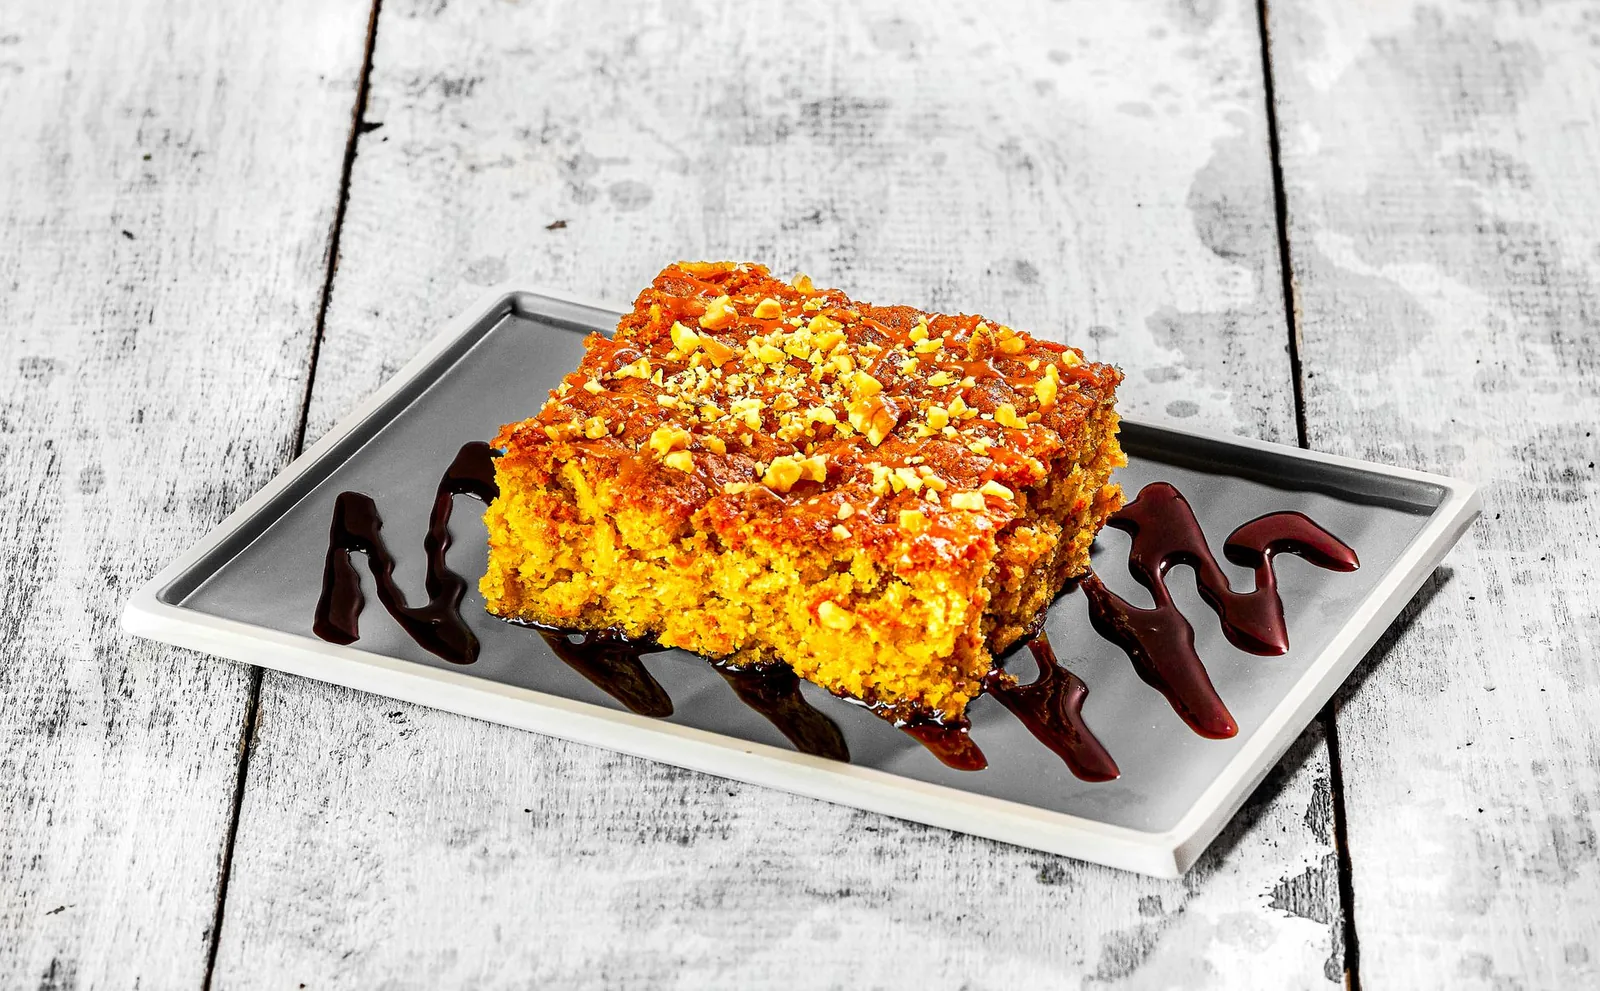
Why You’ll Love These Smores Brownies
- Three clear layers: fudgy brownie, graham crunch, toasted marshmallow top.
- Baked in one pan with no campfire, so you can make them year-round.
- Uses basic pantry items plus mini marshmallows and graham crackers.
- Cuts into clean squares once cooled, unlike loose s’more stacks.
- Easy to scale up to a 9×13 pan for a larger group.
Ingredients You’ll Need
- 1/2 cup unsalted butter (113g), melted, for a moist crumb
- 3/4 cup granulated sugar (150g) to sweeten the base
- 1/4 cup brown sugar (50g) for slight chew
- 2 large eggs, room temperature, to bind the batter
- 1 tsp vanilla extract for roundness
- 1/2 cup all-purpose flour (60g) as the structure
- 1/3 cup unsweetened cocoa powder (30g) for deep chocolate
- 1/4 tsp salt to balance sweetness
- 1 cup graham cracker crumbs (about 8 squares) for the base layer
- 1 1/2 cups mini marshmallows for the top
- 3 oz milk chocolate bars, broken, for pockets of melt
Ingredient Substitutions
Unsalted butter: Replace with an equal weight of coconut oil for a dairy-free base. Coconut oil sets firmer at room temperature, so the bars will feel a bit more solid and less soft. Expect a faint coconut note that pairs with the chocolate but changes the classic flavor. The smores brownies works well for weeknight cooking when time is limited.
All-purpose flour: Swap with an equal weight of a 1-to-1 gluten-free blend if needed. These blends often include xanthan gum, which keeps the crumb from falling apart. The texture stays close, though the top may crack slightly more during baking. Storing leftover smores brownies correctly keeps it tasting good for days.
Mini marshmallows: Use an equal volume of chopped large marshmallows if mini are unavailable. Large pieces take a minute longer to soften and brown, so watch the top closely. They also leave bigger gaps, giving a lumpier surface.
Graham cracker crumbs: Replace with an equal weight of digestive biscuit crumbs for a similar crunch. Digestive biscuits are sweeter and less honey-forward, so cut the brown sugar by 1 tablespoon. The layer will brown a shade darker. For another easy option, check out our magnesium spray.
Step-by-Step Instructions
- Heat the oven to 180°C / 350°F and line a 9×9 pan with parchment. Press the graham crumbs evenly across the bottom to form a thin base.
- Whisk melted butter, granulated sugar, and brown sugar in a bowl until smooth. Add eggs and vanilla, then whisk until the mix looks glossy and slightly thickened.
- Sift flour, cocoa, and salt into the wet mix. Stir with a spatula until just combined, with no dry streaks remaining.
- Pour batter over the crumb layer and spread to the corners. Bake 25–30 minutes until the top looks set and a toothpick shows moist crumbs.
- Scatter mini marshmallows and chocolate pieces across the hot brownie. Return to the oven for 5 minutes until marshmallows puff and turn golden at the edges.
- Move the pan to a rack and cool fully, about 1 hour, before cutting into 9 squares with a sharp knife.
Pro Tips
Rest the batter for 5 minutes after mixing so the cocoa hydrates and the crumb stays even. This small pause reduces air pockets in the baked layer.
Broil the top for 60 seconds only if the marshmallows need more color, and keep the pan on the middle rack. For more on safe browning techniques, see the guides at Food Network.
Use parchment with overhang on two sides so the cooled slab lifts out cleanly. A cold knife makes neater cuts through the marshmallow top.
Store the pan loosely covered, not sealed tight, while warm to avoid trapped steam softening the graham layer. Pair a square with roasted lemonade for a bright contrast.
Common Mistakes to Avoid
Adding marshmallows too early makes them sink and caramelize into a sticky sheet. Keep them for the final short bake so they stay on top.
Overbaking the base yields a dry bar that cracks instead of bending. Pull it when the center still shows moist crumbs on a tester.
Skipping the graham layer lets the batter absorb moisture from the crumbs unevenly. Press it flat so every square has the same crunch. You might also like our recipe badges.
Serving Suggestions
Cut into 9 squares and plate two per person with a dusting of cocoa. The bars sit well next to grandma pizza at a casual party spread.
For a warm option, microwave one square for 10 seconds to soften the chocolate pockets. Serve with hwachae on a hot day to balance the richness.
Storage and Reheating
Keep cooled squares in an airtight container in the fridge for up to 3 days. The marshmallow top firms when cold but softens at room temperature.
You can freeze the cut bars for up to 2 months between sheets of wax paper. Thaw overnight in the fridge before serving.
To reheat, warm a square in a 160°C / 325°F oven for 6 minutes until the top loosens. Do not leave baked bars out for more than 2 hours total.
Recipe Variations
Peanut Butter Version
Swirl 3 tablespoons of peanut butter into the batter before baking for a nutty layer. The fat lowers the set point slightly, so add 2 minutes to the base bake. Expect a softer middle with a salted contrast to the sweet top.
Dark Chocolate Swap
Replace the milk chocolate with 70% dark bars for less sugar and more bitterness. The squares will taste less like candy and more like a truffle bar. Use the same amount and same timing.
Mint Twist
Add 1/4 teaspoon peppermint extract to the batter and use mint chocolate pieces on top. The cool note cuts through the marshmallow sweetness. This pairs well with manhattan cocktail for adults.
Salty Top
Sprinkle 1/4 teaspoon flaky salt over the marshmallows before the final bake. The salt sharpens the chocolate and keeps the bars from tasting flat. Use less if your graham crumbs are already sweetened.
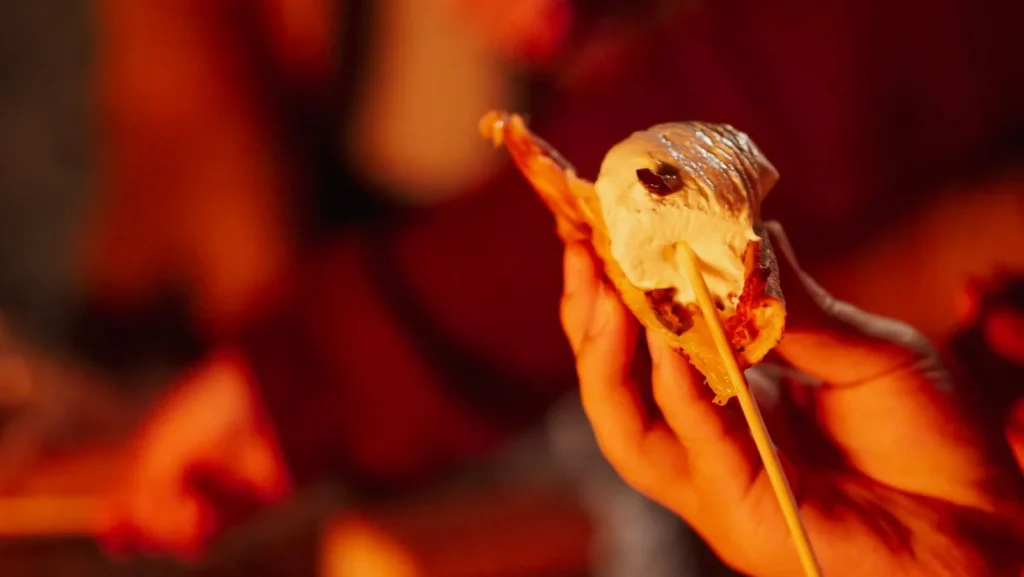

Smores Brownies
Description
These s'mores brownies bring the classic campfire treat indoors with a fudgy chocolate base, a crisp graham cracker layer, and a cap of toasted mini marshmallows. Baked in a standard 9x9 pan, they deliver three distinct textures in every clean-cut square without any fire pit.
Ingredients
Instructions
-
Heat oven and line pan
Heat the oven to 180°C / 350°F using a regular oven setting, not a fan-only mode. Line a 9x9 pan with parchment paper, leaving overhang on two sides so the cooled slab lifts out cleanly later.
-
Press graham base
Measure the 1 cup graham cracker crumbs and press them evenly across the bottom of the lined pan to form a thin base. The layer should be flat and uniform so every square has the same crunch and the batter above does not get soggy.
-
Whisk butter and sugars
In a mixing bowl, whisk the 1/2 cup melted unsalted butter, 3/4 cup granulated sugar, and 1/4 cup brown sugar together until the mixture looks smooth with no grainy streaks. This builds a moist crumb and slight chew into the brownie base.
-
Add eggs and vanilla
Add the 2 large room-temperature eggs and 1 tsp vanilla extract to the sugar mixture. Whisk until the mix looks glossy and slightly thickened, which shows the eggs are fully incorporated and will bind the batter.
-
Sift and stir dry mix
Sift the 1/2 cup all-purpose flour, 1/3 cup unsweetened cocoa powder, and 1/4 tsp salt into the wet mix. Stir with a spatula until just combined with no dry streaks remaining, taking care not to overmix so the crumb stays even.
-
Pour and bake base
Pour the batter over the crumb layer and spread it to all corners of the 9x9 pan with a spatula. Bake at 180°C / 350°F for 25–30 minutes until the top looks set and a toothpick inserted in the center shows moist crumbs rather than wet batter.
-
Add topping and bake
Scatter the 1 1/2 cups mini marshmallows and 3 oz broken milk chocolate across the hot brownie surface. Return the pan to the oven for 5 minutes until the marshmallows puff and turn golden at the edges without fully dissolving into the chocolate.
-
Cool and cut squares
Move the pan to a cooling rack and let it cool fully, about 1 hour, so the layers set and cut cleanly. Use a sharp knife (a cold knife helps) to cut the slab into 9 squares with neat edges through the marshmallow top.
Nutrition Facts
Servings 9
- Amount Per Serving
- Calories 320kcal
- % Daily Value *
- Total Fat 14g22%
- Saturated Fat 8g40%
- Cholesterol 55mg19%
- Sodium 180mg8%
- Total Carbohydrate 45g15%
- Dietary Fiber 2g8%
- Sugars 32g
- Protein 4g8%
* Percent Daily Values are based on a 2,000 calorie diet. Your daily value may be higher or lower depending on your calorie needs.
Note
- Storage: Keep cooled squares in an airtight container in the fridge for up to 3 days; do not leave baked bars out for more than 2 hours total.
- Make ahead: Rest the batter 5 minutes after mixing so cocoa hydrates and the crumb stays even, reducing air pockets.
- Reheat: Warm a square in a 160°C / 325°F oven for 6 minutes until the top loosens; our fudgy chocolate cake pairs the same oven method.
- Pro tip: Use parchment with overhang on two sides so the cooled slab lifts out cleanly before cutting.
