

A pineapple delight dessert is a cold, no-bake layered treat built on crushed pineapple, a cream cheese base, and whipped topping over a buttery cracker crust. This version keeps the steps short and the texture light so you get clean pineapple flavor without a heavy custard. You’ll end up with a make-ahead dish that holds its shape when sliced and tastes better after a night in the fridge.
The structure matters more than the ingredient count. A dry crust, a thickened filling, and a stable topping keep the layers from turning into a soggy stack. We use drained pineapple and a small amount of gelatin-free thickener so the filling sets firmly at refrigerator temperature. Making this pineapple delight dessert at home is surprisingly straightforward once you know the key steps.
If you like fruity chilled sweets, our pineapple drink pairs well after a slice. The pineapple delight dessert works well for weeknight cooking when time is limited.
Why You’ll Love These Pineapple Delight Dessert
- Firm, sliceable layers that don’t weep liquid after chilling overnight.
- Ready in about 20 minutes of active work with no oven required.
- Bright pineapple acidity cuts the richness of the cream cheese layer.
- Uses pantry crackers and canned fruit, so it’s easy to shop for.
- Holds up at a potluck for up to 3 hours out of the fridge.
Ingredients You’ll Need
- 2 cups graham cracker crumbs (about 14 full sheets) — forms the base and absorbs minimal moisture when pressed firmly.
- 1/2 cup unsalted butter, melted — binds the crumbs and sets solid when cold.
- 1 can (20 oz) crushed pineapple in juice, drained with 2 tbsp juice reserved — main flavor and acidity source.
- 8 oz cream cheese, softened — gives the filling body and tang.
- 1/2 cup granulated sugar — sweetens the cheese layer to balance the fruit.
- 1 tsp vanilla extract — rounds the dairy notes.
- 1 tbsp cornstarch — mixed with reserved juice to thicken the pineapple layer.
- 1 tub (8 oz) frozen whipped topping, thawed — lightens the top and holds shape.
Ingredient Substitutions
Graham cracker crumbs: Replace with an equal volume of finely crushed digestive biscuits for a slightly maltier base. Digestive biscuits hold more butter, so reduce melted butter by 1 tablespoon to keep the crust from getting greasy. The slice will taste a touch less sweet and brown a shade darker, though no baking occurs. Storing leftover pineapple delight dessert correctly keeps it tasting good for days.
Cream cheese: Use an equal weight of full-fat ricotta pressed through a sieve for a grainier, less tangy layer. Ricotta releases more water, so add 1 teaspoon cornstarch to the cheese mix to keep the layer from loosening. Expect a softer set and a milder dairy flavor than the original. For the best results with this pineapple delight dessert, read through all the steps before starting.
Frozen whipped topping: Swap for 2 cups lightly whipped heavy cream stabilized with 1 tablespoon powdered sugar. Homemade cream holds peaks better but weeps slightly after 2 days, so serve within that window. The top will taste richer and less uniformly sweet.
Crushed pineapple: Use an equal weight of drained pineapple tidbits chopped small for more distinct fruit pieces. Tidbits release less juice, so add 1 extra tablespoon of reserved juice to the cornstarch slurry. The texture becomes chunkier and the flavor reads fresher. If you enjoyed this, our pork belly ramen is worth trying next.
Step-by-Step Instructions
- Stir 2 cups graham crumbs with 1/2 cup melted butter in a 9×13 inch dish until no dry spots remain. Press firmly with the back of a spoon to a level 1/4 inch pack. Chill the crust in the fridge while you build the filling.
- Warm the reserved 2 tbsp pineapple juice in a small pan over medium-low heat. Whisk in 1 tbsp cornstarch and cook until the liquid turns translucent and coats a spoon, about 2 minutes. Cool for 5 minutes.
- Beat 8 oz softened cream cheese with 1/2 cup sugar and 1 tsp vanilla until smooth. Fold in the cooled starch slurry and the drained crushed pineapple until evenly combined. Spread over the cold crust with a spatula to even edges.
- Spoon 8 oz thawed whipped topping across the filling and smooth to the pan sides. Cover with foil and refrigerate 4 hours until the layers are firm and cold.
- Cut into 12 squares with a warm knife, wiping between passes, so the topping stays clean. vodka press is a separate drink if you want a cocktail nearby.
Pro Tips
Drain the pineapple in a fine sieve and press with a spoon; excess juice is the main reason the filling stays loose. A no-bake dessert technique like this depends on removing water before mixing.
Soften cream cheese at room temperature for 30 minutes rather than microwaving, which makes it oily and hard to whip smooth.
Chill the mixing bowl and beaters for 10 minutes if whipping your own cream, since cold tools hold stable peaks longer.
Use a metal pan for the crust step; glass holds warmth and slows the butter from setting, leading to a crumbly base.
Common Mistakes to Avoid
Skipping the cornstarch slurry leaves the pineapple layer watery, so the topping slides off when sliced. Always cook the reserved juice with starch until it turns clear.
Pressing the crust too lightly creates gaps where filling sinks and turns soggy. Use firm, even pressure across the whole dish.
Cutting before the full chill time results in slumped squares because the cheese layer hasn’t firmed. Wait the full 4 hours. For another easy option, check out our default kit.
Serving Suggestions
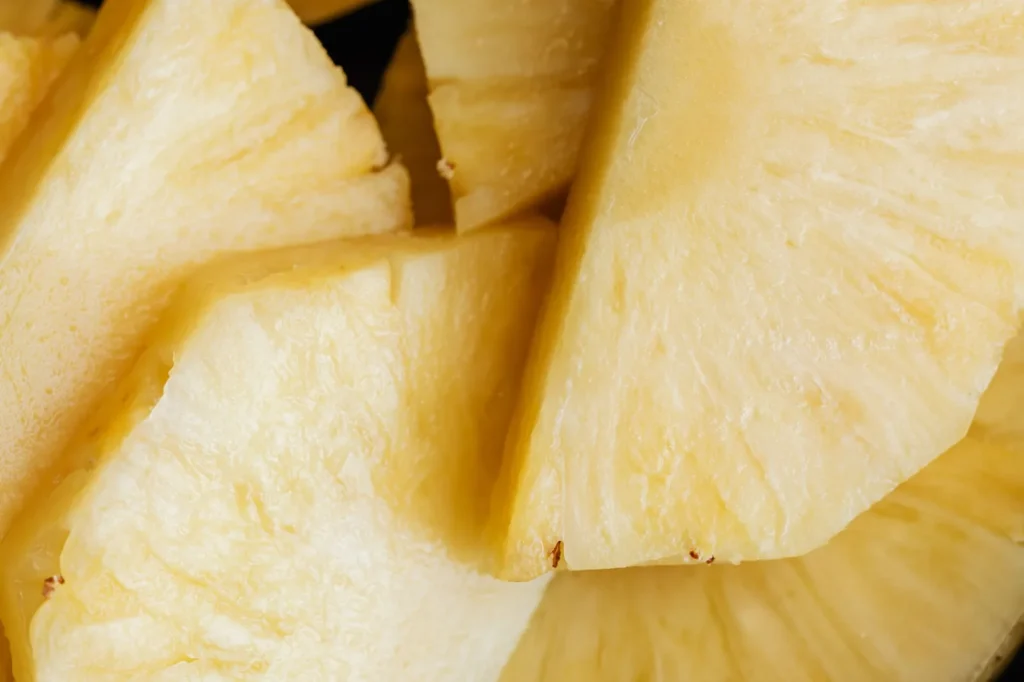
Top each square with a thin pineapple wedge for a clean visual cue of the flavor inside. A fruity cocktail on the side suits a summer table.
Serve on a chilled plate so the whipped layer doesn’t soften during a long sit. Dust with toasted coconut if you want extra crunch against the smooth filling.
Storage and Reheating
Keep covered in the fridge for up to 4 days in an airtight container; the crust stays crisp because the filling was drained. This dessert is not reheated and should not sit out beyond 2 hours.
You can freeze it for up to 1 month wrapped tight, though the topping turns slightly icy. Thaw overnight in the fridge before cutting. A whiskey recipe is unrelated but stored separately.
Recipe Variations
Coconut Version
Replace 1/2 cup graham crumbs with an equal amount of toasted shredded coconut in the base. The crust gains chew and a nutty note that matches the fruit. Expect a softer bottom that still slices if kept cold.
Berry Swirl
Spoon 1/4 cup mashed strawberries over the cheese layer before the topping for a tart contrast. Use berries drained of syrup so the layers stay firm. The color shows as pink streaks through the white top.
Lime Twist
Add 1 tbsp fresh lime zest to the cheese mix for a sharper edge against the sweet pineapple. Lime brightens the dairy without changing set time. The slice tastes cleaner and less flat after chilling.
Ginger Crust
Swap graham crumbs for an equal volume of crushed ginger snaps to add heat and spice. Ginger snaps bind with 1 tablespoon less butter since they are denser. The base turns darker and pairs well with the tropical fruit.

Pineapple Delight Dessert
Description
A pineapple delight dessert is a cold, no-bake layered treat built on crushed pineapple, a cream cheese base, and whipped topping over a buttery cracker crust.
It is a make-ahead dish that holds its shape when sliced and tastes better after a night in the fridge.
Ingredients
Instructions
-
Mix and press crust
Stir 2 cups graham crumbs with 1/2 cup melted butter in a 9x13 inch dish until no dry spots remain. Press firmly with the back of a spoon to a level 1/4 inch pack so the base is even and compact.
-
Chill the crust
Place the pressed crust in the fridge while you build the filling. The cold helps the butter set solid so the base stays crisp and does not turn crumbly when the filling is added.
-
Cook starch slurry
Warm the reserved 2 tbsp pineapple juice in a small pan over medium-low heat. Whisk in 1 tbsp cornstarch and cook until the liquid turns translucent and coats a spoon, about 2 minutes, then cool for 5 minutes so it thickens properly.
-
Beat cheese filling
Beat 8 oz softened cream cheese with 1/2 cup sugar and 1 tsp vanilla until smooth. This gives the filling body and tang without any lumps from the cheese.
-
Combine pineapple layer
Fold the cooled starch slurry and the drained crushed pineapple into the cheese mix until evenly combined. The slurry helps the pineapple layer set firmly at refrigerator temperature instead of weeping liquid.
-
Spread filling on crust
Spread the pineapple-cheese mixture over the cold crust with a spatula to even edges. Make sure the layer reaches the pan sides so the slices hold their shape when cut.
-
Add whipped topping
Spoon 8 oz thawed whipped topping across the filling and smooth to the pan sides. The light top holds its shape and cuts the richness of the cheese layer.
-
Chill until firm
Cover with foil and refrigerate for 4 hours until the layers are firm and cold. Waiting the full chill time keeps the squares from slumping when sliced.
-
Cut into squares
Cut into 12 squares with a warm knife, wiping between passes, so the topping stays clean. A warm blade glides through the chilled layers without tearing the whipped top.
Nutrition Facts
Servings 12
- Amount Per Serving
- Calories 280kcal
- % Daily Value *
- Total Fat 15g24%
- Saturated Fat 9g45%
- Cholesterol 30mg10%
- Sodium 180mg8%
- Total Carbohydrate 33g11%
- Dietary Fiber 1g4%
- Sugars 22g
- Protein 3g6%
* Percent Daily Values are based on a 2,000 calorie diet. Your daily value may be higher or lower depending on your calorie needs.
Note
- Storage: Keep covered in the fridge for up to 4 days in an airtight container; the crust stays crisp because the filling was drained. Do not sit out beyond 2 hours.
- Make ahead: Drain pineapple in a fine sieve and press with a spoon so excess juice does not loosen the filling. For another easy chilled option, try our yogurt parfait.
- Pro tip: Soften cream cheese at room temperature 30 minutes rather than microwaving, which makes it oily and hard to whip smooth.
- Pan choice: Use a metal 9x13 pan for the crust; glass holds warmth and slows the butter from setting, leading to a crumbly base.
