

Meat loaf stuffed peppers turn a familiar comfort dish into a neat, portable package by baking seasoned ground beef inside sweet bell peppers. You get the savory, tender filling of a classic meat loaf without slicing a loaf pan or worrying about dry edges. This version uses pantry staples, holds its shape when lifted with a fork, and gives you a built-in vegetable serving in every portion.
The method below keeps the beef mixture moist with a panade of bread and milk, then bakes the peppers until the walls turn silky and the centers reach a safe temperature. It scales easily for a family of four and reheats cleanly from the fridge or freezer. If you want more pepper-forward mains, our sausage and peppers is a solid next read. Making this meat loaf stuffed peppers at home is surprisingly straightforward once you know the key steps.
Why You’ll Love These Meat Loaf Stuffed Peppers
- Each pepper is a self-contained serving, so there’s no carving or uneven slices like a tray meat loaf.
- The beef stays juicy because a bread-and-milk panade traps moisture during the bake.
- Bell pepper walls soften to a fork-tender bite while adding sweetness that balances the beef.
- Leftovers reheat in the microwave or oven without turning the filling rubbery.
- The recipe freezes raw or cooked, making it a practical meal prep choice for busy weeks.
Ingredients You’ll Need
- 4 large bell peppers (any color), tops cut off and seeds removed
- 1 lb ground beef (85% lean), room temperature
- 1/2 cup breadcrumbs (plain)
- 1/3 cup whole milk
- 1 large egg
- 1/2 cup finely diced yellow onion
- 2 cloves garlic, minced
- 1/2 cup shredded cheddar cheese
- 2 tbsp tomato ketchup
- 1 tsp salt
- 1/2 tsp black pepper
- 1 tsp dried oregano
Ingredient Substitutions
Ground beef: Replace with an equal weight of ground turkey for a lighter, milder filling. Turkey runs leaner than 85% beef, so add 1 tbsp olive oil to keep the texture from drying. Expect a softer bite and a less beefy flavor, with roughly the same bake time if the stuffed peppers are similar in size. The meat loaf stuffed peppers works well for weeknight cooking when time is limited.





Breadcrumbs: Swap with an equal volume of cooked white rice if you need a gluten-free base. Rice binds loosely and gives a slightly grained texture rather than the springy crumb of bread. The filling will feel a bit more松散, so pack the peppers firmly and add 1 minute to the covered bake if the center looks wet.
Cheddar cheese: Use an equal amount of shredded mozzarella for a milder, stringier melt. Mozzarella browns less and stays creamy, so the tops won’t crisp as much. The overall flavor is quieter, which suits kids who dislike sharp cheese.
Whole milk: Substitute with an equal amount of unsweetened almond milk for a dairy-light panade. Almond milk hydrates the breadcrumbs but lacks the fat of dairy, so the filling is a touch less rich. No cook-time change is needed, though the crumb may feel slightly drier. If you enjoyed this, our crab meat weight is worth trying next.
Step-by-Step Instructions
- Heat the oven to 180°C / 350°F. Slice the tops off the bell peppers and pull out the seeds and white ribs so the cavities hold the beef mix.
- Stir breadcrumbs and milk in a small bowl; let sit 5 minutes until the bread softens into a paste that will keep the meat loaf stuffed peppers tender.
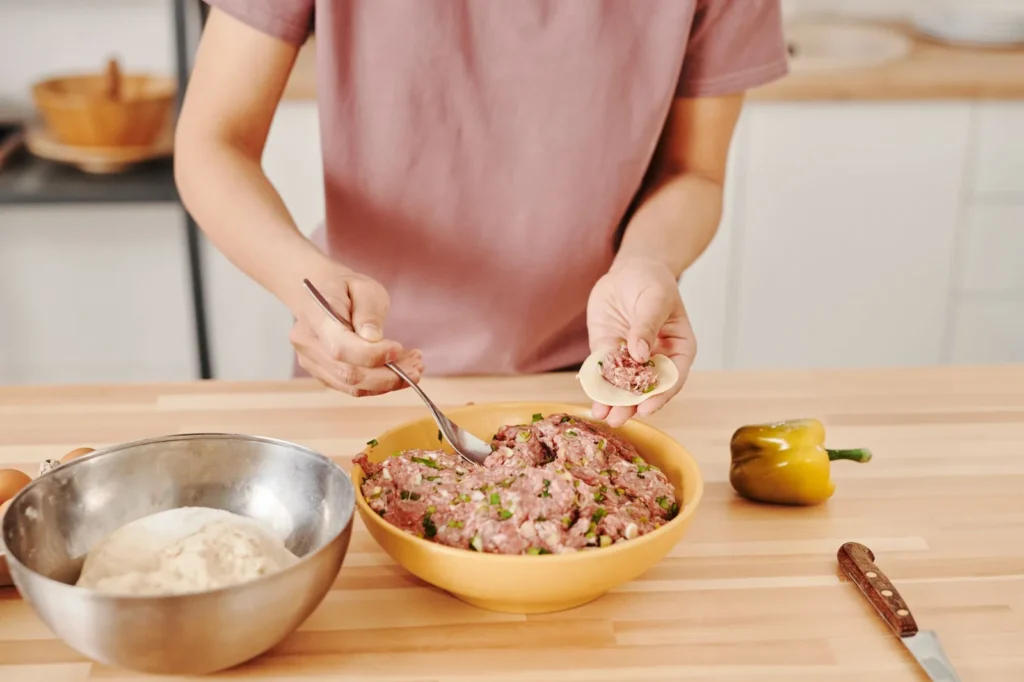
- Mix ground beef, soaked bread, egg, onion, garlic, 1/4 cup cheese, ketchup, salt, pepper, and oregano in a large bowl. Combine with your hands but do not overmix, or the filling turns dense.
- Pack the beef mixture into each pepper, mounding slightly above the rim. Place them upright in a baking dish just wide enough to hold them snugly.
- Pour 1/4 cup water into the dish bottom, cover with foil, and bake 25–30 minutes until the pepper walls bend easily when pierced with a knife.
- Uncover, sprinkle the remaining cheese on top, and bake 10 minutes more until the cheese is golden and crispy and the beef hits 71°C / 160°F at the center.
Pro Tips
Choose peppers with flat bottoms so they stand without tipping in the dish; round-based ones lean and spill filling. For even cooking, pick four peppers close in size so the bake finishes at the same time.
Brown the diced onion in a dry pan over medium-low heat for 4 minutes before mixing; this removes raw bite and deepens the savory note in the beef.
Let the stuffed peppers rest 5 minutes after baking so the juices redistribute and the centers firm for cleaner lifting. A thin spatula under the base helps transfer without tearing the wall.
For a glossy finish, brush the exposed beef with extra ketchup before the final cheese step. Techniques like this are well covered by Bon Appetit for home cooks building confidence with baked dinners.
Common Mistakes to Avoid
Overfilling the peppers makes the beef spill onto the dish before the walls soften; keep the mound just above the rim. If you heap too high, the top cooks while the lower beef stays underdone.
Skipping the foil cover bakes the cheese before the pepper tenderizes, leaving tough walls. Always trap steam for the first bake so the vegetable cooks at the same rate as the meat.
Using cold beef straight from the fridge extends the center time and can dry the outer layer. Set the ground meat out for 15 minutes so it bakes evenly from edge to center. For another easy option, check out our banana bread moist.
Serving Suggestions
Spoon the peppers over warm white rice to catch the cheese and beef drippings. A simple roasted poblano peppers side adds a smoky contrast if you want extra vegetables on the plate.
Crusty bread works too, letting you mop the pan sauce. For a lighter plate, pair with a vinegar-dressed cucumber salad to cut the richness of the cheddar.
Storage and Reheating
Cooled cooked peppers keep in an airtight container in the fridge for up to 3 days. Reheat in a 160°C / 325°F oven for 15 minutes until the center reaches 74°C / 165°F, or microwave on high for 2 minutes, checking the middle is steaming.
Uncooked stuffed peppers freeze well for freeze for up to 2 months in a sealed tray; bake from frozen at 180°C / 350°F for 45 minutes covered, then 10 minutes uncovered. Never leave cooked peppers unrefrigerated beyond 2 hours.
Recipe Variations
Spicy Version
Add 1 tsp crushed red pepper to the beef mix and swap cheddar for pepper jack. The heat builds gently through the bake and the pepper jack melts with a slight tang. Serve with a dollop of plain yogurt to cool each bite.
Low-Carb Option
Replace breadcrumbs with 1/4 cup almond flour and skip the milk panade, using 1 extra egg for binding. The filling firms more and the carb count drops sharply per portion. Bake time stays the same, though the texture is a bit more dense than the bread version.
Italian Style
Mix in 1 tsp fennel seed and use mozzarella plus 2 tbsp grated parmesan. The fennel gives a sausage-like note that reads as Italian meat loaf stuffed peppers. Top with warmed espagnole sauce for a restaurant-style finish.
Cheesy Bacon
Stir 1/4 cup cooked crumbled bacon into the beef and use smoked cheddar on top. The smoky pork fat keeps the mix juicy and adds a breakfast-meat-loaf feel. Watch the final bake so the bacon bits don’t crisp past chewy.

Meat Loaf Stuffed Peppers
Description
Meat loaf stuffed peppers bake seasoned ground beef inside sweet bell peppers for a neat, portable serving of a familiar comfort dish. A bread-and-milk panade keeps the filling juicy while the pepper walls turn silky and fork-tender.
Ingredients
Instructions
-
Heat oven and prep peppers
Heat the oven to 180°C / 350°F so it is fully preheated before the peppers go in. Slice the tops off the 4 large bell peppers and pull out the seeds and white ribs so the cavities are clean and ready to hold the beef mix.
-
Soak breadcrumbs in milk
Stir the 1/2 cup breadcrumbs and 1/3 cup whole milk together in a small bowl. Let the mixture sit for 5 minutes until the bread softens into a paste that will keep the meat loaf stuffed peppers tender during baking.
-
Mix beef filling
In a large bowl, combine the 1 lb ground beef, soaked bread, 1 large egg, 1/2 cup yellow onion, 2 cloves garlic, 1/4 cup cheddar, 2 tbsp ketchup, 1 tsp salt, 1/2 tsp black pepper, and 1 tsp oregano. Mix with your hands but do not overmix, or the filling turns dense and tough.
-
Pack peppers with beef
Pack the beef mixture into each pepper, mounding it slightly above the rim without heaping too high. Place the peppers upright in a baking dish just wide enough to hold them snugly so they do not tip or spill.
-
Add water and cover bake
Pour 1/4 cup water into the bottom of the dish to create steam, then cover the dish with foil. Bake at 180°C / 350°F for 25–30 minutes until the pepper walls bend easily when pierced with a knife and the centers begin to cook through.
-
Uncover and top cheese
Uncover the dish and sprinkle the remaining 1/4 cup cheddar cheese on top of each pepper. This step lets the cheese melt and brown rather than steaming underneath the foil.
-
Final bake to safe temp
Bake uncovered for 10 minutes more at 180°C / 350°F until the cheese is golden and crispy. The beef must reach 71°C / 160°F at the center on an instant-read thermometer, which confirms the ground meat is safely cooked.
-
Rest before serving
Let the stuffed peppers rest for 5 minutes after baking so the juices redistribute and the centers firm for cleaner lifting. Use a thin spatula under the base to transfer each pepper without tearing the wall.
Nutrition Facts
Servings 4
- Amount Per Serving
- Calories 350kcal
- % Daily Value *
- Total Fat 22g34%
- Saturated Fat 10g50%
- Cholesterol 110mg37%
- Sodium 720mg30%
- Total Carbohydrate 14g5%
- Dietary Fiber 3g12%
- Sugars 7g
- Protein 25g50%
* Percent Daily Values are based on a 2,000 calorie diet. Your daily value may be higher or lower depending on your calorie needs.
Note
- Storage: Cooled cooked peppers keep in an airtight container in the fridge for up to 3 days; never leave them unrefrigerated beyond 2 hours.
- Reheating: Reheat in a 160°C / 325°F oven for 15 minutes until the center reaches 74°C / 165°F, or microwave on high for 2 minutes, checking the middle is steaming.
- Pepper choice: Choose peppers with flat bottoms so they stand without tipping; see our roasted poblanos for a smoky side idea.
- Rest tip: Let the peppers rest 5 minutes after baking so the juices redistribute for cleaner lifting with a thin spatula.
