

Leftover ham sandwich ideas after holidays are the easiest way to turn a fridge full of glazed ham into fast, satisfying lunches instead of another reheated plate. The post-feast kitchen usually has bread, cheese, mustard, and a few limp vegetables that work better inside a sandwich than anywhere else. This guide gives you five concrete builds, the ratios that keep them from getting soggy, and the reheating rules that matter when meat has already been cooked once.
Each idea below uses roughly the same base ingredients so you aren’t shopping again three days after a big meal. You’ll get texture contrast from crunchy slaw or toasted bread, acid from pickles or vinegar, and enough fat from cheese or butter to make cold ham taste intentional. Think of these as templates you can shift based on what survived the holiday spread. If you enjoyed this, our register is worth trying next. Making this leftover ham sandwich ideas after holidays at home is surprisingly straightforward once you know the key steps.
Why You’ll Love These Leftover Ham Sandwich Ideas After Holidays
- Uses 6–8 oz of cooked ham per sandwich so a half bone-in ham feeds four people for two lunches.
- Toasting the bread separately stops the filling from turning the crust to paste by lunchtime.
- Every build takes under 15 minutes and needs only one skillet or a sheet pan.
- These leftover ham sandwich ideas after holidays scale to a crowd without extra prep.
- Each version freezes the ham component well, so you can prep fillings midweek.
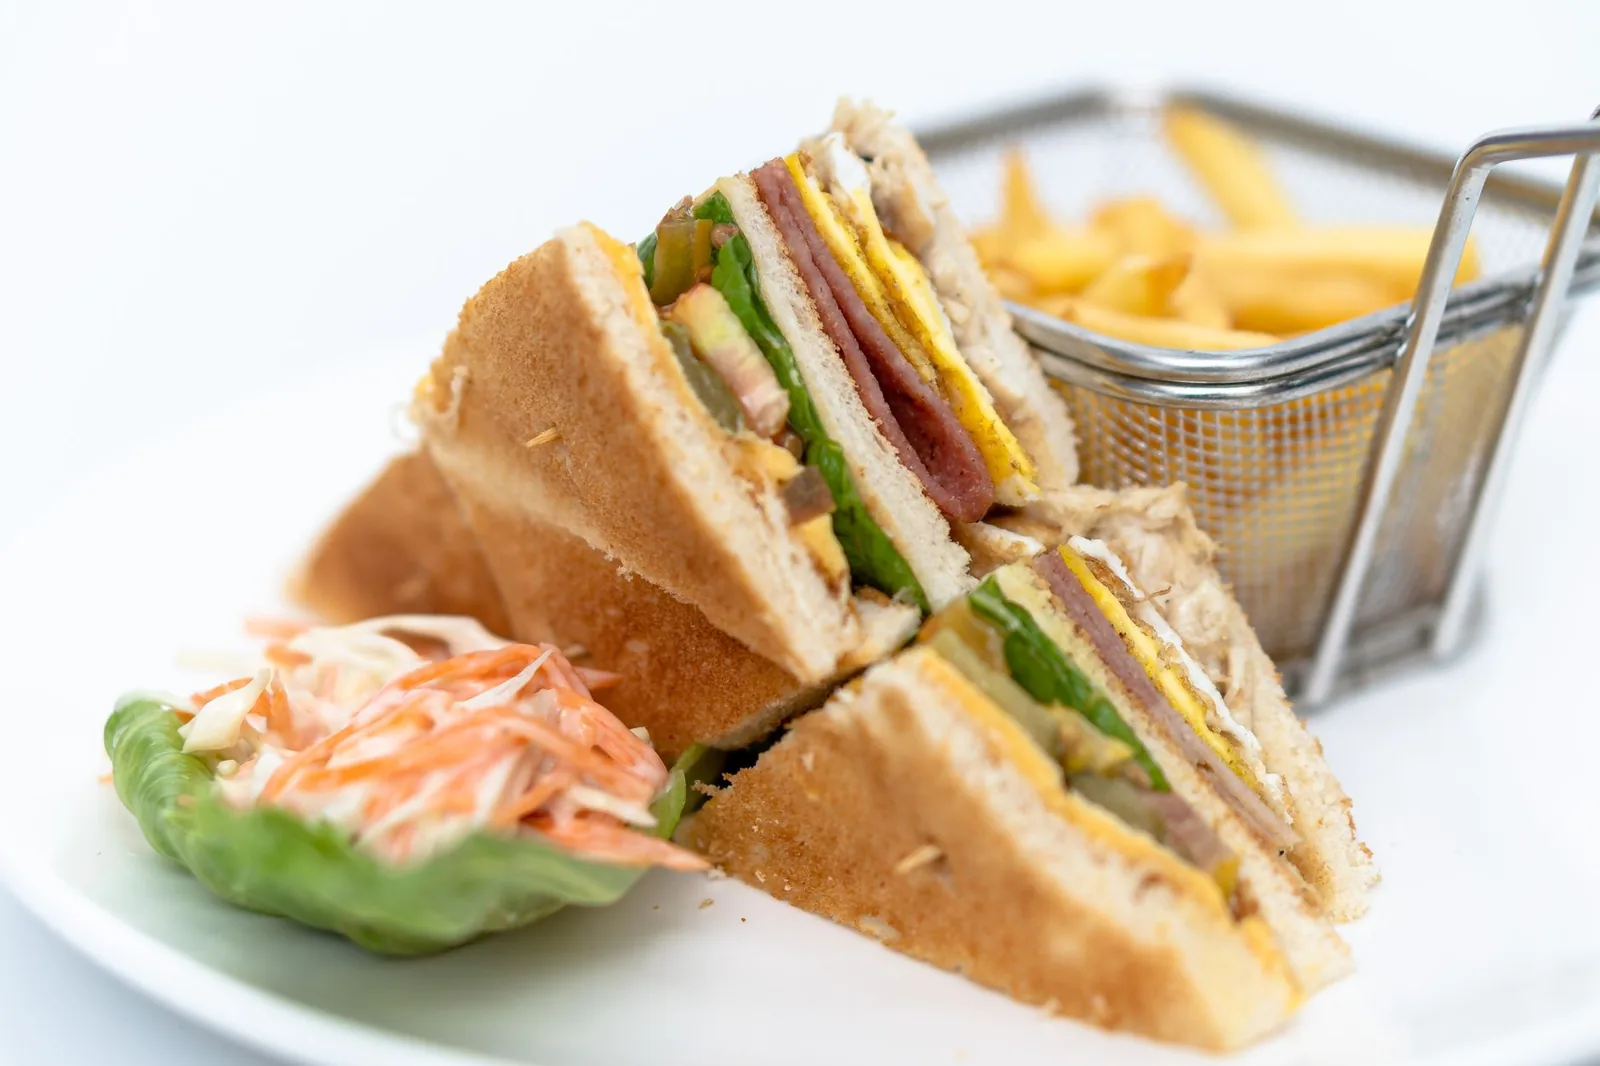
Ingredients You’ll Need
- 8 oz cooked glazed ham, sliced 1/4-inch thick — the slight sweetness balances sharp cheese.
- 2 slices sourdough bread (about 1/2-inch thick) — sturdy enough to hold wet slaw.
- 1 tbsp unsalted butter — used for toasting, not spreading cold.
- 2 oz sharp cheddar, grated — melts faster than pre-sliced deli style.
- 1/2 cup prepared coleslaw mix (cabbage and carrot) — adds crunch without extra chopping.
- 1 tbsp whole-grain mustard — cuts through the fat with acidity.
- 1 large egg — for the fried version only.
- 1 tbsp mayonnaise — binds the slaw if you make it from scratch.
- 1 tsp apple cider vinegar — keeps homemade slaw from tasting flat.
- 1/4 tsp black pepper — final seasoning, ham is already salted.
Ingredient Substitutions
Sourdough bread: Replace with an equal number of slices of rye or pumpernickel for a deeper, maltier base. Rye browns faster than sourdough, so drop the heat to medium-low heat and watch the first side for 2 minutes. The crumb is tighter, which actually helps with wet fillings like slaw. The leftover ham sandwich ideas after holidays works well for weeknight cooking when time is limited.


Sharp cheddar: Swap for an equal weight of Swiss or Gruyère if you want a nuttier, less tangy melt. Swiss releases more oil at high temperature, so use medium heat and pull the pan off before it separates. Expect a softer bite and less orange color on the surface.
Glazed ham: Use an equal weight of smoked turkey breast if the ham is gone but you still have the bread and slaw. Turkey is leaner, so add a thin layer of mayo or butter to keep the sandwich from drying out. Cook the turkey portion to 165°F internal if it was frozen, since deli turkey can carry listeria risk when reheated.
Coleslaw mix: Replace with 1/2 cup shredded romaine plus the vinegar and mayo if cabbage is wilted. Romaine wilts faster under heat, so add it after toasting, not inside the warm pan. You lose some crunch but keep the acid balance.
Step-by-Step Instructions
- Slice the ham into 1/4-inch pieces and pat dry with paper towels to remove surface glaze that burns fast.
- Heat a 10-inch skillet over medium heat and melt 1 tbsp butter until it foams but does not brown.
- Place both bread slices in the pan and toast 2 minutes per side until golden and crispy, then remove to a plate.
- Layer cheddar on one hot bread slice, then ham, then mustard, and top with the second slice to lightly melt the cheese.
- For the egg version, crack the egg into the same skillet at medium-low heat and cook 3 minutes until whites set but yolk stays soft.
- Assemble the slaw by mixing cabbage mix, mayo, vinegar, and pepper, then pile it on the ham side before closing.
- Press the sandwich gently with a spatula over medium heat for 1 minute to fuse layers, then slice and serve immediately.
Pro Tips
Dry the ham before it hits the bread — surface moisture from the glaze is the main reason post-holiday sandwiches get soggy by hour two. A quick paper-towel blot takes 20 seconds and changes the texture completely.
Toast the bread in butter instead of toasting it dry in a slot toaster if you want a barrier against wet slaw. The fat layer slows absorption and adds flavor the deli version lacks.
Use cast iron skillet technique for even browning — preheat the pan for 2 minutes before the bread goes in so both slices cook at the same rate. Thin pans hotspot and give you one burnt corner and one pale side.
Make the slaw the night before and store it separately so the cabbage stays snappy. Pre-mixed slaw weeps liquid into the sandwich if it sits assembled in the fridge.
Grate your own cheese from a block rather than using pre-shredded bags. The anti-caking starch in bagged cheese resists melting and leaves a grainy layer instead of a clean pull.
Common Mistakes to Avoid
Stacking wet slaw directly on untosted bread is the fastest route to a compressed, gluey sandwich. Always toast first or pack the slaw in a separate container for lunchboxes.
Overheating the ham until it curls and crisps removes the tender bite that makes leftovers worth using. Ham only needs warming, not a second full cook — medium heat for 1 minute per side is enough.
Skipping the acid from mustard or vinegar leaves the sandwich tasting like flat deli meat. The glaze is sweet, so you need a sharp counterpoint or the whole thing reads as dessert bread.
Using bread thinner than 1/2 inch lets the filling punch through the bottom by lunch. Hearty sourdough or rye holds up; soft sandwich bread collapses under slaw weight.
Serving Suggestions
Pair any of these builds with maple carrots for a sweet-savory plate that uses more holiday sides. The roast texture contrasts the soft bread well.
Add a tzatziki sauce dip on the side if you want a cool, herby element against the warm ham. It also works as a spread substitute for mayo.
For a brunch spread, set the fried-egg version next to a pepper egg sandwich so guests pick their protein. Both use one skillet and the same bread.
Cut the sandwiches into quarters and serve with manhattan cocktail for a retro post-holiday lunch that uses the bar cart leftovers too. The bitters cut the cheese fat.
Storage and Reheating
Store cooked ham components in an airtight container for up to 4 days and the slaw separately for up to 3 days in the fridge. Assembled sandwiches lose structure after 2 hours at room temperature, so don’t leave them on the counter.
Freeze plain sliced ham in a zip bag for up to 2 months and thaw overnight before building. Reheat the ham to 165°F internal if it was frozen to kill any surface bacteria from handling.
To reheat a finished sandwich, wrap in foil and bake at 180°C / 350°F for 10 minutes until the center reads 165°F. Microwaving makes the bread rubbery, so the oven is worth the time.
Yes, the ham filling freezes well for up to 2 months when kept separate from bread. The slaw does not freeze — cabbage turns to water when thawed.
Recipe Variations
Grilled Cheese Style
Build the sandwich with extra cheddar on both bread faces and butter the outside, then press in the skillet for 3 minutes per side. The result is a crisp shell with a ham-cheese core that stretches when pulled apart. Use air fryer method at 180°C / 350°F for 6 minutes if you want hands-off browning.
Spicy Mustard Version
Swap whole-grain mustard for 1 tbsp dijon plus 1/2 tsp crushed red pepper mixed into the mayo. The heat sits in the sauce so it distributes evenly instead of in pockets. This pairs well with the slaw for a sharper lunch.
Open-Face Bake
Place toasted bread on a sheet pan, top with ham and cheese, and bake at 200°C / 400°F for 5 minutes until cheese bubbles. The open face crisps the edges of the ham and avoids a soggy top slice. Finish with slaw on the side, not on top.
Blackened Ham Build
Rub ham slices with 1/2 tsp paprika and black pepper, then sear at medium-high heat for 90 seconds per side before assembling. The spice crust adds smoke that plain glazed ham lacks. Serve on rye with shishito peppers on the side for a similar flavor profile.
Breakfast Stack
Add the fried egg from the base recipe plus 1 tbsp chopped chives between the bread and slaw for a morning version. The runny yolk acts as a sauce that replaces mayo. These leftover ham sandwich ideas after holidays work for breakfast because the protein is already cooked and safe to reheat.


leftover ham sandwich ideas after holidays
Description
Turn leftover glazed ham into satisfying toasted sandwiches with sharp cheese, crunchy slaw, and bright mustard in under 15 minutes. These templates scale to a crowd and use the same base ingredients so you aren't shopping again after the feast.
Ingredients
Instructions
-
Slice and dry ham
Slice the ham into 1/4-inch pieces using a steady knife so the thickness stays even for warming. Pat the pieces dry with paper towels to remove surface glaze that burns fast and causes soggy sandwiches by hour two.
-
Heat skillet and butter
Heat a 10-inch skillet over medium heat on the stove. Melt 1 tbsp butter in the pan until it foams but does not brown, which signals the fat is ready for toasting.
-
Toast bread slices
Place both bread slices in the pan and toast for 2 minutes per side until golden and crispy. Remove the toasted slices to a plate so the crust stays firm and forms a barrier against wet slaw.
-
Layer cheese ham mustard
Layer cheddar on one hot bread slice, then ham, then mustard, and top with the second slice to lightly melt the cheese. The residual heat from the bread should soften the cheese into a gentle pull without overheating the ham.
-
Cook fried egg
For the egg version, crack the egg into the same skillet at medium-low heat and cook for 3 minutes until whites are set but yolk stays soft. The white should be opaque and firm with no translucent areas, while the yolk jiggles slightly when the pan is tapped.
-
Mix and pile slaw
Assemble the slaw by mixing cabbage mix, mayo, vinegar, and pepper in a bowl until evenly coated. Pile the slaw on the ham side before closing so the crunch stays separate from the warm cheese layer.
-
Press and fuse layers
Press the sandwich gently with a spatula over medium heat for 1 minute to fuse the layers together. The bread should feel compact and warm through when lifted, showing the cheese has begun to bind.
-
Slice and serve
Slice the sandwich immediately with a sharp knife and serve while the bread is still crisp. The interior should be warm with melted cheese and cool slaw crunch in the same bite.
Nutrition Facts
Servings 4
- Amount Per Serving
- Calories 450kcal
- % Daily Value *
- Total Fat 22g34%
- Saturated Fat 10g50%
- Cholesterol 130mg44%
- Sodium 900mg38%
- Total Carbohydrate 35g12%
- Dietary Fiber 3g12%
- Sugars 6g
- Protein 28g57%
* Percent Daily Values are based on a 2,000 calorie diet. Your daily value may be higher or lower depending on your calorie needs.
Note
- Storage: Store cooked ham components in an airtight container for up to 4 days and slaw separately for up to 3 days in the fridge; refrigerate within 2 hours of cooking.
- Reheating: Wrap a finished sandwich in foil and bake at 180°C / 350°F for 10 minutes until center reads 165°F; avoid microwaving which makes bread rubbery.
- Make ahead: Try the air fryer grilled cheese method at 180°C for 6 minutes for hands-off browning of a ham-cheese version.
- Pro tip: Dry ham with paper towels and toast bread in butter to stop soggy sandwiches by lunchtime.
