

The egg clouds recipe turns a few simple eggs into a plate of airy, crisp-edged whites with a soft, cheesy middle. You whip egg whites to stiff peaks, fold in yolks and cheese, then bake until they rise like little soufflés. It’s a smart way to get a high-protein breakfast on the table without any flour or complicated steps.
What makes this version reliable is the technique: separating the eggs while cold, whipping the whites thoroughly, and baking at a steady temperature so the clouds hold their shape. You end up with a texture that’s crisp on the outside and tender in the center. The whole dish works for a quick solo breakfast or a weekend spread with sides. If you enjoyed this, our no egg cornbread is worth trying next. Making this egg clouds at home is surprisingly straightforward once you know the key steps.
Why You’ll Love These Egg Clouds
- Only four base ingredients, all easy to keep on hand
- Naturally low in carbs and high in protein per serving
- Ready in about 18 minutes from bowl to plate
- Customizable with herbs, cheese, or cooked meat
- Light texture that feels different from standard scrambled eggs
Ingredients You’ll Need
- 4 large eggs, separated while cold
- 1/4 cup grated Parmesan cheese
- 1/4 tsp salt
- 1/8 tsp black pepper
- 1 tbsp chopped chives (optional)
Ingredient Substitutions
Parmesan cheese: Replace with an equal amount of finely grated cheddar for a sharper, creamier result. Cheddar melts faster than Parmesan, so watch the bake time and pull the clouds at just set edges. The flavor is bolder and the centers stay slightly softer. The egg clouds works well for weeknight cooking when time is limited.





Chives: Swap with 1 tbsp chopped dill or parsley for a different herbal note. Dill adds a brighter, almost citrusy edge that pairs well with the egg. Use the same quantity so the moisture balance stays unchanged. Storing leftover egg clouds correctly keeps it tasting good for days.
Salt: Use 1/4 tsp fine sea salt instead of table salt for a cleaner taste. Sea salt dissolves slightly slower, so mix it into the whites before whipping for even distribution. The difference is subtle but noticeable in a simple recipe.
Black pepper: Replace with a pinch of white pepper to keep the color clean. White pepper is milder and less speckled, which matters if you want a uniform look. Add the same 1/8 tsp measure without changing the method. For another easy option, check out our about us.
Step-by-Step Instructions
- Separate 4 large cold eggs, placing whites in a large bowl and yolks in a small bowl. Keep yolks whole and undisturbed.
- Beat the whites with medium-low heat off, using a hand mixer on high until stiff peaks form, about 3 minutes.
- Fold in 1/4 cup Parmesan, 1/4 tsp salt, 1/8 tsp pepper, and 1 tbsp chives with a spatula using slow turns.
- Spoon six mounds onto a lined baking sheet, making a small well in each and nestling one yolk inside.
- Bake at 180°C / 350°F for 12–14 minutes until golden and crispy at the edges.
- Cool on the sheet for 2 minutes then slide onto plates and serve immediately.
Pro Tips
Use a clean, grease-free bowl for whipping so the whites reach full volume without slipping. Any fat residue flattens the peaks fast.
Bring separated whites to room temperature for 10 minutes before beating to cut whip time and stabilize the foam.
For a deeper cheese crust, broil the trays for the final 1 minute while watching closely to avoid burning.
Read more on stable egg foams from egg white whipping techniques used by professional kitchens.
If you like egg-forward mornings, pair these with a pepper and egg sandwich for a bigger plate.
Common Mistakes to Avoid
Overfolding the batter breaks the air cells and yields flat clouds. Use a light hand and stop when streaks just disappear.
Putting yolks in too early causes them to spread and cook unevenly. Nestle them right before baking for a runny center.
Opening the oven before 10 minutes drops the heat and collapses the rise. Keep the door shut until the timer nears.
Don’t skip the lined tray or the cheese sticks and tears the cloud base when lifting. Parchment solves this.
Serving Suggestions
Plate the clouds with sliced avocado and a basil pesto drizzle for a fresh contrast. The herbs cut the richness well.
For a bread side, serve with a lard bread slice toasted lightly. It adds a savory crunch next to the soft eggs.
A simple green salad on the side keeps the meal balanced without extra cooking. Dress it with lemon and oil.
Storage and Reheating
Store cooled clouds in an airtight container in the fridge for up to 3 days. The yolks firm as they chill.
Reheat in a 160°C / 325°F oven for 5 minutes until warm through. Avoid the microwave which makes them rubbery.
This egg clouds recipe does not freeze well because the whipped whites weep after thawing. Make it fresh for best texture.
Leftovers work cold in a potato gnocchi bowl if you want a heartier brunch reuse.
Recipe Variations
Smoked Version
Add 1/4 tsp smoked paprika to the whites before whipping for a campfire note. The color turns warm beige and the flavor deepens without extra salt.
Meat Add-In
Fold 2 tbsp crisped bacon bits into the whites for a crunchy bite. Reduce salt slightly since the bacon adds sodium during baking.
Herb Heavy
Use 2 tbsp mixed dill and tarragon instead of chives for a stronger herbal profile. The clouds taste brighter and pair well with fish.
Spicy Version
Add a pinch of cayenne to the cheese mix for gentle heat. The warmth builds after the first bite and suits a whiskey glaze side drink.

Egg Clouds
Description
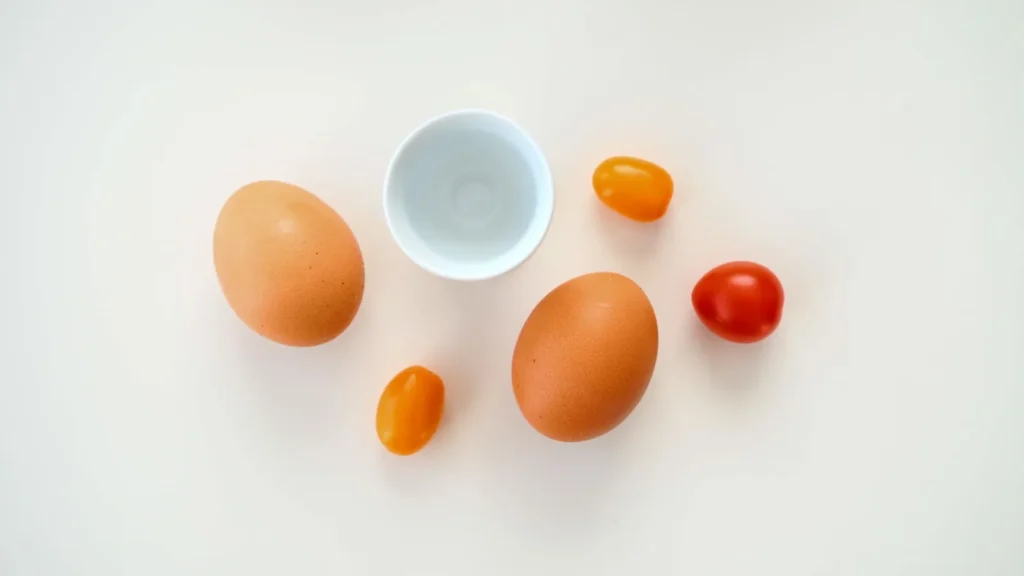
Egg clouds turn a few simple eggs into airy, crisp-edged whites with a soft, cheesy middle nestled around a whole yolk. They are a high-protein, flour-free breakfast that bakes like little soufflés in under 20 minutes.
Ingredients
Instructions
-
Separate the cold eggs
Separate 4 large cold eggs, placing the whites in a large bowl and the yolks in a small bowl. Keep the yolks whole and undisturbed so they stay intact for nesting later.
-
Whip egg whites to peaks
Beat the whites with the mixer on high speed (no heat applied) using a hand mixer until stiff peaks form, about 3 minutes. The whites should stand upright when the beaters are lifted and look glossy and stable.
-
Fold in cheese and seasonings
Fold in 1/4 cup Parmesan, 1/4 tsp salt, 1/8 tsp pepper, and 1 tbsp chives with a spatula using slow turns. Stop when the streaks just disappear so you preserve the air cells and avoid flat clouds.
-
Spoon mounds with yolk wells
Spoon six mounds onto a lined baking sheet, making a small well in each and nestling one yolk inside. The yolks should sit centered so they cook evenly and stay runny in the center.
-
Bake until golden edges
Bake at 180°C / 350°F for 12–14 minutes until golden and crispy at the edges and the whites are fully set (the yolks should reach at least 71°C / 160°F if you prefer them fully set). Do not open the oven before 10 minutes or the rise will collapse.
-
Cool and serve immediately
Cool on the sheet for 2 minutes then slide onto plates and serve immediately. The clouds are best warm when the edges are crisp and the centers are tender.
Nutrition Facts
Servings 2
- Amount Per Serving
- Calories 180kcal
- % Daily Value *
- Total Fat 12g19%
- Saturated Fat 5g25%
- Cholesterol 370mg124%
- Sodium 430mg18%
- Total Carbohydrate 2g1%
- Sugars 1g
- Protein 15g30%
* Percent Daily Values are based on a 2,000 calorie diet. Your daily value may be higher or lower depending on your calorie needs.
Note
- Storage: Store cooled clouds in an airtight container in the fridge for up to 3 days; refrigerate within 2 hours of cooking. The yolks firm as they chill.
- Reheating: Reheat in a 160°C / 325°F oven for 5 minutes until warm through; avoid the microwave which makes them rubbery.
- Pro tip: Use a clean, grease-free bowl and bring whites to room temp 10 minutes before beating for full volume. For a flourless side idea, try our no egg cornbread.
- Serving: Plate with sliced avocado and basil pesto drizzle to cut the richness.
