

An easy apple cobbler is the kind of dessert that fits a weeknight as comfortably as a holiday table. You get tender cinnamon-spiced apples under a soft, golden topping that bakes right on top of the fruit. This version keeps the steps short and the ingredient list realistic so you aren’t hunting for specialty items.
The method here leans on a batter-style topping rather than a rolled dough, which means no chilling, no rolling pin, and no fuss. You scoop it into the dish and the oven does the rest. The result is a warm, spoonable dessert with a cake-like edge and a jammy apple base. Making this easy apple cobbler at home is surprisingly straightforward once you know the key steps.
Why You’ll Love These Easy Apple Cobbler
- One mixing bowl for the topping keeps cleanup small.
- Uses two common apple types you can find in any grocery store.
- Batter topping bakes into the fruit so there’s no separate crust step.
- Finished in about 50 minutes from prep to cooling.
- Works as a casual dessert or dressed up with cream for guests.
Ingredients You’ll Need
- 4 cups peeled and sliced Granny Smith apples (about 4 medium)
- 2 cups peeled and sliced Honeycrisp apples (about 2 large)
- 3/4 cup granulated sugar
- 1 teaspoon ground cinnamon
- 1 tablespoon lemon juice
- 1 cup all-purpose flour
- 1 cup granulated sugar (topping)
- 1 teaspoon baking powder
- 1/4 teaspoon salt
- 1 cup whole milk
- 1/2 cup unsalted butter, melted
- 1 teaspoon vanilla extract
Ingredient Substitutions
Granny Smith apples: Replace with an equal weight of Braeburn apples if you want a slightly sweeter tart base. Braeburn holds shape well during baking but softens a touch faster, so check the fruit at the 25–30 minutes mark. The filling will taste less sharp and a bit more floral than the original. The easy apple cobbler works well for weeknight cooking when time is limited.




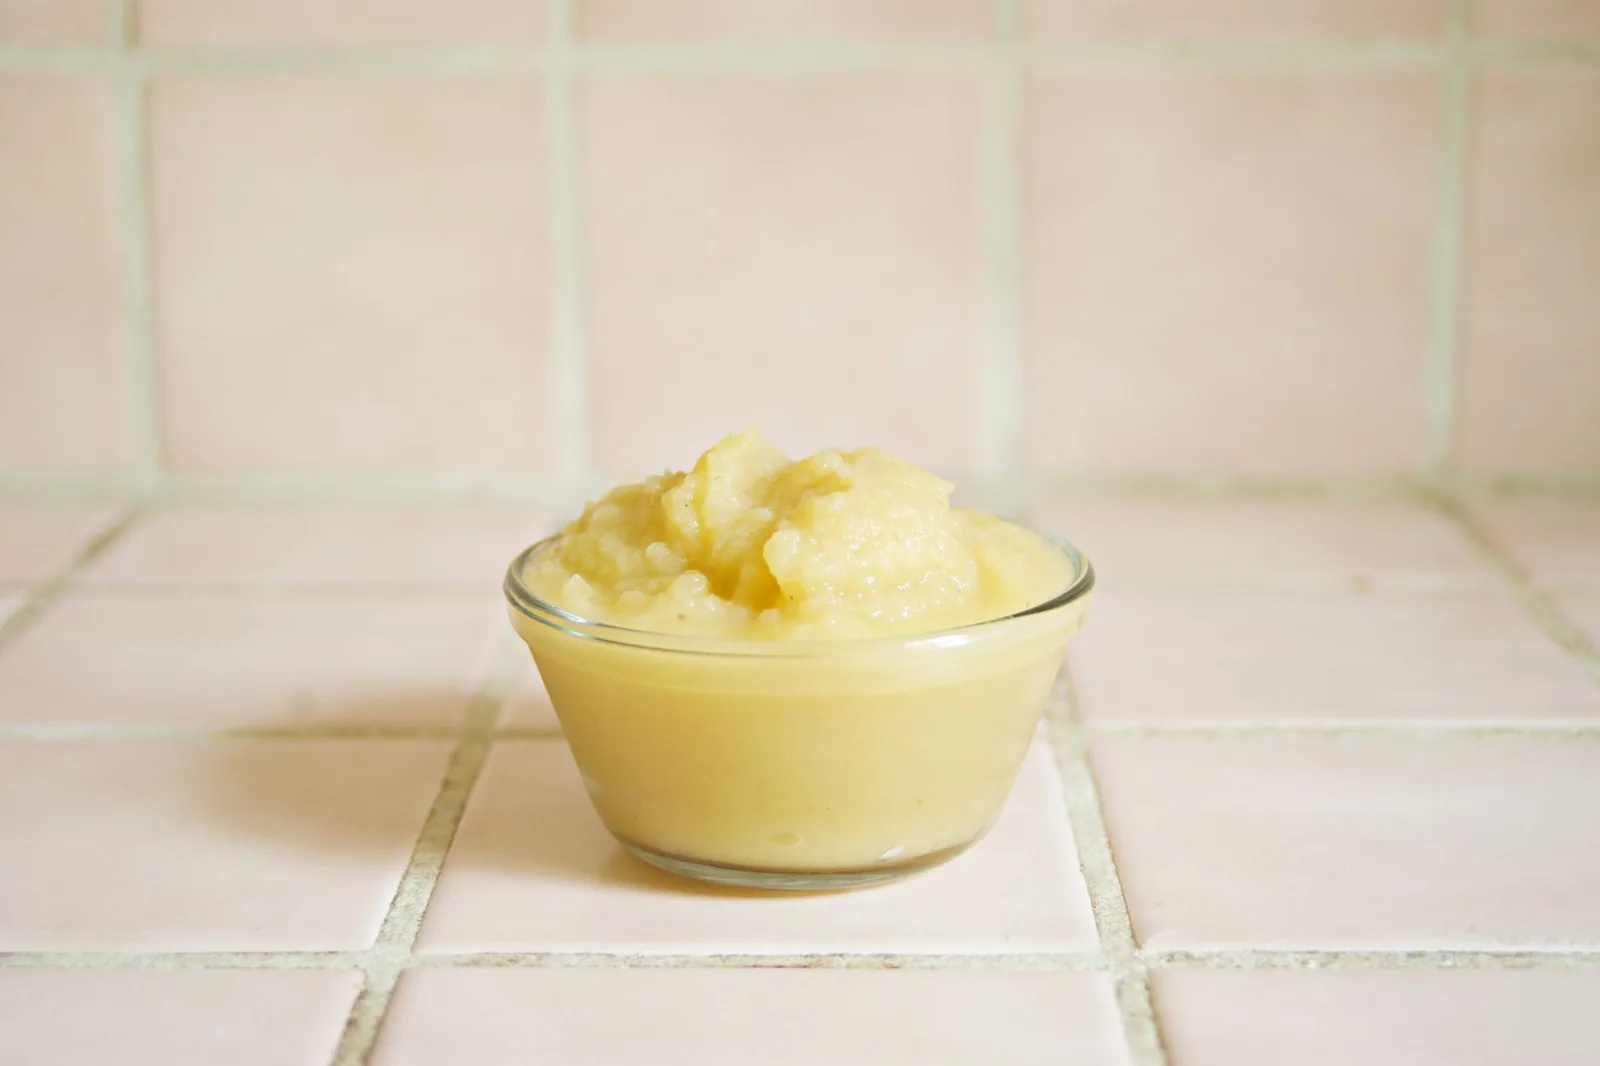


Whole milk: Use an equal amount of half-and-half for a richer topping with deeper browning. The extra fat lifts the crumb so it sets with a softer center and a deeper golden surface. Expect the bake time to stay the same but the top to color sooner. Storing leftover easy apple cobbler correctly keeps it tasting good for days.
Unsalted butter: Swap with an equal volume of neutral oil for a dairy-free topping that stays moist longer. Oil won’t give the same buttery note, and the crust will be a little less crisp at the edges. The structure holds fine because the baking powder and flour still do the lift. For the best results with this easy apple cobbler, read through all the steps before starting.
All-purpose flour: Replace with a 1-to-1 gluten-free baking blend for a version that suits a gluten-free diet. Most blends include xanthan gum, so the topping stays cohesive without extra steps. The crumb will be slightly more delicate, so let the cobbler rest up to 3 days in the fridge before reheating rather than freezing if you want clean slices.
Step-by-Step Instructions
- Heat the oven to 180°C / 350°F and place the melted butter into a 9×13 inch baking dish so it coats the bottom.
- Toss the sliced Granny Smith and Honeycrisp apples with 3/4 cup sugar, cinnamon, and lemon juice in a large bowl until the slices look glossy.
- Spread the apple mixture evenly across the buttered dish, keeping the layer about one inch deep so the topping bakes through.
- Whisk the flour, 1 cup sugar, baking powder, and salt in a clean bowl, then stir in milk, vanilla, and any remaining melted butter until just combined.
- Pour the batter over the apples without stirring; it will look thin and patchy but bakes into a connected top.
- Bake 45–50 minutes until the top is golden and crispy at the edges and the fruit bubbles at the corners.
- Cool on a rack for 15 minutes so the filling thickens before you scoop it.
Pro Tips
Slice apples about a quarter inch thick so they cook at the same rate as the batter sets. Thinner pieces turn to sauce while thick ones stay crunchy under the top.
Don’t stir the batter into the fruit; the layer rises through the moisture as it bakes and creates the cobbler texture. For more on simple dessert technique, see simple baking methods from Minimalist Baker.
A metal 9×13 dish browns the base faster than glass, so if you use glass, add 5 minutes and watch the center. You can pair the bake with a fruit smoothie for a lighter contrast.
Rest the baked cobbler before serving so the lemon and cinnamon syrup thickens instead of running. A fresh flour bread on the side works if you want a non-dairy accompaniment.
Common Mistakes to Avoid
Overmixing the batter makes the top tough because the gluten tightens; stir only until you no longer see dry flour. Stop early even if a few small lumps remain.
Using only soft apples like Red Delicious gives a mushy filling with no backbone; keep at least half tart firm apples. A corn flour mix won’t fix a poor apple choice here.
Opening the oven before 35 minutes drops the heat and can sink the top before it sets. Trust the clock and the bubbling corners as your cue.
Serving Suggestions
Scoop the warm cobbler into bowls and add a small pour of cold cream to cut the cinnamon heat. The temperature contrast keeps each bite from feeling heavy.
For a brunch spread, set it next to breakfast drink shots so guests get a sweet bite with a light sipper. A green smoothie bowl also balances the sugar if you serve this as a late-morning treat.
Storage and Reheating
Cover the cooled dish and refrigerate for up to 3 days in an airtight container or with foil pressed to the surface. Don’t leave it on the counter beyond 2 hours because the fruit filling sits in a dairy-based topping.
Reheat single portions in a 175°C / 350°F oven for 15 minutes until the center reads steaming. The topping recovers its slight crust better in the oven than in a microwave, which softens it.
Yes, this freezes well for up to 2 months if you wrap the cooled dish tightly. Thaw overnight in the fridge, then reheat covered at 160°C / 325°F so the top doesn’t dry before the middle warms.
Recipe Variations
Spiced Version
Add 1/4 teaspoon ground nutmeg and 1/8 teaspoon ground clove to the apple toss before baking. The spices deepen the autumn note without overwhelming the fruit, and the bake time stays the same.
Berry Mix
Replace 1 cup of the apple slices with the same weight of fresh blueberries for a firmer, juicier pocket in the filling. Berries release more liquid, so extend the bake by 5 minutes and check the bubbles at the edge.
Oat Topping
Stir 1/3 cup rolled oats into the dry topping mix for a chewier, more textured crust. The oats brown faster, so lay foil loosely over the dish at 40 minutes if the top darkens early. A lard bread alongside suits this heartier version.
Fireball Twist
Replace the vanilla with 1 tablespoon of fireball whiskey added to the batter for a warm cinnamon-alcohol lift. The alcohol bakes off but leaves a rounded heat that pairs with the apple tang.

Easy Apple Cobbler
Description
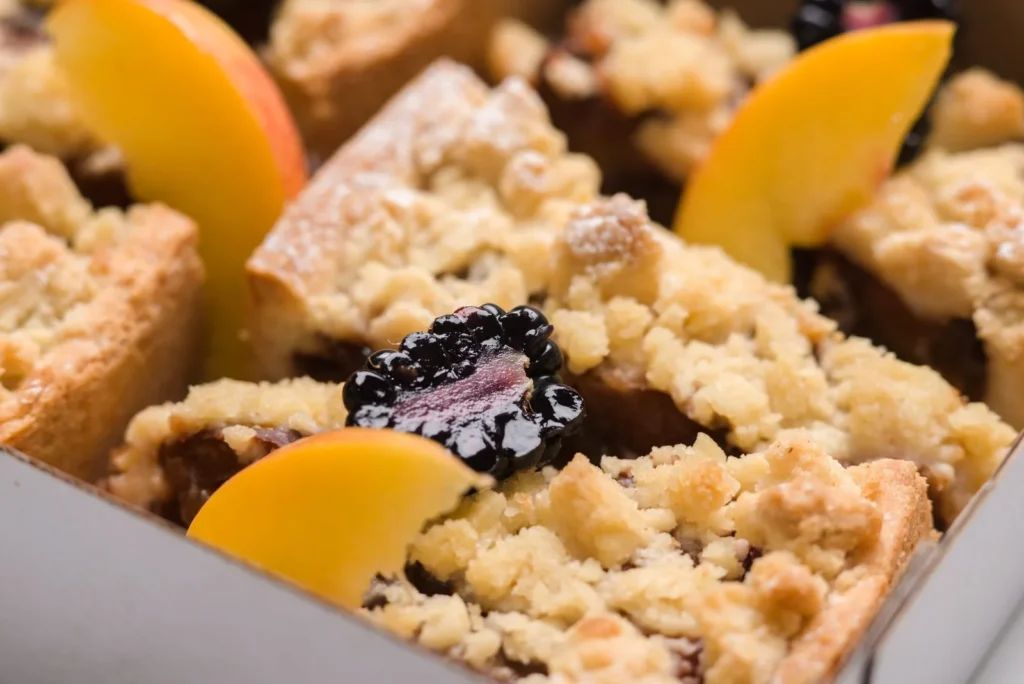
An easy weeknight apple cobbler with tender cinnamon-spiced Granny Smith and Honeycrisp apples under a soft, golden batter topping. The one-bowl method needs no rolling pin or chilling, and bakes into a warm, spoonable dessert with a cake-like edge.
Ingredients
Instructions
-
Heat oven and butter dish
Heat the oven to 180°C / 350°F and place the 1/2 cup melted unsalted butter into a 9x13 inch baking dish so it coats the bottom evenly. This step prepares a non-stick base and helps the cobbler edges brown as it bakes.
-
Toss the apples
Toss the sliced 4 cups Granny Smith and 2 cups Honeycrisp apples with 3/4 cup sugar, 1 teaspoon cinnamon, and 1 tablespoon lemon juice in a large bowl until the slices look glossy. The sugar and lemon coat the fruit so it stays tart but begins to soften before baking.
-
Spread apple mixture
Spread the apple mixture evenly across the buttered dish, keeping the layer about one inch deep so the topping bakes through. A level layer ensures the batter cooks at the same rate as the fruit underneath.
-
Whisk dry topping
Whisk the 1 cup flour, 1 cup sugar, 1 teaspoon baking powder, and 1/4 teaspoon salt in a clean bowl until evenly combined. Mixing the dry items first prevents pockets of baking powder in the finished topping.
-
Combine batter
Stir the 1 cup whole milk, 1 teaspoon vanilla, and any remaining melted butter into the dry mix until just combined; a few small lumps are fine. The batter will look thin and should not be overmixed or the top will turn tough as it bakes.
-
Pour batter over apples
Pour the batter over the apples without stirring; it will look thin and patchy but bakes into a connected top. Letting it sit on the fruit lets the layer rise through the moisture to create the cobbler texture.
-
Bake the cobbler
Bake 45–50 minutes at 180°C / 350°F until the top is golden and crispy at the edges and the fruit bubbles at the corners. If using a glass dish, add 5 minutes and watch the center so the base browns without burning.
-
Cool before serving
Cool on a rack for 15 minutes so the filling thickens before you scoop it. The rest time lets the lemon and cinnamon syrup set instead of running when served.
Nutrition Facts
Servings 8
- Amount Per Serving
- Calories 350kcal
- % Daily Value *
- Total Fat 12g19%
- Saturated Fat 7g35%
- Cholesterol 35mg12%
- Sodium 200mg9%
- Total Carbohydrate 58g20%
- Dietary Fiber 3g12%
- Sugars 45g
- Protein 3g6%
* Percent Daily Values are based on a 2,000 calorie diet. Your daily value may be higher or lower depending on your calorie needs.
Note
- Storage: Cover the cooled dish and refrigerate for up to 3 days in an airtight container; don't leave it on the counter beyond 2 hours because the fruit sits in a dairy-based topping.
- Reheating: Reheat single portions in a 175°C / 350°F oven for 15 minutes until the center reads steaming to keep the topping's slight crust.
- Pro tip: For more on simple dessert technique, see apple sponge cake for a related batter-style bake.
- Resting: Let the baked cobbler rest 15 minutes so the lemon-cinnamon syrup thickens instead of running when scooped.
