

A key lime pie recipe with graham cracker crust gives you the perfect balance of a buttery, crunchy base and a smooth, tart lime filling that sets without baking the custard on the stovetop. The version here keeps the process straightforward so you get clean slices and a filling that holds its shape. You’ll end up with a dessert that tastes brighter than a standard lime pie because the filling relies on real key lime juice and a proper ratio of sweetened condensed milk.
The crust bakes briefly to lock in structure, then the chilled filling does the rest of the work in the refrigerator. That method avoids the weeping and cracking you see when the filling is overbaked. It’s a reliable make-ahead option for warm days when turning on the oven for long isn’t ideal. If you enjoyed this, our lime cilantro cauliflower is worth trying next. Making this key lime pie recipe with graham cracker crust at home is surprisingly straightforward once you know the key steps.
Why You’ll Love These Key Lime Pie Recipe With Graham Cracker Crust
- The crust stays crisp under the filling because it’s pre-baked and uses enough butter to bind the crumbs.
- The filling sets firm from the acid in the lime juice reacting with the milk, so there’s no risky stovetop custard.
- You can make it a full day ahead and it slices cleaner after a night in the fridge.
- The tartness is adjustable by swapping a little lemon juice if key limes are unavailable.
Ingredients You’ll Need
- 1 1/2 cups graham cracker crumbs (about 10 full sheets processed fine)
- 1/3 cup granulated sugar
- 6 tablespoons unsalted butter, melted
- 1 can (14 ounces) sweetened condensed milk
- 4 teaspoons lime zest (from about 4 key limes or 2 regular limes)
- 1/2 cup key lime juice (freshly squeezed)
- 3 large egg yolks
- 3/4 cup heavy whipping cream, cold
- 1 tablespoon powdered sugar
Ingredient Substitutions
Graham cracker crumbs: Replace with an equal volume of finely crushed digestive biscuits for a slightly less sweet, more wheat-forward base. Digestive biscuits bind similarly once buttered, but they brown faster, so drop the crust bake to 8 minutes. The texture stays crisp though the flavor leans more biscuit than honey-graham. The key lime pie recipe with graham cracker crust works well for weeknight cooking when time is limited.




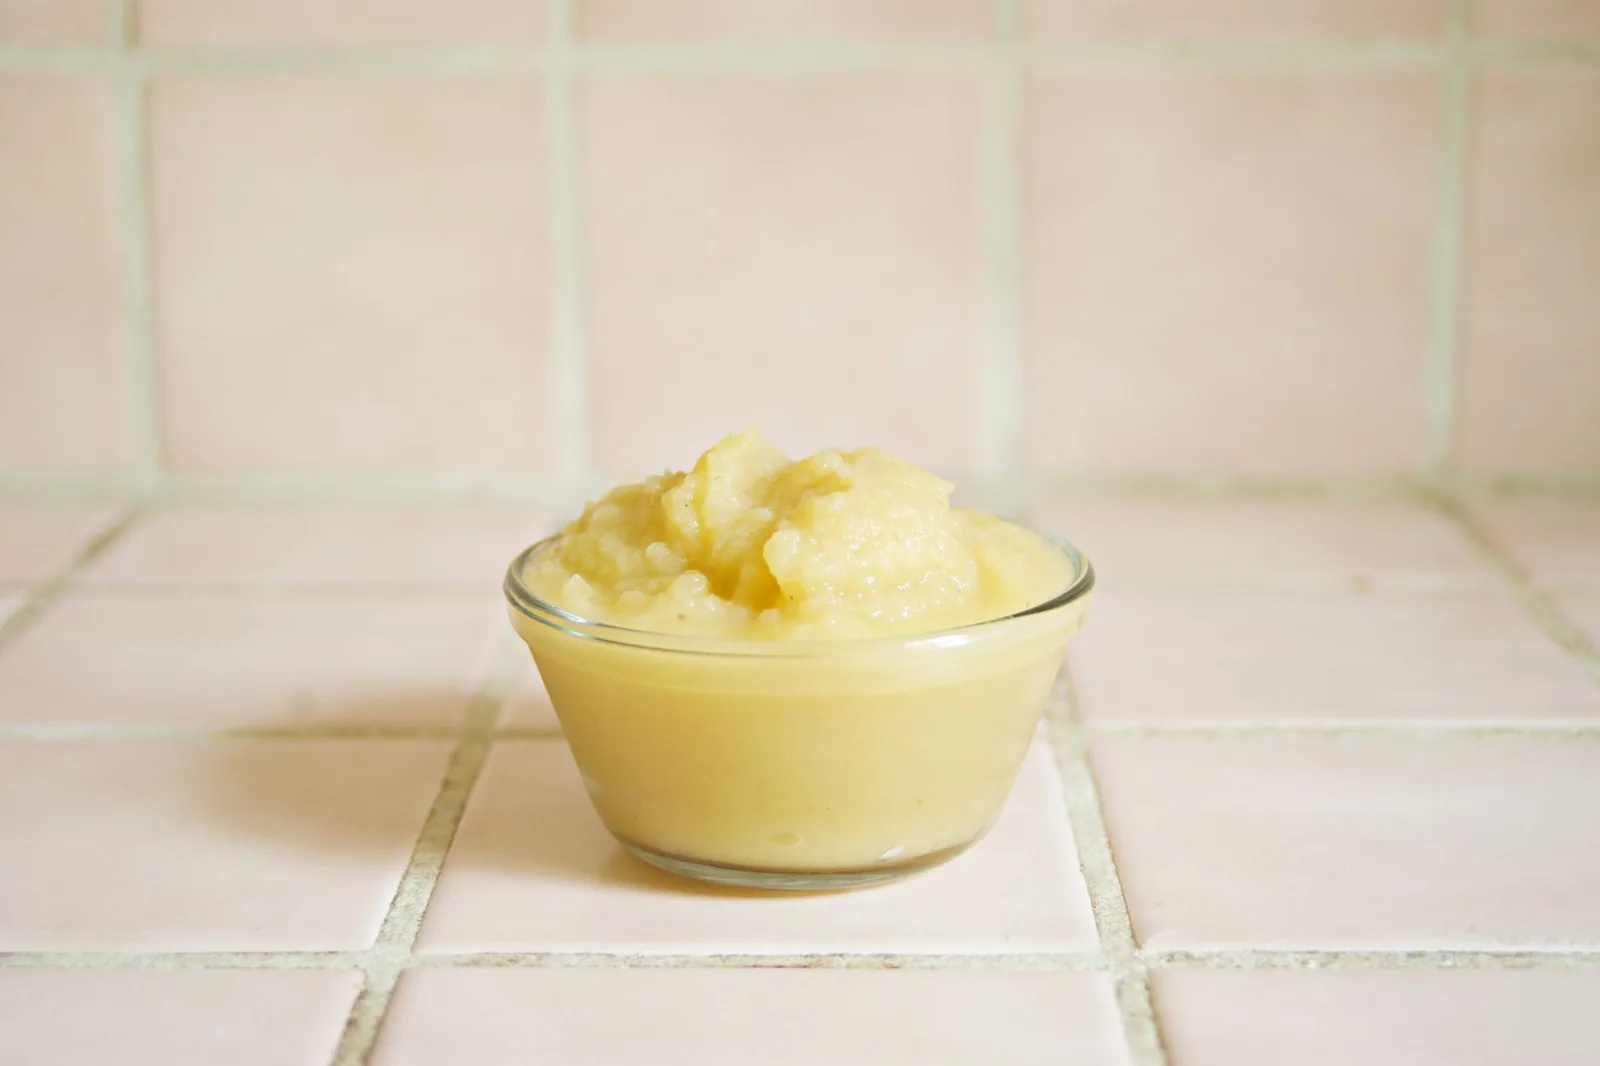


Key lime juice: Use an equal amount of fresh Persian lime juice plus 1 tablespoon lemon juice to approximate the floral tartness. Persian limes are less aromatic, so the pie reads cleaner and a bit sharper. No change to set time since acid level stays close. Storing leftover key lime pie recipe with graham cracker crust correctly keeps it tasting good for days.
Sweetened condensed milk: Swap for an equal weight of sweetened coconut condensed milk to make a dairy-light version with a mild tropical note. Coconut version sets a touch softer, so extend chill by 2 hours. Expect a faint coconut finish that pairs with the lime. For the best results with this key lime pie recipe with graham cracker crust, read through all the steps before starting.
Heavy whipping cream: Replace the whipped topping with an equal volume of coconut cream whipped stiff for a non-dairy top. Coconut cream holds peaks only when cold, so chill the bowl first. The cap is stable for up to 3 days covered. For another easy option, check out our lime cilantro cauliflower.
Step-by-Step Instructions
- Heat the oven to 180°C / 350°F. Mix graham crumbs, granulated sugar, and melted butter until the texture feels like wet sand.
- Press the crumb mix into a 9-inch pie dish, covering the bottom and up the sides with a flat cup. Bake 10 minutes until the edge looks golden and set.
- Whisk sweetened condensed milk, lime zest, key lime juice, and egg yolks for 2 minutes until slightly thickened and uniform in color.
- Pour the filling into the cooled crust and smooth the top. Bake 12 minutes until the center barely firms at the edges but still jiggles slightly.
- Cool on a rack 30 minutes, then refrigerate 4 hours until fully set and cold throughout.
- Whip cold cream with powdered sugar on medium-high speed for 3 minutes until soft peaks form. Spread or pipe over the chilled pie before slicing.
Pro Tips
Zest the limes before juicing; once juiced the peel is harder to grip and you lose aromatic oils that lift the filling. A microplane gives fine zest that disperses without chewy bits.
Press the crust firmly with the base of a measuring cup so the crumbs compact into a solid layer. Loose crumbs slide under the filling and turn soggy near the cut edge.
Use room-temperature egg yolks so they blend without streaking into the cold milk. Cold yolks can leave pale threads that never fully emulsify during the short whisk.
Read technique detail on gentle filling handling from The Kitchn if you want to avoid over-aeration before the bake.
Common Mistakes to Avoid
Overbaking the filling until it domes in the center causes cracks as it cools. Pull it when the middle still wobbles like set gelatin, not liquid.
Skipping the pre-bake on the crust leaves it tasting raw and chalky under the cream. Even 10 minutes at 180°C / 350°F develops the buttery note.
Using bottled lime juice changes the set and flavor because preservatives alter acidity. Fresh juice gives the clean tart lift this pie needs. You might also like our old fashioned pumpkin.
Serving Suggestions
Cut with a hot knife wiped between slices for clean edges that show the layered crust and cream. A thin lime wheel on each plate adds color without extra sugar.
Pair the chilled slices with peach lemonade to echo the citrus and soften the tart bite. The still-sweet drink balances the pie at a cookout.
For a fuller dessert table, add sherbet punch as a light fruity pour that keeps the meal feeling cool. Both drinks sit well beside a rich slice.
Storage and Reheating
Keep the finished pie in an airtight container in the fridge for up to 4 days. The crust slowly softens after day three but the filling stays safe and firm.
Freeze uncut pie for freeze for up to 2 months wrapped in two layers of film. Thaw overnight in the fridge before adding whipped cream.
This pie is served cold, so reheating isn’t needed. Leaving it out beyond 2 hours risks the dairy filling warming into the danger zone. Pair this with our canned apple pie for more ideas.
Recipe Variations
Toasted Coconut Top
Stir 1/4 cup toasted shredded coconut into the whipped cream for a nutty cap. The coconut adds chew and a browned note that matches the lime. Spread it right before serving so it stays crisp.
Mini Tart Version
Press the crumb base into a 12-cup muffin tin and shorten the fill bake to 8 minutes. You get single portions that release with a small offset spatula. Chill the same 4 hours before topping.
Lemon-Lime Blend
Replace 2 tablespoons of key lime juice with lemon juice for a softer sour edge. The set stays identical but the aroma opens brighter. This works well when key limes are pricey.
Berry Swirl
Spoon 3 tablespoons mashed raspberry over the filling before chill so it sinks into a thin tart layer. The berry cuts the sweetness and adds a red contrast. Use a sieve to keep seeds out of the swirl.
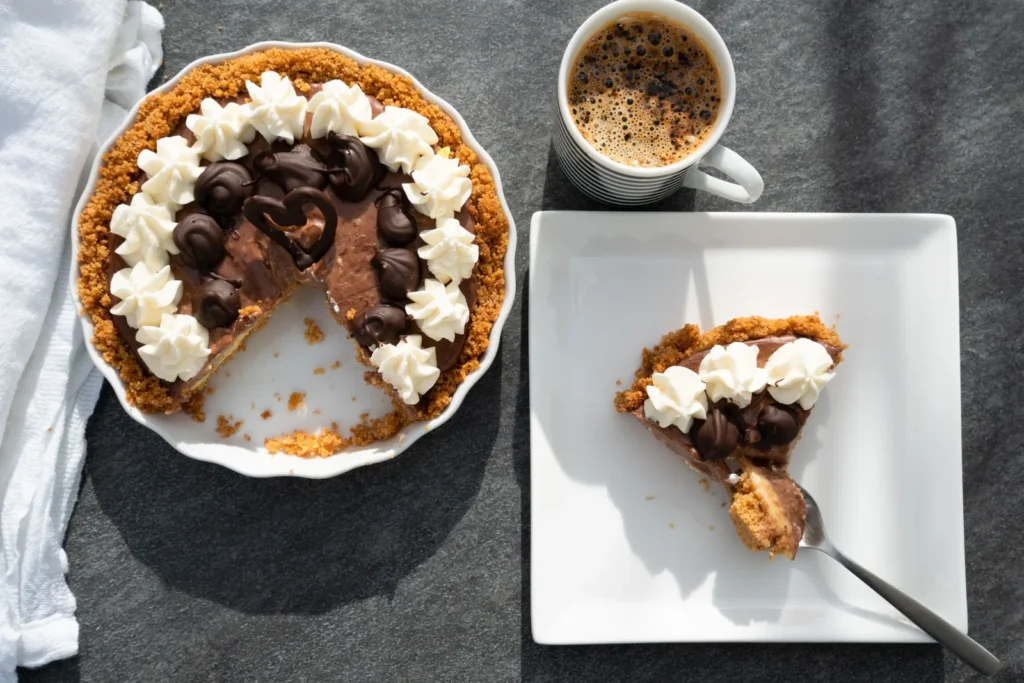

key lime pie recipe with graham cracker crust
Description
This key lime pie uses a pre-baked graham cracker crust and a tangy filling that sets in the fridge from the reaction of lime juice and sweetened condensed milk. It is a reliable make-ahead dessert with clean slices and bright, tart flavor.
Ingredients
Instructions
-
Heat oven and prep
Heat the oven to 180°C / 350°F so it is fully preheated before the crust goes in. Gather your 9-inch pie dish and measuring tools so the crumb mixing step moves quickly.
-
Mix and press crust
Mix 1 1/2 cups graham cracker crumbs, 1/3 cup granulated sugar, and 6 tablespoons melted unsalted butter until the texture feels like wet sand. Press the crumb mix into a 9-inch pie dish, covering the bottom and up the sides with a flat cup so it compacts into a solid layer.
-
Pre-bake the crust
Bake the crust at 180°C / 350°F for 10 minutes until the edge looks golden and set. Pull it when the rim is lightly browned and firm to the touch, then let it cool before adding filling.
-
Whisk the filling
Whisk 1 can (14 ounces) sweetened condensed milk, 4 teaspoons lime zest, 1/2 cup key lime juice, and 3 large egg yolks for 2 minutes until slightly thickened and uniform in color. Use room-temperature yolks so they blend without streaking into the cold milk.
-
Fill and bake briefly
Pour the filling into the cooled crust and smooth the top with a spatula. Bake at 180°C / 350°F for 12 minutes until the center barely firms at the edges but still jiggles slightly like set gelatin, not liquid.
-
Cool then chill
Cool the pie on a rack for 30 minutes at room temperature to stop the cooking gently. Refrigerate for 4 hours until fully set and cold throughout before topping or slicing.
-
Whip the cream
Whip 3/4 cup cold heavy cream with 1 tablespoon powdered sugar on medium-high speed for 3 minutes until soft peaks form. Keep the bowl and cream cold so the topping holds its shape when spread.
-
Top and slice
Spread or pipe the whipped cream over the chilled pie before slicing into portions. Cut with a hot knife wiped between slices for clean edges that show the layered crust and cream.
Nutrition Facts
Servings 8
- Amount Per Serving
- Calories 430kcal
- % Daily Value *
- Total Fat 22g34%
- Saturated Fat 13g65%
- Cholesterol 115mg39%
- Sodium 160mg7%
- Total Carbohydrate 52g18%
- Dietary Fiber 1g4%
- Sugars 42g
- Protein 7g15%
* Percent Daily Values are based on a 2,000 calorie diet. Your daily value may be higher or lower depending on your calorie needs.
Note
- Storage: Keep the finished pie in an airtight container in the fridge for up to 4 days; the crust softens after day three but the filling stays firm.
- Make ahead: Chill at least 4 hours or overnight so the acid-set filling holds clean slices.
- Pro tip: Zest limes before juicing with a microplane to capture oils that lift the filling.
- Related: Pair this with our old fashioned pumpkin for a fuller dessert table.
