

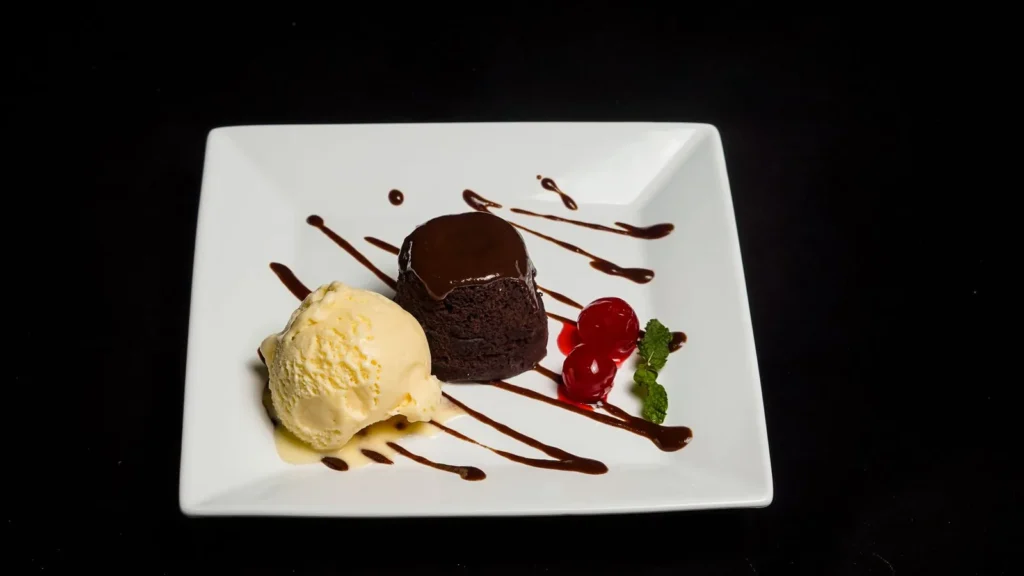
A chocolate pudding cake gives you two textures in one pan: a tender, baked cake layer on top and a warm, saucy chocolate base underneath. This version uses basic pantry ingredients and a simple hot-water pour to create the self-saucing effect. You get a reliable dessert that works for weeknight cravings and casual gatherings without any special equipment.
The method relies on a thin batter and a hot liquid poured over the top before baking. As it bakes, the batter rises and sets while the liquid sinks to form the pudding layer. The result is a dessert that tastes like a cross between a brownie and a soft custard. If you enjoyed this, our chocolate chip cookies is worth trying next. Making this chocolate pudding cake at home is surprisingly straightforward once you know the key steps.
Why You’ll Love These Chocolate Pudding Cake
- Two textures from one batter: a firm cake top and a spoonable chocolate sauce below.
- Made with standard pantry items, so you can bake it without a shopping trip.
- One pan means minimal cleanup and easy portioning.
- Naturally serves warm and pairs with simple toppings like cream or ice cream.
Ingredients You’ll Need
- 1 cup all-purpose flour — gives structure to the cake layer.
- 3/4 cup granulated sugar — sweetens the batter and helps the top set.
- 2 tbsp unsweetened cocoa powder — provides the chocolate base flavor.
- 2 tsp baking powder — lifts the cake layer during baking.
- 1/4 tsp salt — balances the sweetness.
- 1/2 cup whole milk — adds moisture and tender crumb.
- 2 tbsp melted butter — enriches the batter.
- 1 tsp vanilla extract — rounds the chocolate notes.
- 1/2 cup brown sugar — used for the sauce layer below.
- 1/4 cup additional cocoa powder — mixed with the sauce sugar.
- 1 1/2 cups hot water — poured over to form the pudding base.
Ingredient Substitutions
All-purpose flour: Replace with an equal weight of whole wheat flour for a nuttier, earthier flavor. Whole wheat absorbs more liquid than white flour, so add 1–2 extra tablespoons of milk to keep the batter pourable. Expect a slightly denser crumb and a darker color in the cake layer. The chocolate pudding cake works well for weeknight cooking when time is limited.




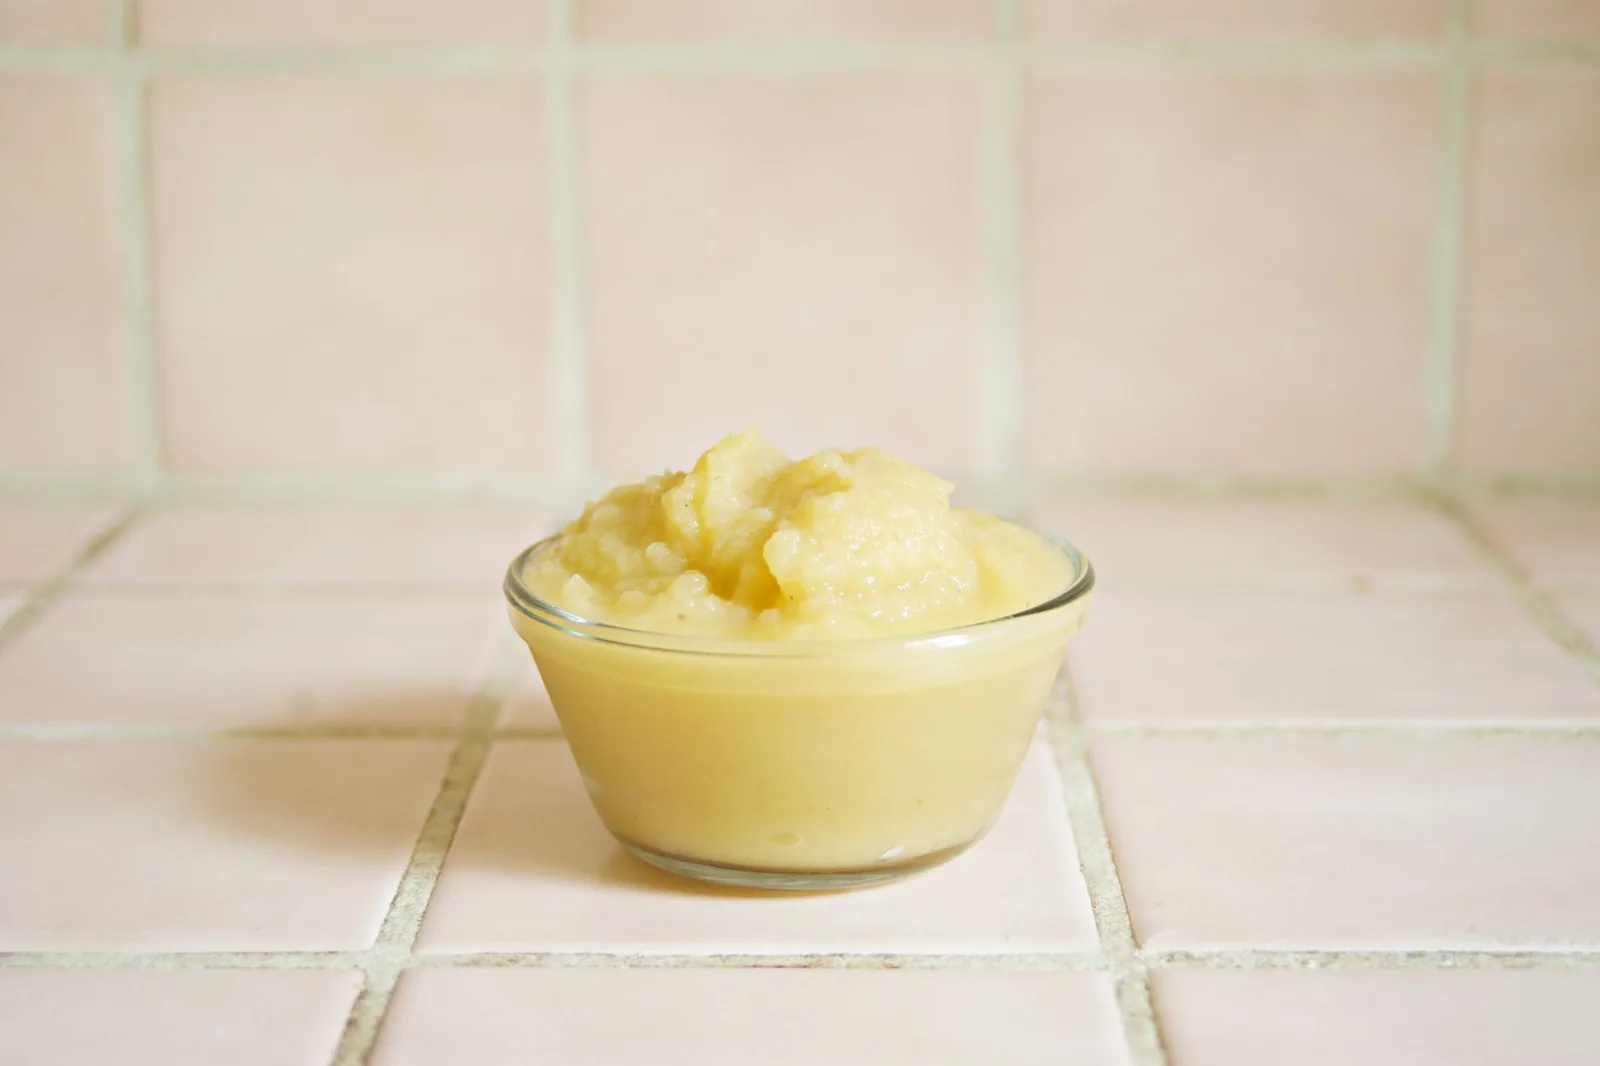


Whole milk: Use an equal amount of oat milk for a dairy-free version that keeps the batter thin. Oat milk has less fat than dairy, so the cake top will be a touch less rich but still sets cleanly. The sauce layer stays similar because the hot water does most of the work. Storing leftover chocolate pudding cake correctly keeps it tasting good for days.
Brown sugar: Swap with an equal amount of coconut sugar for a deeper, caramel-like note in the sauce. Coconut sugar is less moist, so the sauce may be slightly thinner; add 1 teaspoon of extra butter to the sugar mix if you want more body. It browns a little faster, so check the cake at 25 minutes. For the best results with this chocolate pudding cake, read through all the steps before starting.
Vanilla extract: Replace with 1/2 teaspoon of almond extract for a different aromatic profile. Almond is stronger than vanilla, so use half the amount to avoid overpowering the chocolate. The cake will read as a light nut-chocolate dessert rather than classic cocoa.
Step-by-Step Instructions
- Heat the oven to 180°C / 350°F and lightly butter an 8-inch square baking dish so the cake releases without sticking.
- Whisk flour, granulated sugar, 2 tbsp cocoa, baking powder, and salt in a bowl until evenly blended with no streaks.
- Add milk, melted butter, and vanilla to the dry mix; stir until just combined and do not overmix to keep the crumb soft.
- Pour the batter into the dish and spread to the corners; it will look thin and that is expected for this style.
- Stir brown sugar and 1/4 cup cocoa in a small bowl, then sprinkle evenly across the batter surface without stirring in.
- Pour hot water slowly over the back of a spoon onto the surface so the dry mix stays layered and does not mix into the batter.
- Bake 25–30 minutes until the top looks golden and crispy at the edges and the center barely jiggles when shaken.
- Cool on a rack for 5 minutes so the sauce thickens slightly before you scoop and serve warm.
Pro Tips
Use a metal 8-inch pan rather than glass so the edges brown and the base sets at the stated time. Glass holds heat differently and can leave the center underdone by a few minutes.
Pour the hot water gently over a spoon to keep the sugar-cocoa layer on top; rushing this step mixes the sauce into the batter and you lose the pudding base. For more on heat control, see oven calibration from Serious Eats.
Rest the baked cake for 5 minutes before serving so the liquid below firms into a spoonable sauce instead of a thin broth. If you cut too early, the base runs out onto the plate.
Scale the cocoa in the sauce mix up to 1/3 cup if you want a darker, more bitter base that stands up to sweet ice cream. The fudgy chocolate cake uses a similar cocoa ratio for depth.
Common Mistakes to Avoid
Stirring the sugar-cocoa topping into the batter is the most common error; it bakes into a uniform brownie and removes the sauce. Keep the layers separate and let the water do the work.
Opening the oven before 20 minutes causes the rising cake to fall and the top to tighten. avoid opening the oven early so the structure sets first.
Using cold water instead of hot prevents the sauce from forming properly because the batter needs heat from the liquid to sink and separate. Always pour water just off the boil for the right result.
Serving Suggestions
Scoop the warm cake with a bit of the base and add a spoon of whipped cream for contrast. The pudding cookies make a good crunchy side on the same dessert plate.
Pair with vanilla ice cream so the cold cream melts into the warm sauce and cools each bite. A light tzatziki sauce is not for this dish, but a fruit salad alongside cuts the richness well.
Storage and Reheating
Cover the cooled cake and refrigerate in an airtight container for up to 3 days; the sauce thickens further when cold. Reheat single portions in a microwave at medium power for 45–60 seconds until steaming at the center.
You can freeze the baked cake for freeze for up to 2 months in a sealed container; thaw overnight in the fridge before reheating. Do not leave the cooked dessert out for more than 2 hours total.
Recipe Variations
Mint Version
Add 1/4 teaspoon peppermint extract to the batter and use a dark cocoa in the sauce mix. The mint reads clearly against the chocolate and pairs well with a scoop of plain cream. Expect a cooler, dessert-shop flavor without changing bake time.
Nutty Top
Stir 1/3 cup chopped walnuts into the dry sugar-cocoa layer before adding water for a crunchy top. The nuts toast during baking and add texture to the soft base. Use the discard bagels method mindset of adding crunch to soft bakes.
Espresso Boost
Mix 1 tablespoon instant espresso powder into the flour step to deepen the chocolate with coffee notes. The cake bakes the same but tastes less sweet and more adult. A rich sauce technique from classic cooking shows how coffee amplifies cocoa.
Orange Twist
Add 1 teaspoon grated orange zest to the milk before mixing for a bright citrus edge. The aroma cuts through the dense sauce and keeps the dessert from feeling heavy. Use a microplane so the zest distributes without bitter pith.

Chocolate Pudding Cake
Description
A chocolate pudding cake gives you two textures in one pan: a tender baked cake layer on top and a warm saucy chocolate base underneath. This easy version uses basic pantry ingredients and a hot-water pour to create the self-saucing effect with no special equipment.
Ingredients
Instructions
-
Heat and prepare pan
Heat the oven to 180°C / 350°F and lightly butter an 8-inch square baking dish so the cake releases without sticking. Make sure the butter coats the bottom and sides evenly before moving to the next step.
-
Whisk dry ingredients
Whisk flour, granulated sugar, 2 tbsp cocoa, baking powder, and salt in a bowl until evenly blended with no streaks. This ensures the cake layer bakes with uniform texture and rises properly.
-
Mix batter
Add milk, melted butter, and vanilla to the dry mix and stir until just combined, taking care not to overmix to keep the crumb soft. The batter will look loose and that is expected for this style of pudding cake.
-
Pour and spread batter
Pour the batter into the prepared dish and spread to the corners using a spatula so it sits evenly. It will look thin and that is expected for this self-saucing style.
-
Prepare sauce topping
Stir brown sugar and 1/4 cup cocoa in a small bowl until combined, then sprinkle the mixture evenly across the batter surface without stirring it in. Keeping the layers separate lets the hot water create the pudding base below.
-
Pour hot water
Pour hot water slowly over the back of a spoon onto the surface so the dry sugar-cocoa mix stays layered and does not blend into the batter. Use water just off the boil so the sauce forms correctly as it bakes.
-
Bake the cake
Bake at 180°C / 350°F for 25–30 minutes until the top looks golden and crispy at the edges and the center barely jiggles when shaken. Avoid opening the oven before 20 minutes so the rising cake does not fall.
-
Cool and serve
Cool the pan on a rack for 5 minutes so the sauce thickens slightly into a spoonable base before you scoop and serve warm. Cutting too early makes the base run out onto the plate instead of staying beneath the cake.
Nutrition Facts
Servings 4
- Amount Per Serving
- Calories 350kcal
- % Daily Value *
- Total Fat 8g13%
- Saturated Fat 5g25%
- Cholesterol 25mg9%
- Sodium 320mg14%
- Total Carbohydrate 68g23%
- Dietary Fiber 3g12%
- Sugars 50g
- Protein 5g10%
* Percent Daily Values are based on a 2,000 calorie diet. Your daily value may be higher or lower depending on your calorie needs.
Note
- Storage: Cover the cooled cake and refrigerate in an airtight container for up to 3 days; the sauce thickens further when cold. Do not leave the cooked dessert out for more than 2 hours total.
- Reheating: Reheat single portions in a microwave at medium power for 45–60 seconds until steaming at the center, and do not reheat the same portion more than once.
- Pan choice: Use a metal 8-inch pan rather than glass so the edges brown and the base sets at the stated time; glass can leave the center underdone.
- Related bake: For more cocoa depth, the fudgy chocolate cake uses a similar cocoa ratio.
