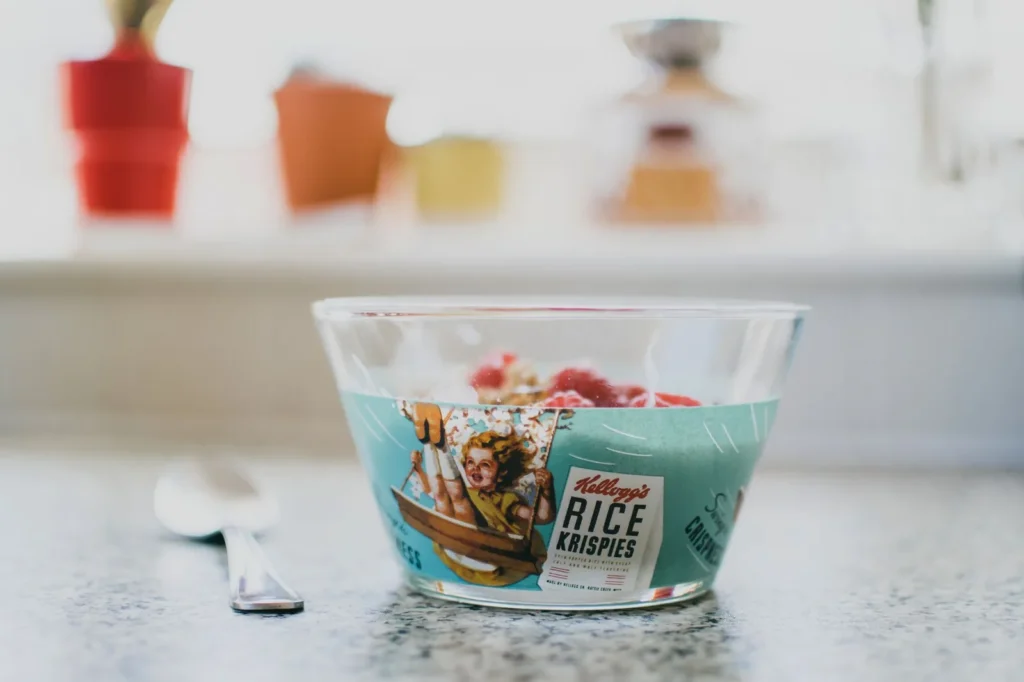
The red white blue rice krispie treats are a no-bake dessert built from three colored layers of the classic marshmallow-cereal mixture. This version keeps the chewy bite you expect from a standard pan, but splits the batch so you get clean red, white, and blue stripes in every square. You end up with a dessert that reads as festive without needing any oven time or special equipment beyond a saucepan and a baking dish.
What makes this recipe work is timing the three batches so each layer sets just enough to support the next without merging. The cereal stays crisp because the warm marshmallow coating is mixed quickly and pressed in before it cools hard. You get a dessert that holds its shape, slices cleanly, and travels well to a picnic or backyard party. If you enjoyed this, our white sauce tuna is worth trying next. Making this red white blue rice krispie treats at home is surprisingly straightforward once you know the key steps.
Why You'll Love These Red White Blue Rice Krispie Treats
- Three distinct color layers give you a patriotic look without food coloring bleeding together.
- No oven required, so the kitchen stays cool on a summer holiday.
- Each batch uses the same base ratio, so you only learn one method and repeat it twice more.
- The treats slice into neat bars that hold together for transport in a covered pan.
- Kids can help press the layers, since there's no hot baking involved after mixing.
Ingredients You'll Need
- 9 cups crispy rice cereal, divided into three 3-cup portions
- 6 tablespoons unsalted butter, divided into three 2-tablespoon portions
- 6 cups mini marshmallows, divided into three 2-cup portions
- 1 teaspoon red gel food coloring
- 1 teaspoon blue gel food coloring
- 1 teaspoon vanilla extract, divided into three roughly equal additions
- Nonstick cooking spray, for the pan and hands
The gel coloring is concentrated, so a small amount gives strong color without thinning the marshmallow mix. Vanilla rounds the sweetness so the layers don't taste flat. The red white blue rice krispie treats works well for weeknight cooking when time is limited.
Ingredient Substitutions
Unsalted butter: Replace with an equal amount of salted butter if that's what you have on hand. Salted butter adds a faint savory edge that balances the marshmallow sweetness, but you should skip any added salt elsewhere in the recipe. The texture stays the same since the fat content is identical. Storing leftover red white blue rice krispie treats correctly keeps it tasting good for days.
Mini marshmallows: Use standard-size marshmallows cut into quarters with kitchen scissors for the same melt. Large pieces take about 30 seconds longer to fully liquefy on medium-low heat, so stir constantly to avoid browning. The final coating will be slightly less smooth if pieces aren't cut small. For the best results with this red white blue rice krispie treats, read through all the steps before starting.
Crispy rice cereal: Swap with cocoa crispy cereal for one layer if you want a chocolate note in the middle. Cocoa cereal absorbs a bit more moisture, so add an extra tablespoon of butter to that batch to keep it pressable. The color layering will shift to red, brown, blue instead of the classic trio.
Red gel food coloring: Use 2 tablespoons of strawberry powder for a natural alternative with a light fruit scent. Powder won't thin the mix the way liquid can, but the red will read slightly softer and more muted. Keep the blue layer gel-based for contrast unless you also switch it. For another easy option, check out our new york white.
Step-by-Step Instructions
- Coat a 9x13-inch baking dish with nonstick spray and set it on a level surface. Divide the cereal into three bowls of 3 cups each so the later steps move quickly.
- Melt 2 tablespoons butter in a medium saucepan over medium-low heat, then add 2 cups mini marshmallows and stir until fully melted and smooth, about 3 minutes.
- Remove the pan from heat, stir in one-third of the vanilla and the red gel coloring until the mix is evenly red. Pour over the first 3-cup cereal portion and fold until coated.
- Transfer the red cereal mix to the prepared dish and press flat with sprayed hands or a spatula. The layer should feel tacky but hold its shape when patted.
- Repeat the melt step with the second butter and marshmallow portion, leave it uncolored for the white layer, fold with the second cereal portion, and press over the red layer.
- Repeat with the third portion, adding blue gel coloring, then press the blue layer on top. Let the pan sit at room temperature for 25–30 minutes before cutting.
Pro Tips
Spray your pressing tool with cooking spray so the warm cereal doesn't stick and tear the layer underneath. A flat-bottomed measuring cup works better than your palms for an even surface.
Make the three batches back-to-back rather than all at once, since the mix firms fast once off heat. You'll get cleaner lines than if you rush a cold batch back into the pan.
If your layers look wavy after cutting, chill the pan for 15 minutes first so the marshmallow firms enough for a clean knife pass. Use a sharp knife and wipe it between cuts.
Read the candy melting guide from The Kitchn if you want to understand why low heat prevents marshmallow scorching. Scorched marshmallow turns tan and tastes faintly burnt, which ruins the clean color layers.
Common Mistakes to Avoid
Adding food coloring while the pan is still on the burner can cause the gel to thin out and the mix to overheat. Pull the pan off heat first, then stir the color in quickly.
Pressing the second layer too hard pushes the warm first layer up the sides and blurs the stripes. Use gentle, even pressure and stop once the surface is level.
Using liquid food coloring instead of gel adds water that softens the cereal and leads to a soggy bar. Gel keeps the ratio dry enough that the treat stays crisp for days. You might also like our blue cheese olive.
Serving Suggestions
Cut the pan into 24 bars and stack them on a white platter so the red, white, and blue layers face up toward guests. A sprinkle of white sanding sugar on the cut edges adds a slight crunch that pairs with the chewy center.
For a cookout spread, set the bars next to fresh strawberry and blueberry skewers so the colors repeat across the table. The treats also work as a party side after grilled mains without needing plates.
Storage and Reheating
Keep the cut bars in an airtight container at room temperature for up to 3 days if your kitchen isn't above 75°F. In warmer rooms, refrigerate them so the marshmallow doesn't turn sticky, then let them sit 10 minutes before serving.
These do not freeze well because the cereal loses its snap after thawing, so skip the freezer for this dessert. Never leave a covered pan out for more than 2 hours at a summer gathering.
If the bars firm too much in the fridge, a quick rest at counter temperature returns the chew without melting the layers.
Recipe Variations
Star-Shaped Cut
Use a small star cookie cutter on the chilled pan instead of a knife for individual patriotic shapes. You'll lose the edge pieces, but the remaining treats look sharper on a dessert table.
Chocolate Bottom
Spread 1 cup melted white chocolate over the finished top layer and let it set for 20 minutes before cutting. The chocolate adds a firm cap that keeps the blue layer from sticking to storage wrap.
Flavored Layers
Add 1/2 teaspoon almond extract to the red batch and 1/2 teaspoon lemon extract to the blue batch for distinct flavors per stripe. The white layer stays plain so the two scents don't clash in one bite.
Mini Muffin Version
Press each colored batch into a greased mini muffin tin for portioned treats that hold their round shape. Bake time isn't needed, but the tins require 20 minutes of setting before pop-out. Pair this with our lime cilantro cauliflower for more ideas.