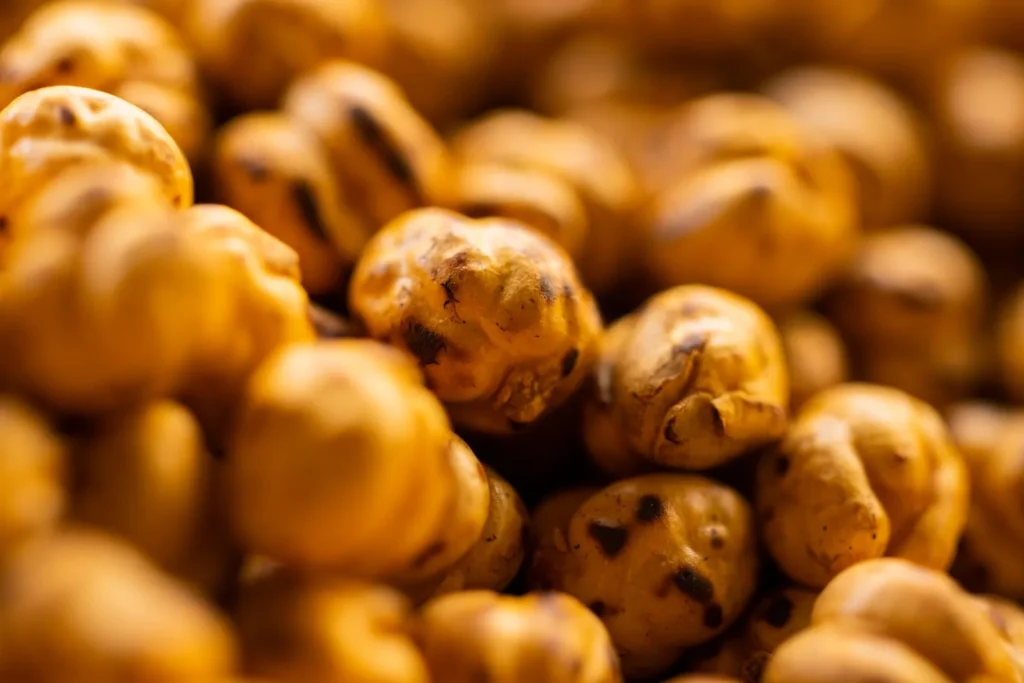
A crispy chickpea snack recipe baked in the oven is one of the simplest ways to turn a can of beans into something crunchy and salty. You don't need a deep fryer or any special equipment, just a sheet pan and a hot oven. The result is a dry, shattering crunch that holds up for days in a container.
The method relies on removing surface moisture and coating the chickpeas in oil and starch before roasting. That combination is what gives you the snap instead of a chewy bite. This specific approach uses a moderate oven temperature and a mid-bake shake so the skins crisp evenly without burning. Making this crispy chickpea snack recipe baked at home is surprisingly straightforward once you know the key steps.
You'll get a batch that works as a standalone snack, a salad topper, or a road-trip filler. The seasoning below is neutral enough to adapt, but bold enough to taste good on its own. If you already cook artichoke hearts, the same dry-then-roast logic applies here. The crispy chickpea snack recipe baked works well for weeknight cooking when time is limited.
Why You'll Love These Crispy Chickpea Snack Recipe Baked
- They use one can of chickpeas and pantry spices, so there's no shopping trip required.
- The oven does the work; you only stir once halfway through the bake.
- They stay crunchy in a sealed container for up to five days, unlike fried snacks.
- You control the salt and oil, which is hard with store-bought crisps.
- The crispy chickpea snack recipe baked here scales to a double batch on one pan.
Ingredients You'll Need
- 2 cans (15 oz / 425 g each) chickpeas, drained and rinsed
- 2 tbsp olive oil
- 1 tbsp cornstarch
- 1 tsp fine salt
- 1/2 tsp smoked paprika
- 1/2 tsp garlic powder
- 1/4 tsp black pepper
The cornstarch is the quiet hero. It draws a thin layer onto the skin that bakes into a shell, which is why the chickpeas snap instead of bend. Storing leftover crispy chickpea snack recipe baked correctly keeps it tasting good for days.
Ingredient Substitutions
Olive oil: Replace with an equal amount of avocado oil if you want a higher smoke point. Avocado oil keeps the same light coating but tolerates a hotter oven without a bitter edge. The texture stays identical, though the flavor is more neutral than grassy.
Cornstarch: Use 1 tbsp of potato starch for a slightly glossier finish. Potato starch crisps at a similar rate but can brown a touch faster, so check the pan at the 20-minute mark. You'll get the same shatter with a fainter aftertaste.
Smoked paprika: Swap for 1/2 tsp ground cumin if you prefer an earthy note over smoke. Cumin deepens the savory side and pairs well with the garlic powder already in the mix. Expect a warmer, less bacony aroma from the finished batch.
Garlic powder: Replace with 1/2 tsp onion powder for a sweeter allium profile. Onion powder browns a little more, so keep the pan centered in the oven. The snack reads milder and rounds out the salt better with this change. If you enjoyed this, our scotch eggs juicy is worth trying next.
Step-by-Step Instructions
- Heat the oven to 200°C / 400°F and line a large sheet pan with parchment. A bare pan sticks; parchment lets the chickpeas release without tearing the crust.
- Spread the drained chickpeas on a clean towel and rub them dry. Pat until no surface water remains, since wet skins steam instead of crisp.
- Transfer the dry chickpeas to a bowl and toss with 2 tbsp olive oil until every piece glistens. Add 1 tbsp cornstarch and stir until a faint white film coats the skins.
- Add 1 tsp fine salt, 1/2 tsp smoked paprika, 1/2 tsp garlic powder, and 1/4 tsp black pepper. Mix until the spices are even and no clumps remain at the bottom.
- Pour the chickpeas onto the prepared pan and spread into one layer. Never crowd the pan, or the pieces steam each other and stay soft.
- Bake for 25–30 minutes, pulling the pan at the 15-minute point to shake it. They are done when golden and crispy and you hear a faint rattle when the pan moves.
- Turn off the oven and leave the door cracked for 5 minutes. This rests the shell so it doesn't soften from trapped heat when you store it.
Pro Tips
Dry the chickpeas harder than you think is needed. The maillard reaction needs a dry surface, and a damp bean never gets there.
Shake the pan instead of stirring with a spoon. A spoon breaks the fragile crust; a shake rolls the pieces and keeps the coating intact.
Season after the first 10 minutes if you want a lighter salt hit. Early salt pulls moisture, so a mid-bake toss keeps the outside drier longer.
Double the cornstarch to 2 tbsp only if your beans are very large. Too much starch tastes chalky and slows browning on the edges.
Store the cooled batch with the oven door trick already done. Warm storage creates condensation, which is the fastest way to lose the crunch you built.
Common Mistakes to Avoid
Skipping the dry step leads to chewy chickpeas. The fix is a full minute of towel rubbing before any oil touches the bowl.
Using a too-low oven, like 160°C, bakes the beans soft. Raise to 200°C / 400°F so the outside sets before the inside dries out.
Pouring oil directly on the pan instead of the bowl leaves bare spots. Coat in the bowl first, then spread, so each piece carries its own film.
Sealing the container while still warm traps steam. Cool on the cracked oven for 5 minutes, then move to a jar at room temperature. For another easy option, check out our baked salmon lemon.
Serving Suggestions
Eat them plain out of a small bowl while they're still warm for the best snap. They also crush well over a butternut pasta for texture.
Add a squeeze of lemon right before serving if you want a bright edge. The acid cuts the oil and makes the smoke note pop without extra salt.
For a party board, pair with baked feta and raw veg. The creamy cheese next to the dry crunch balances the plate.
Storage and Reheating
Keep the cooled chickpeas in an airtight jar at room temperature for up to 5 days. Refrigeration actually softens them, so skip the fridge unless your kitchen is very humid.
To bring back the crunch, spread on a pan and heat at 180°C / 350°F for 5 minutes. They should sound hollow when tapped, not soft or bendy.
Do not leave a finished batch out for more than 2 hours in a warm room. If they sit longer, the oil can turn and the texture won't recover in the oven.
Recipe Variations
Spicy Version
Add 1/2 tsp cayenne with the paprika and a pinch of chili flakes at the end. The heat builds as they cool, so start light and taste one before serving. You get a dry, warm burn that pairs with cold yogurt dip.
Herb Version
Stir 1 tsp dried rosemary into the spice mix before baking. Rosemary crisps alongside the skins and adds a piney note that cuts the oil. Use this version with portobello mushrooms on the side.
Cheesy Version
Toss with 2 tbsp nutritional yeast after the oil and starch step. The yeast browns fast, so drop the oven to 190°C / 375°F and check at 20 minutes. The result tastes savory and almost nutty without dairy.
Lemon Pepper Version
Replace the paprika with 1 tsp lemon zest and keep the black pepper. Zest burns quicker than powder, so add it at the 15-minute shake instead of the start. You get a sharp, citrus-forward bite that's lighter than the smoked original.