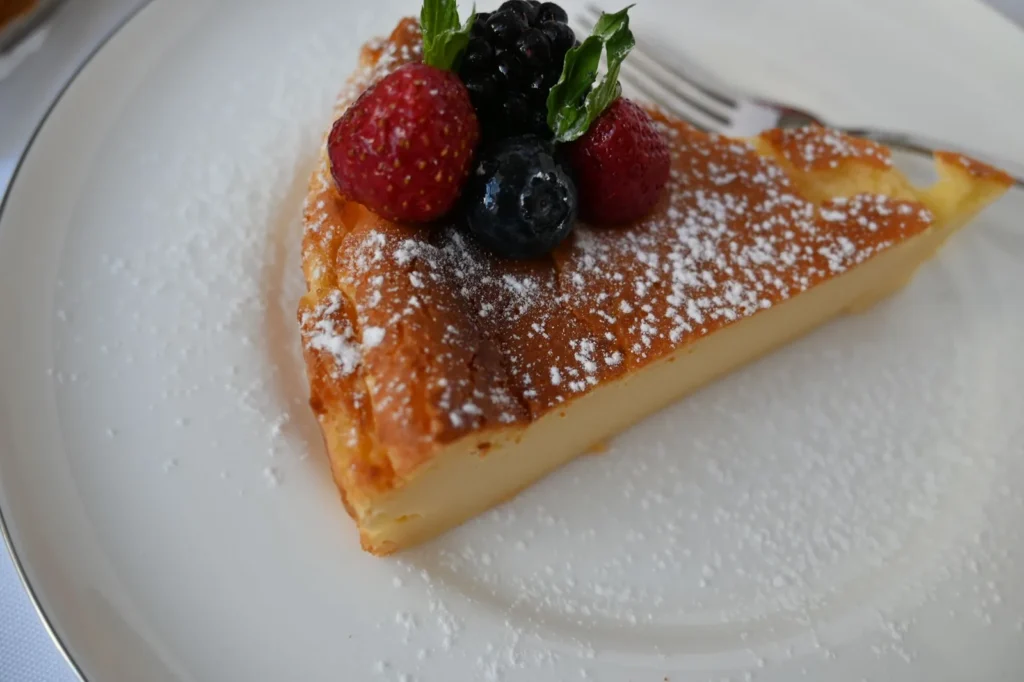
The banana pudding cheesecake recipe below combines two Southern favorites into one chilled dessert with a vanilla wafer crust, a smooth cream cheese filling, and layers of fresh banana and pudding. You get the tang of cheesecake with the nostalgic sweetness of banana pudding in every slice. The method is straightforward and doesn't require an oven, which keeps the kitchen cool and the steps manageable.
What makes this version work is the balance of textures: a crunchy cookie base, a dense yet spoonable filling, and soft banana slices that stay bright because they're added just before chilling. We use instant vanilla pudding mixed into the filling for structure and flavor rather than a separate custard layer. The result is a dessert that slices cleanly after a few hours in the fridge. If you enjoyed this, our yummybites pro patterns is worth trying next. Making this banana pudding cheesecake at home is surprisingly straightforward once you know the key steps.
Why You'll Love These Banana Pudding Cheesecake
- A dessert course that needs no baking, so it's safe on hot days.
- Uses pantry staples like vanilla wafers and instant pudding you can find at most stores.
- Holds its shape for clean slices thanks to the pudding-stabilized filling.
- Make it the night before and it's ready when guests arrive.
Ingredients You'll Need
- 2 cups vanilla wafer crumbs (about 60 cookies, finely crushed)
- 6 tablespoons unsalted butter, melted
- 16 ounces cream cheese, softened to room temperature
- 1 cup powdered sugar
- 2 (3.4 ounce) packages instant vanilla pudding mix
- 2 cups cold whole milk
- 1 (8 ounce) container frozen whipped topping, thawed
- 3 medium ripe bananas, sliced 1/4 inch thick
- 12 vanilla wafers, whole, for topping
Ingredient Substitutions
Vanilla wafer crumbs: Replace with an equal volume of crushed graham crackers for a milder, honeyed base. Graham crackers hold moisture differently, so press the crust firmly and chill it 20 minutes before adding filling to keep it from crumbling. The flavor shifts from buttery vanilla to a softer cereal note but the structure stays intact. The banana pudding cheesecake works well for weeknight cooking when time is limited.
Frozen whipped topping: Swap with 3 cups of lightly sweetened homemade whipped cream for a less processed texture. Homemade cream whips to softer peaks, so fold it in gently and expect a slightly looser set that needs up to 6 hours of chill time. You'll lose the long shelf stability but gain a fresher dairy taste. Storing leftover banana pudding cheesecake correctly keeps it tasting good for days.
Instant vanilla pudding mix: Use 2 tablespoons of cornstarch plus 2 teaspoons of vanilla extract and 1/4 cup extra sugar instead. This homemade thickener needs the milk heated to medium-low heat until it coats a spoon, then cooled fully before mixing. The filling becomes less sweet and more eggy, closer to a true custard cheesecake. For the best results with this banana pudding cheesecake, read through all the steps before starting.
Whole milk: Substitute 2 cups of half-and-half for a richer mouthfeel and slower melt. Half-and-half raises the fat content, which firms the pudding slightly and reduces weeping under the bananas. No change to timing is needed but the slices cut cleaner when very cold.
Step-by-Step Instructions
- Combine 2 cups vanilla wafer crumbs with 6 tablespoons melted butter in a 9x13 inch baking dish. Press the mixture flat with the bottom of a glass until the surface is even and compact.
- Beat 16 ounces softened cream cheese with 1 cup powdered sugar in a large bowl on medium speed for 2 minutes until no lumps remain.
- Whisk 2 packages instant vanilla pudding with 2 cups cold whole milk in a separate bowl for 2 minutes until thickened like mayonnaise.
- Fold the pudding into the cream cheese mixture, then fold in 8 ounces thawed whipped topping until the filling is smooth and pale.
- Pour half the filling over the crust and spread to the edges. Lay half the banana slices in a single layer, then top with remaining filling and the rest of the bananas.
- Place 12 whole vanilla wafers across the top. Cover with plastic wrap and refrigerate 4 hours until the center is firm to a light touch.
Pro Tips
Soften cream cheese fully on the counter for 45 minutes so it blends without tiny lumps that never disappear once cold. Cold blocks of cheese will leave a grainy bite no amount of beating fixes.
Slice bananas at the last moment before layering to slow browning, and press them gently into the filling so they don't float. A make ahead approach works because the pudding layer shields the fruit from air.
Use a warm knife wiped between cuts for clean squares; the chilled filling sticks to a cold blade and tears the crust. Run the blade under hot water for 10 seconds per slice.
Read cream cheese handling guidance from Serious Eats if you want the science behind room-temperature dairy in no-bake fillings. Their tests show temperature gaps cause split batters.
Common Mistakes to Avoid
Skipping the firm crust pack leaves a loose base that falls apart when lifted. Press with real weight and chill it briefly so butter sets before the wet filling hits.
Using warm milk with instant pudding stops it from setting and you get a soupy layer. Measure cold milk straight from the fridge and whisk at once without pausing.
Overfolding the whipped topping deflates the air and the cheesecake turns dense and heavy. Use a spatula with a light hand and stop when streaks just disappear.
Serving Suggestions
Cut into 12 bars and plate with a drizzle of caramel sauce for a dessert spread that reads special without extra baking. The salted version contrasts the sweet banana well.
Pair with black coffee or a fruit salad to cut the richness when serving a crowd. Keep portions small since the filling is filling.
Storage and Reheating
Cover the dish with plastic and refrigerate for up to 4 days since the dairy and fresh bananas limit shelf life. Discard any portion left out longer than 2 hours at room temperature.
This dessert is not meant to be heated and freezing changes the banana texture to mushy, so skip the freezer. Serve cold straight from the fridge for the best texture.
Recipe Variations
Chocolate Wafer Base
Swap the vanilla wafers for chocolate cookie crumbs in the crust for a darker, cocoa-forward base. The filling stays the same but the contrast with banana reads like a banana split. Expect a slightly drier crumb that needs the full 6 tablespoons of butter.
Peanut Butter Swirl
Stir 1/3 cup peanut butter into half the filling before layering for a nutty ribbon through the bars. The swirl adds protein and a salty note that balances the powdered sugar. Use creamy style so it folds without clumps.
Reduced Sugar Version
Replace powdered sugar with a granulated erythritol blend cup-for-cup and choose sugar-free pudding mix. The set is nearly identical but the taste is less round; add 1 teaspoon vanilla to round the edges. Low sugar desserts like this hold up the same in the fridge.
Mini Jar Servings
Layer crumbs, filling, and bananas in 8 ounce mason jars for portable snack desserts at picnics. The jars chill faster, about 2 hours, and need no cutting. Tighten lids and they travel without mess.