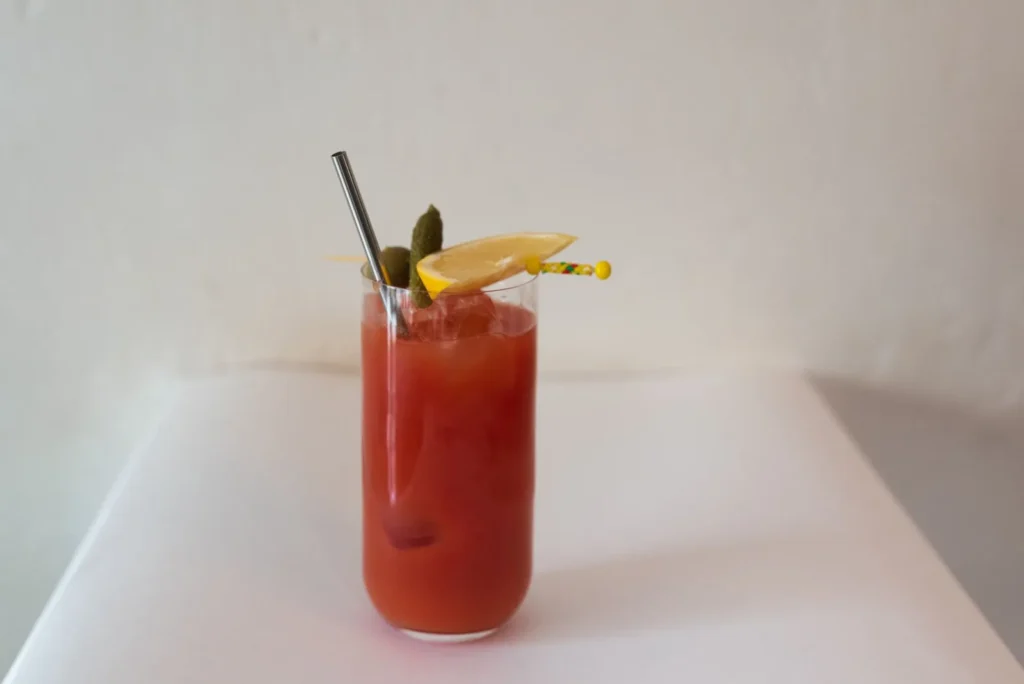
A bloody mary ice pops recipe turns the classic savory brunch cocktail into a frozen handheld treat that actually eats like food, not just a boozy ice cube. You get the same tomato, celery, lemon, and pepper bite you expect from the drink, but in a form that holds its shape on a stick for about ten minutes outside the freezer. This version is built for clean freezing, balanced salt, and a vodka level that tastes like a cocktail instead of watered-down ice.
The trick is managing water content and alcohol percentage. Too much vodka slows freezing and leaves a slushy center; too little and you lose the point of the pop. We use a concentrated tomato base, fresh lemon, and a measured pour so each pop lands around 6 to 7 percent alcohol by volume, which freezes solid in a standard home freezer. If you enjoyed this, our ground beef ground is worth trying next. Making this bloody mary ice pops at home is surprisingly straightforward once you know the key steps.
Why You’ll Love These Bloody Mary Ice Pops
- They freeze firm in a standard freezer because the alcohol stays low and the tomato base is reduced.
- Each pop delivers real savory seasoning, not just cold tomato water, thanks to a short rest before molding.
- They work as a brunch opener, a pool-side snack, or a conversation-starting dessert alternative.
- You control heat, salt, and garnish, so the pops match your usual Bloody Mary style.
Ingredients You’ll Need
- 480 ml tomato juice (about 2 cups), reduced to 360 ml for concentration
- 90 ml vodka (about 3 fluid ounces), standard 40% ABV
- 2 tablespoons fresh lemon juice
- 1 tablespoon Worcestershire sauce
- 1 teaspoon prepared horseradish
- 3/4 teaspoon celery salt
- 1/2 teaspoon hot sauce
- 1/4 teaspoon ground black pepper
- 1 teaspoon granulated sugar
- 6 small celery sticks for garnish
Ingredient Substitutions
Vodka: Replace with an equal volume of gin for a more botanical, juniper-forward pop. Gin changes the aroma and adds slight bitterness, so cut the hot sauce by a few drops if you want balance. Freezing behavior stays the same at this pour level. The bloody mary ice pops works well for weeknight cooking when time is limited.
Worcestershire sauce: Use 2 teaspoons soy sauce plus 1/4 teaspoon tamarind paste instead. This swap removes anchovy notes and adds a cleaner salt-glaze taste, but the color darkens slightly. Expect a sharper umami edge and less sweetness. Storing leftover bloody mary ice pops correctly keeps it tasting good for days.
Prepared horseradish: Swap for 1 teaspoon wasabi paste mixed with 1 teaspoon water. Wasabi brings a quicker nose-clearing heat that fades faster than horseradish. The pop will taste brighter but less earthy, and you should add it after the base cools to keep the punch. For the best results with this bloody mary ice pops, read through all the steps before starting.
Tomato juice: Use 340 ml strained canned crushed tomatoes plus 60 ml water if you want thicker texture. Crushed tomatoes add pulp and a slower melt, so freeze an extra 2 hours. The pop will feel more like a savory sorbet than a drink. For another easy option, check out our beef birria low.
Step-by-Step Instructions
- Pour 480 ml tomato juice into a saucepan and simmer on medium-low heat until it reduces to 360 ml, about 15 minutes, stirring once to prevent sticking.
- Remove from heat and let the reduced base cool to room temperature, around 20 minutes, before adding alcohol so the vodka does not cook off.
- Stir in 90 ml vodka, 2 tablespoons lemon juice, 1 tablespoon Worcestershire, 1 teaspoon horseradish, 3/4 teaspoon celery salt, 1/2 teaspoon hot sauce, 1/4 teaspoon pepper, and 1 teaspoon sugar until fully dissolved.
- Place a fine strainer over a pitcher and pour the mix through to catch horseradish fibers, leaving a smooth liquid for clean pops.
- Fill a 6-cavity pop mold to 1/4 cm below the rim and insert sticks, then freeze 6 hours or until solid with no soft center when pressed.
- Unmold by running the outside under warm water for 10 seconds, then push up gently; garnish each with a celery stick before serving.
Pro Tips
Reduce the tomato juice instead of using it straight from the carton so the pop tastes like a cocktail and not ice. A shorter freeze with full-strength juice leaves a hollow core that collapses on the stick.
Strain the base after mixing even if it looks smooth, because horseradish bits freeze into sharp specks that change the mouthfeel. For mold release technique, see freezer pop tips from The Kitchn.
Chill your vodka beforehand so the mix enters the mold cold and freezes faster with smaller ice crystals. Warm alcohol lengthens freeze time by roughly 1 hour.
Taste the base before molding and adjust salt only there, since you cannot fix seasoning after it freezes. A pinch more celery salt makes the pop read as food rather than drink.
If you serve at a brunch table, pair with scotch eggs for a savory spread that balances the cold pop.
Common Mistakes to Avoid
Pouring vodka into hot tomato base steams off the alcohol and leaves a flat taste, so always cool first. The fix is a 20-minute rest off heat before mixing.
Overfilling molds makes lids pop off as liquid expands, so stop below the rim. Use a measuring cup with a spout to keep each cavity even.
Skipping the strain step leaves stringy horseradish that freezes hard; run the mix through fine mesh once. If you used crushed tomatoes, strain twice for a clean bite.
Opening the freezer every hour to check doneness warms the tray and adds 30 minutes each time, so leave it closed for the full block.
Serving Suggestions
Set the pops on a bed of crushed ice with a small dish of extra celery salt for dipping the stick end. The cold-salt combo mimics the rim of a glass Bloody Mary.
For a party board, surround them with taco dip and crisp vegetables so guests move from cold pop to creamy dip. Keep pops on the ice only while serving, not for long storage.
Offer a lemon wedge on the side so eaters can squeeze brightness onto the pop right before the last bite. This lifts the tomato if your batch leaned salty.
Storage and Reheating
These are frozen, not reheated; store unmolded pops in a single layer inside an airtight container with parchment between layers for up to 3 weeks. Keep the freezer at or below -18°C / 0°F so they do not suffer freezer burn.
Do not leave finished pops at room temperature for more than 2 hours total, since the tomato base can harbor bacteria once thawed. If they soften, return to freezer rather than refreeze after sitting out.
For make-ahead bars, you can freeze the molded pops in the tray wrapped in film for up to 1 month, then unmold the morning of service. Label the date so older batches get used first.
Recipe Variations
Smoky Version
Add 1/2 teaspoon liquid smoke and swap hot sauce for chipotle sauce in the base. The pop takes on a backyard-grill note that pairs well with the celery garnish. Freeze time stays the same, but taste before molding since smoke intensifies when cold.
Clamato Swap
Replace half the tomato juice with clamato for a briny, seafood-leaning pop closer to a Michelada. Use oven snapper on the side to extend the coastal theme. Reduce sugar to 1/2 teaspoon because clamato brings sweetness.
Low-Alcohol Option
Cut vodka to 45 ml and add 45 ml extra reduced tomato juice for a kid-adjacent (non-boozy) pop adults can still enjoy. The texture firms faster by about 1 hour and the taste reads as savory tomato ice. This is the version to bring to a mixed-age brunch.
Spiced Citrus Version
Add 1 teaspoon orange zest and 1/4 teaspoon coriander to the cooled base for a lighter, citrus-forward pop. The lemon stays, but orange rounds the acid so the vodka hides better. Check recipe courses if you log this as a drink or dessert.