

A gluten free dinner recipe for beginners should be simple, use easy-to-find ingredients, and still taste like a real home-cooked meal. This one-pan chicken and rice skillet gives you a complete dinner with protein, vegetables, and carbs in a single pan. You don’t need special equipment or advanced cooking skills to get it right.
The method relies on browning the chicken first, then simmering everything together so the rice picks up flavor from the pan. It’s a calm, forgiving process that works even if your timing is a little off. If you’re new to gluten free cooking, this is a smart place to start because every ingredient is naturally free of wheat, barley, and rye. If you enjoyed this, our pasta alla vodka is worth trying next. Making this gluten free dinner recipe for beginners at home is surprisingly straightforward once you know the key steps.
Why You’ll Love These Gluten Free Dinner Recipe For Beginners
- One pan means fewer dishes and less cleanup after dinner.
- Every ingredient is naturally gluten free with no hidden flour or sauce thickeners.
- The steps are linear, so you always know what to do next.
- It uses pantry staples you can buy at any regular grocery store.
- Leftovers reheat well for a quick lunch the next day.
Ingredients You’ll Need
- 2 boneless skinless chicken breasts (about 1 lb), cut into 1-inch cubes
- 1 cup white rice (long grain, rinsed)
- 1 tablespoon olive oil
- 1 small onion, diced
- 2 cloves garlic, minced
- 1 red bell pepper, sliced
- 2 cups low-sodium chicken broth
- 1 teaspoon paprika
- 1/2 teaspoon salt
- 1/4 teaspoon black pepper
- 1 cup frozen peas
- 2 tablespoons chopped parsley
Ingredient Substitutions
White rice: Replace with an equal volume of brown rice if you want more fiber and a chewier bite. Brown rice needs about 10 extra minutes of simmer time and an additional 1/4 cup of broth because it absorbs liquid more slowly. The final dish will be nuttier and less fluffy than the white version. The gluten free dinner recipe for beginners works well for weeknight cooking when time is limited.

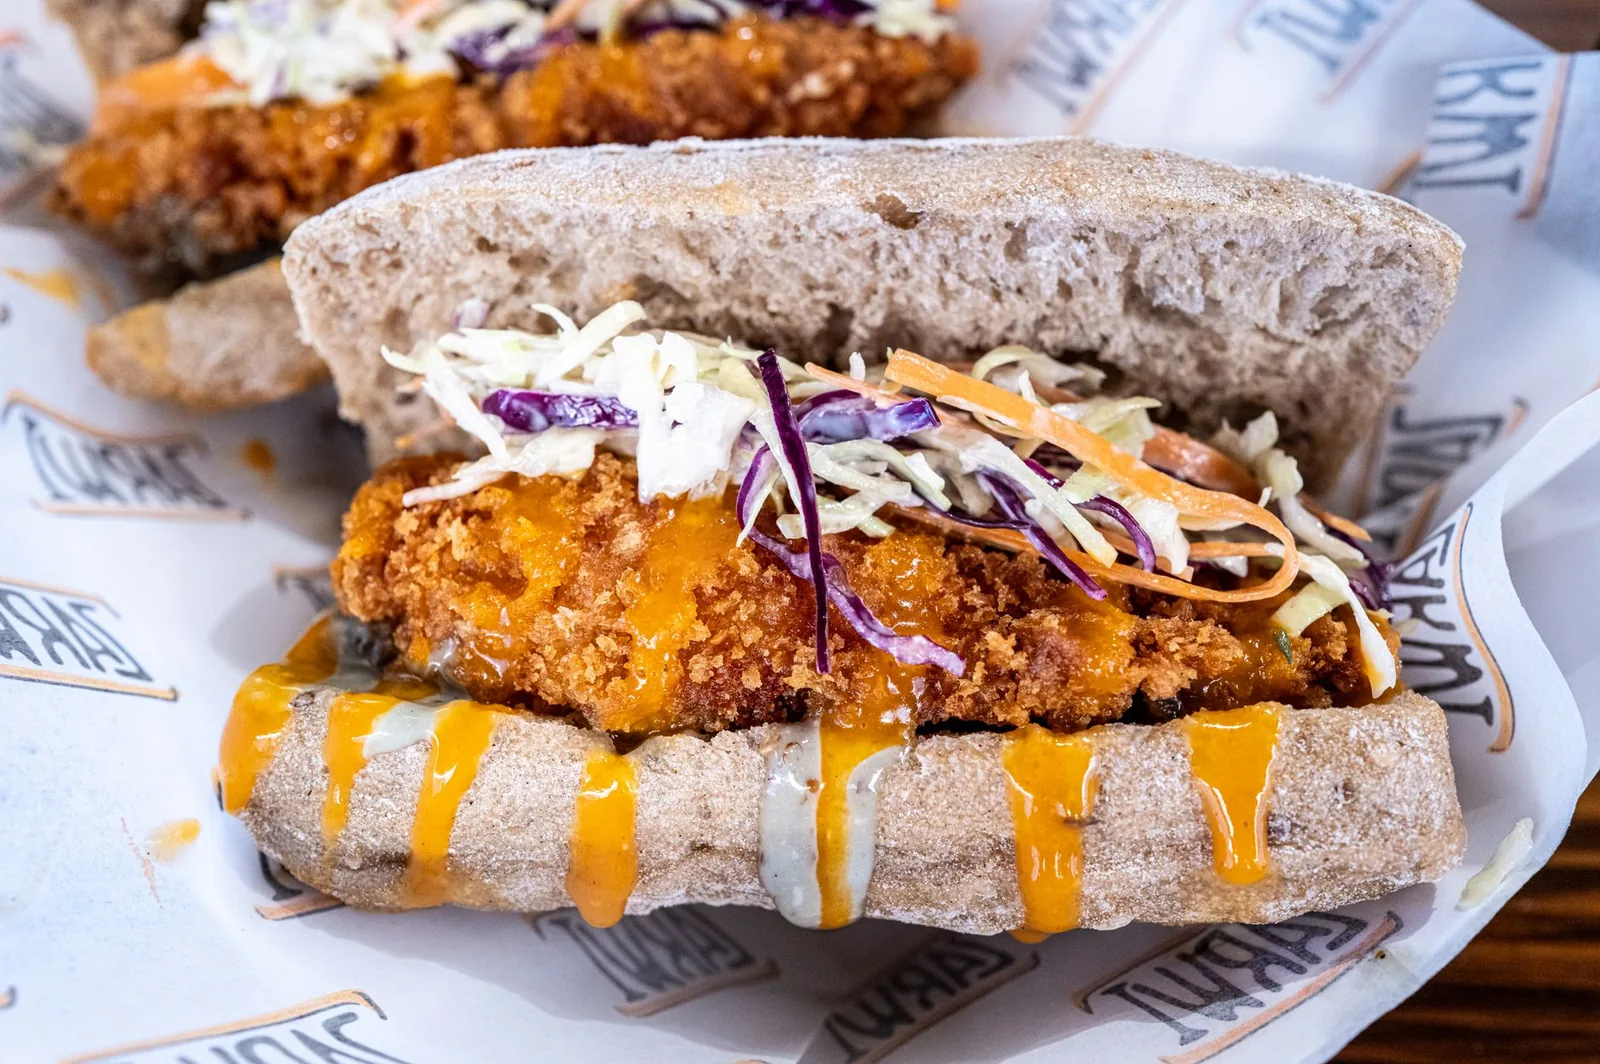


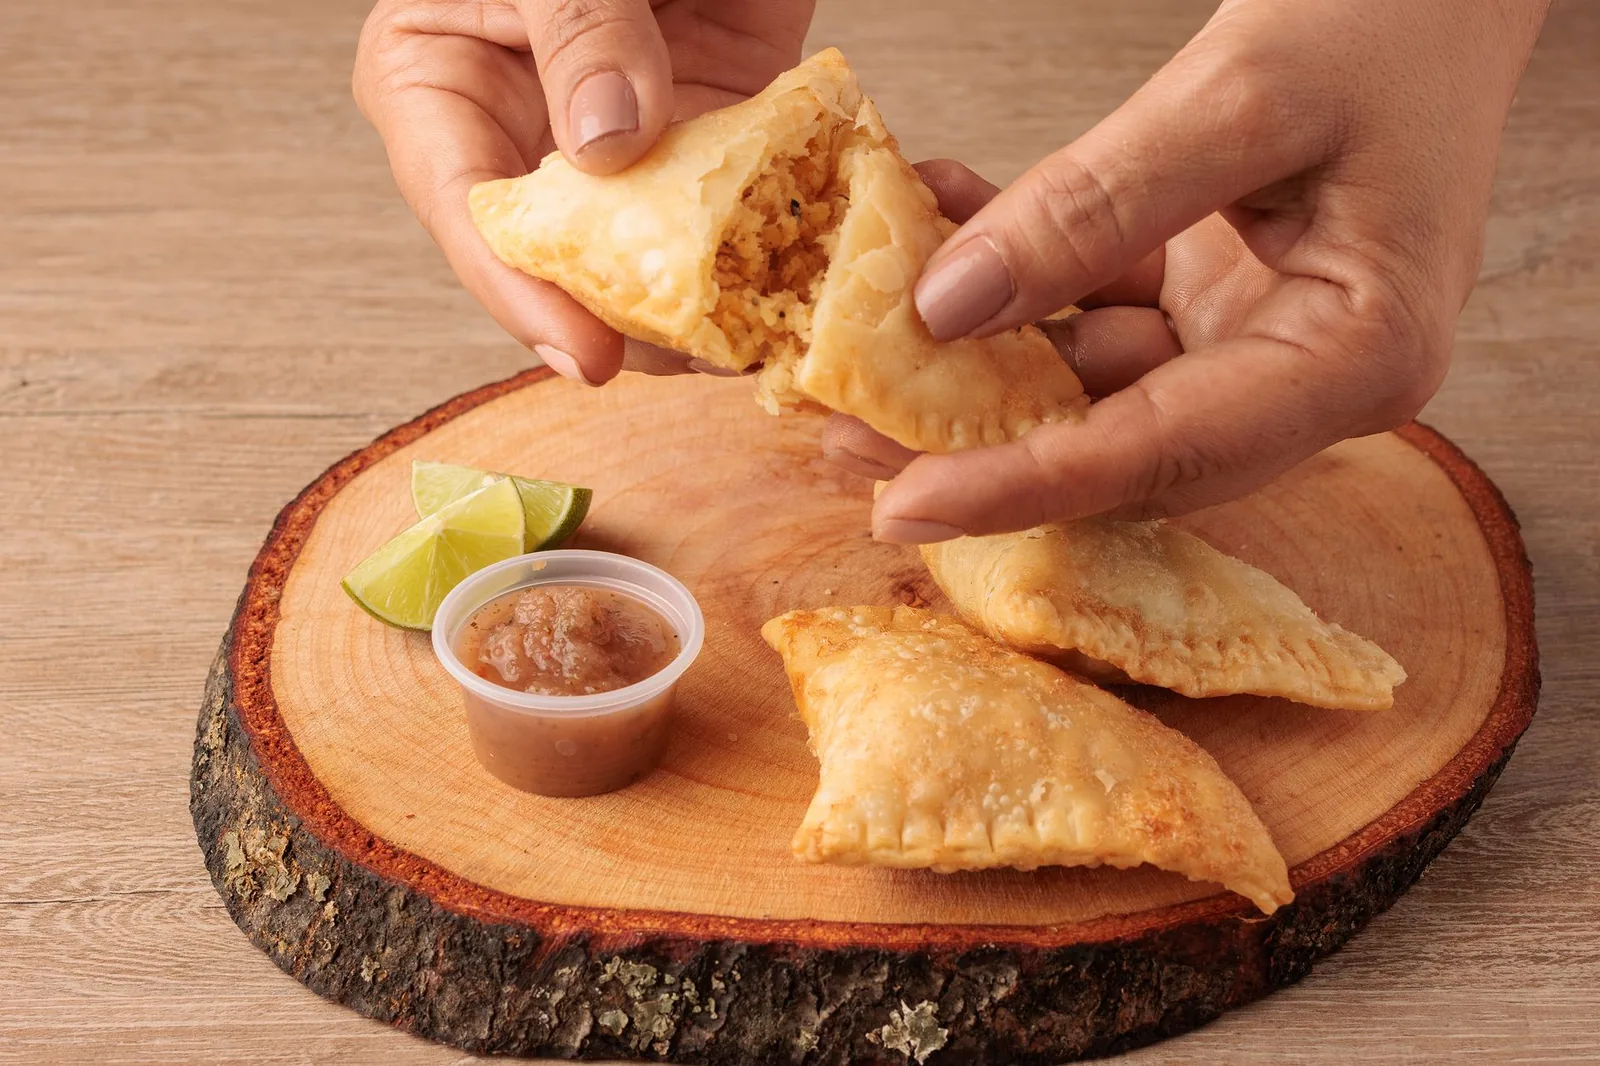


Chicken breasts: Use 1 lb of boneless chicken thighs for a juicier result with more fat. Thighs can withstand slightly longer cooking without drying out, but trim visible fat so the pan doesn’t get greasy. Expect a richer flavor and a softer texture. Storing leftover gluten free dinner recipe for beginners correctly keeps it tasting good for days.
Chicken broth: Swap for the same amount of vegetable broth to make the dish poultry-free while keeping the seasoning base. Vegetable broth is lighter, so add 1/4 teaspoon of salt if your brand tastes bland. The color will be slightly clearer than with chicken broth. For the best results with this gluten free dinner recipe for beginners, read through all the steps before starting.
Frozen peas: Use 1 cup of chopped zucchini instead for a lower-starch vegetable. Zucchini releases water as it cooks, so stir it in during the last 5 minutes only to avoid a soggy pan. The flavor becomes mild and slightly sweet rather than sweet-green. For another easy option, check out our pasta alla vodka.
Step-by-Step Instructions
- Heat 1 tablespoon olive oil in a 12-inch skillet over medium-high heat until it shimmers.
- Add the chicken cubes with paprika, salt, and pepper. Cook 5 minutes, turning once, until the outside is golden and crispy but not fully cooked through.
- Lower to medium-low heat and push chicken to one side. Add onion and garlic; cook 2 minutes until softened and fragrant.
- Stir in the red bell pepper and rice. Toast 1 minute while stirring so the rice looks slightly translucent at the edges.
- Pour in 2 cups chicken broth and bring to a gentle boil over medium heat.
- Cover and reduce to medium-low heat. Simmer 18 minutes until rice is tender and liquid is absorbed.
- Uncover, stir in frozen peas, and cook 3 minutes until peas are bright green and hot.
- Top with parsley and serve immediately while the pan is still warm.
Pro Tips
Rinse the rice under cold water until it runs clear so the finished skillet isn’t gummy from surface starch. A good nonstick skillet helps the chicken release without tearing when you flip it.
Cut the chicken into equal 1-inch pieces so every cube finishes cooking at the same time. Pair the meal with a simple vegan bulgogi side if you want a second protein option.
Keep the lid on tight during the simmer so steam stays trapped and the rice cooks evenly. For a brighter plate, squeeze half a lemon over the top right before serving.
Let the pan sit off heat for 2 minutes before lifting the lid to let the rice settle. Store extra broth on hand in case your rice looks dry at the 15-minute mark.
Common Mistakes to Avoid
Adding the rice before the onion softens leads to raw allium flavor; always cook aromatics first on medium-low heat. Use a timer so you don’t skip this short step.
Lifting the lid during simmer releases steam and leaves the rice crunchy in the center. Only open the pan after the full 18 minutes has passed.
Crowding the skillet with too much chicken drops the pan temperature and steams the meat instead of browning it. If needed, brown in two batches to keep the surface golden and crispy.
Serving Suggestions
Spoon the skillet meal into shallow bowls and add a side of pumpkin bread for a soft contrast. A simple cucumber salad dressed with vinegar balances the warm rice.
For a heartier table, serve with garlic shrimp on the side, keeping the pasta separate to maintain the gluten free rule. Warm water with lemon works as a light drink alongside.
Storage and Reheating
Place cooled leftovers in an airtight container and refrigerate for up to 3 days. Reheat in a covered pan over medium-low heat with 2 tablespoons of water until the chicken reaches 165°F inside.
You can freeze the cooked skillet in a sealed bag for freeze for up to 2 months. Thaw overnight in the fridge, then warm gently on the stove. Never leave the cooked pan out for more than 2 hours.
Recipe Variations
Spicy Version
Add 1/2 teaspoon chili powder with the paprika and use a fresh jalapeño instead of bell pepper. The heat builds slowly and the peppers stay crisp if added at step 4. Serve with cooling yogurt on top.
Low-Carb Option
Replace the white rice with 2 cups of riced cauliflower and cut simmer time to 8 minutes. The texture turns tender rather than fluffy, and you save about 30 grams of carbs per serving. Keep the broth amount the same.
Seafood Swap
Use 1 lb of peeled shrimp in place of chicken and add them at step 7 so they don’t overcook. Shrimp turn pink and firm in about 3 minutes. The broth takes on a sweeter note from the shellfish.
Herb Boost
Stir 1 teaspoon dried thyme in with the garlic and finish with basil instead of parsley. The dish becomes more aromatic and pairs well with swordfish as a second plate. Use fresh herbs if you have them.
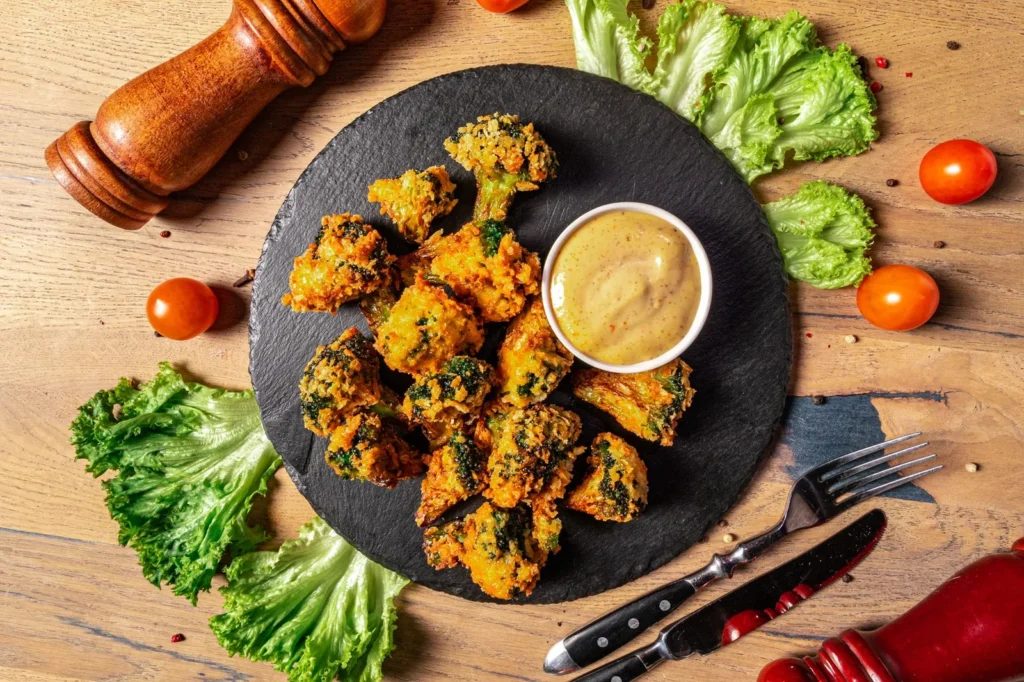

gluten free dinner recipe for beginners
Description
This simple one-pan chicken and rice skillet is a naturally gluten free dinner that brings protein, vegetables, and carbs together with minimal cleanup. It is a calm, forgiving recipe perfect for beginners learning to cook without wheat, barley, or rye.
Ingredients
Instructions
-
Heat oil and brown chicken
Heat 1 tablespoon olive oil in a 12-inch skillet over medium-high heat until it shimmers and looks glossy. Add the chicken cubes with paprika, salt, and pepper, then cook for 5 minutes, turning once, until the outside is golden and crispy but the centers are still slightly pink and not fully cooked through.
-
Soften aromatics
Lower the heat to medium-low and push the chicken to one side of the skillet using a spatula. Add the onion and garlic to the empty side and cook for 2 minutes, stirring often, until they are softened, translucent at the edges, and smell fragrant.
-
Toast rice and pepper
Stir the red bell pepper and rice into the skillet with the aromatics and chicken. Toast for 1 minute while stirring so the rice looks slightly translucent at the edges and the pepper begins to wilt.
-
Add broth and simmer
Pour in 2 cups chicken broth and bring the mixture to a gentle boil over medium heat, with small bubbles breaking the surface. Cover the skillet with a tight lid, reduce to medium-low heat, and simmer for 18 minutes until the rice is tender and the liquid is fully absorbed.
-
Stir in peas
Uncover the skillet and stir in the frozen peas. Cook for 3 minutes over medium-low heat until the peas are bright green, hot throughout, and the chicken reaches an internal temperature of 74°C (165°F) with no pink remaining.
-
Garnish and serve
Top the skillet with 2 tablespoons chopped parsley and serve immediately while the pan is still warm. Spoon into shallow bowls so the chicken and rice stay steamy at the table.
-
Rest before lifting lid
After turning off the heat, let the pan sit off heat for 2 minutes before lifting the lid to let the rice settle. This short rest keeps the grains from sticking and gives a fluffier texture when served.
Nutrition Facts
Servings 4
- Amount Per Serving
- Calories 350kcal
- % Daily Value *
- Total Fat 12g19%
- Saturated Fat 4g20%
- Cholesterol 60mg20%
- Sodium 480mg20%
- Total Carbohydrate 38g13%
- Dietary Fiber 3g12%
- Sugars 6g
- Protein 22g44%
* Percent Daily Values are based on a 2,000 calorie diet. Your daily value may be higher or lower depending on your calorie needs.
Note
- Storage: Place cooled leftovers in an airtight container and refrigerate for up to 3 days, reheating with 2 tablespoons water until 74°C (165°F).
- Make ahead: Rinse rice until clear before cooking so the skillet isn't gummy from surface starch.
- Pro tip: Pair the meal with a pumpkin bread side for a soft contrast.
- Rest: Let the pan sit off heat 2 minutes before lifting the lid so the rice settles fluffy.
